NOTE: I am not at liberty to redistribute the documentation used to build this model.
2015 F-22 "Raptor" High Resolution Project
More panels added, and a new material option:
As usual, these images are larger than what is displayed in your browser. To see more detail, drag them to your desktop.
More panels added, and a new material option:
As usual, these images are larger than what is displayed in your browser. To see more detail, drag them to your desktop.
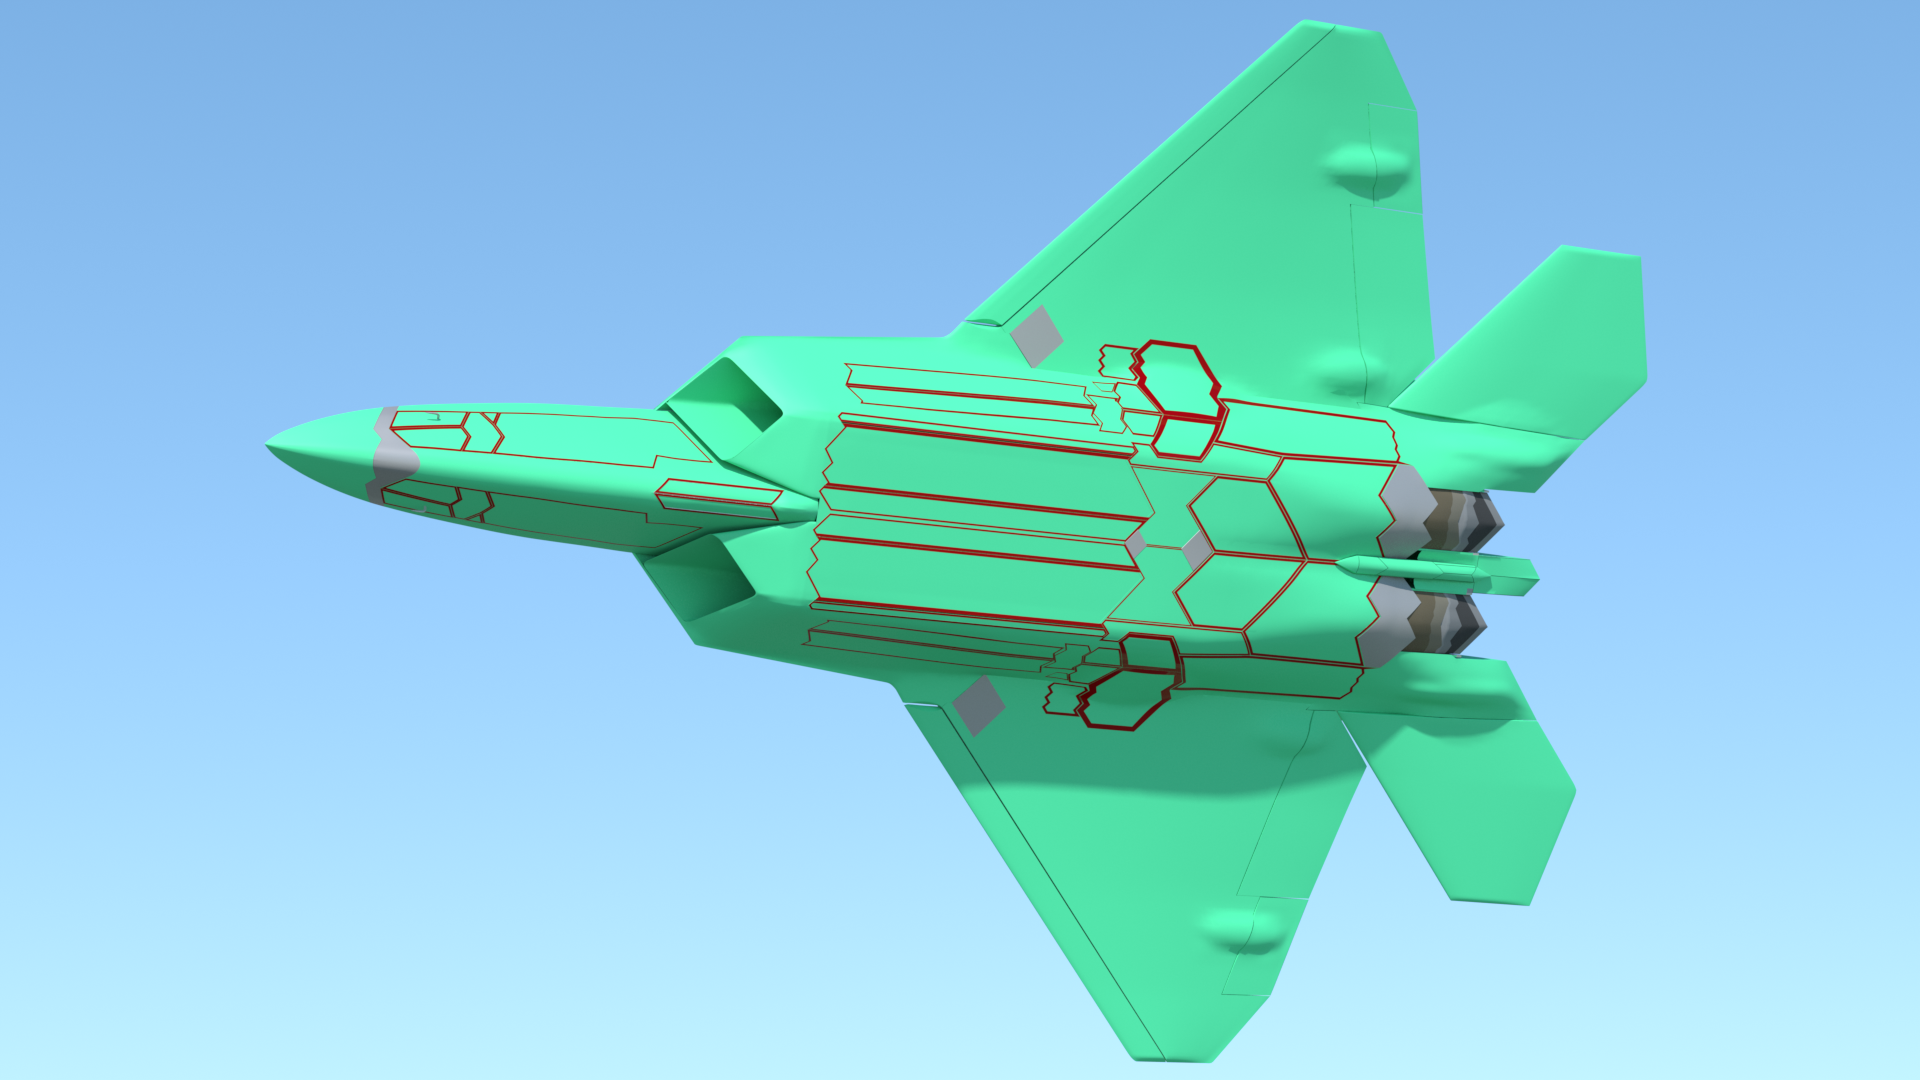
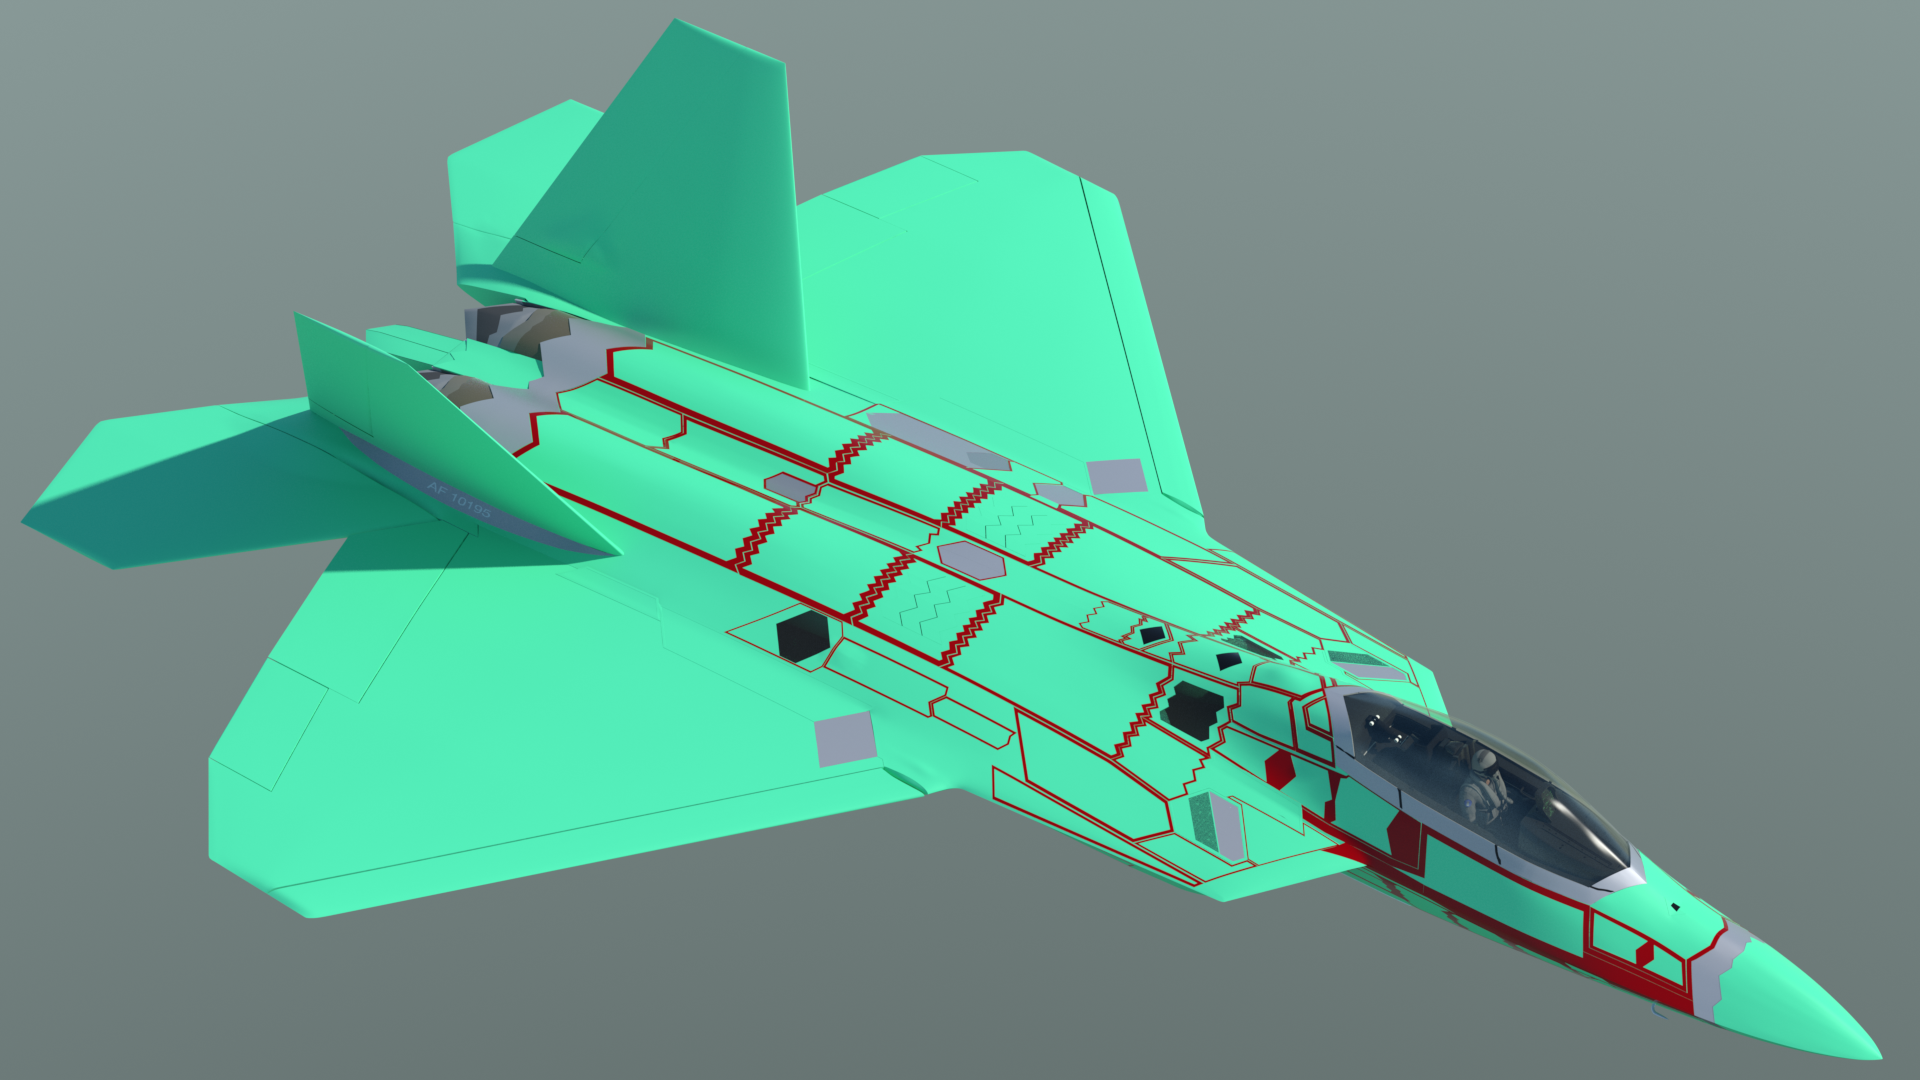
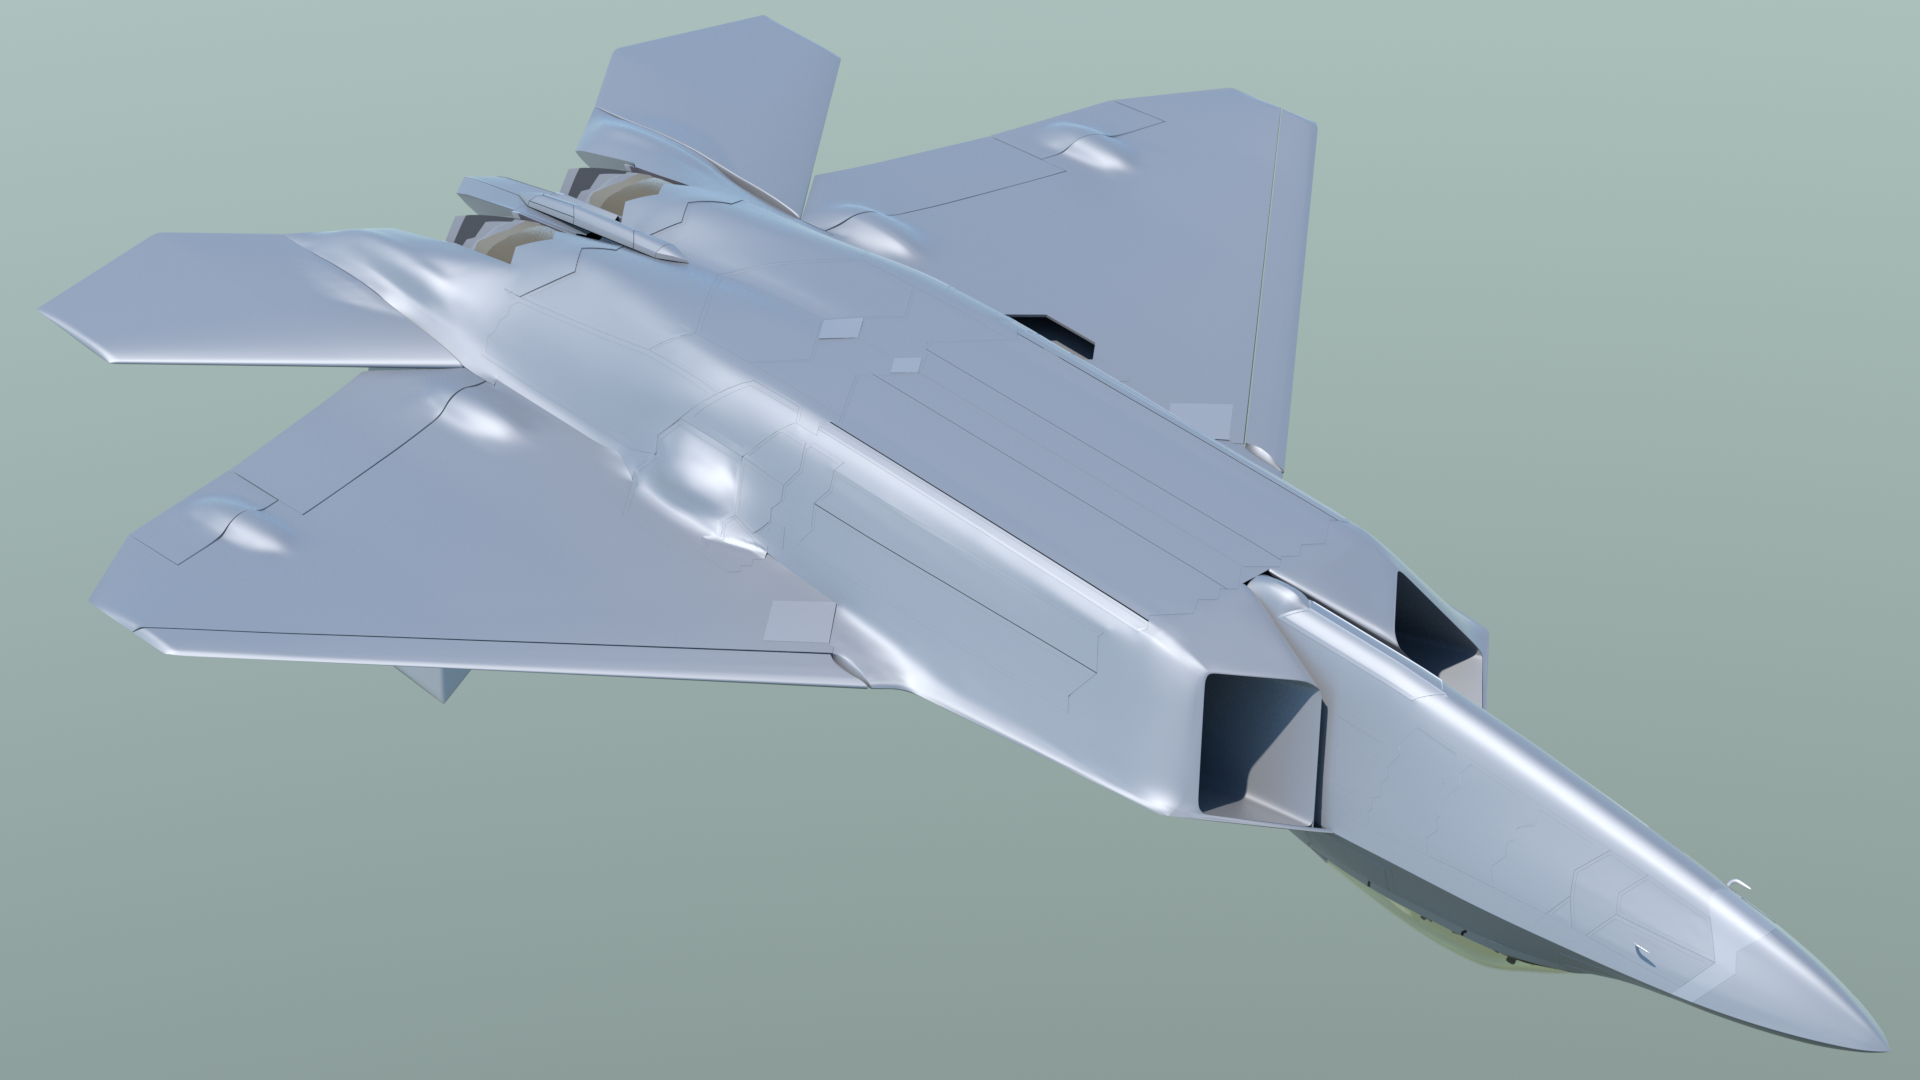
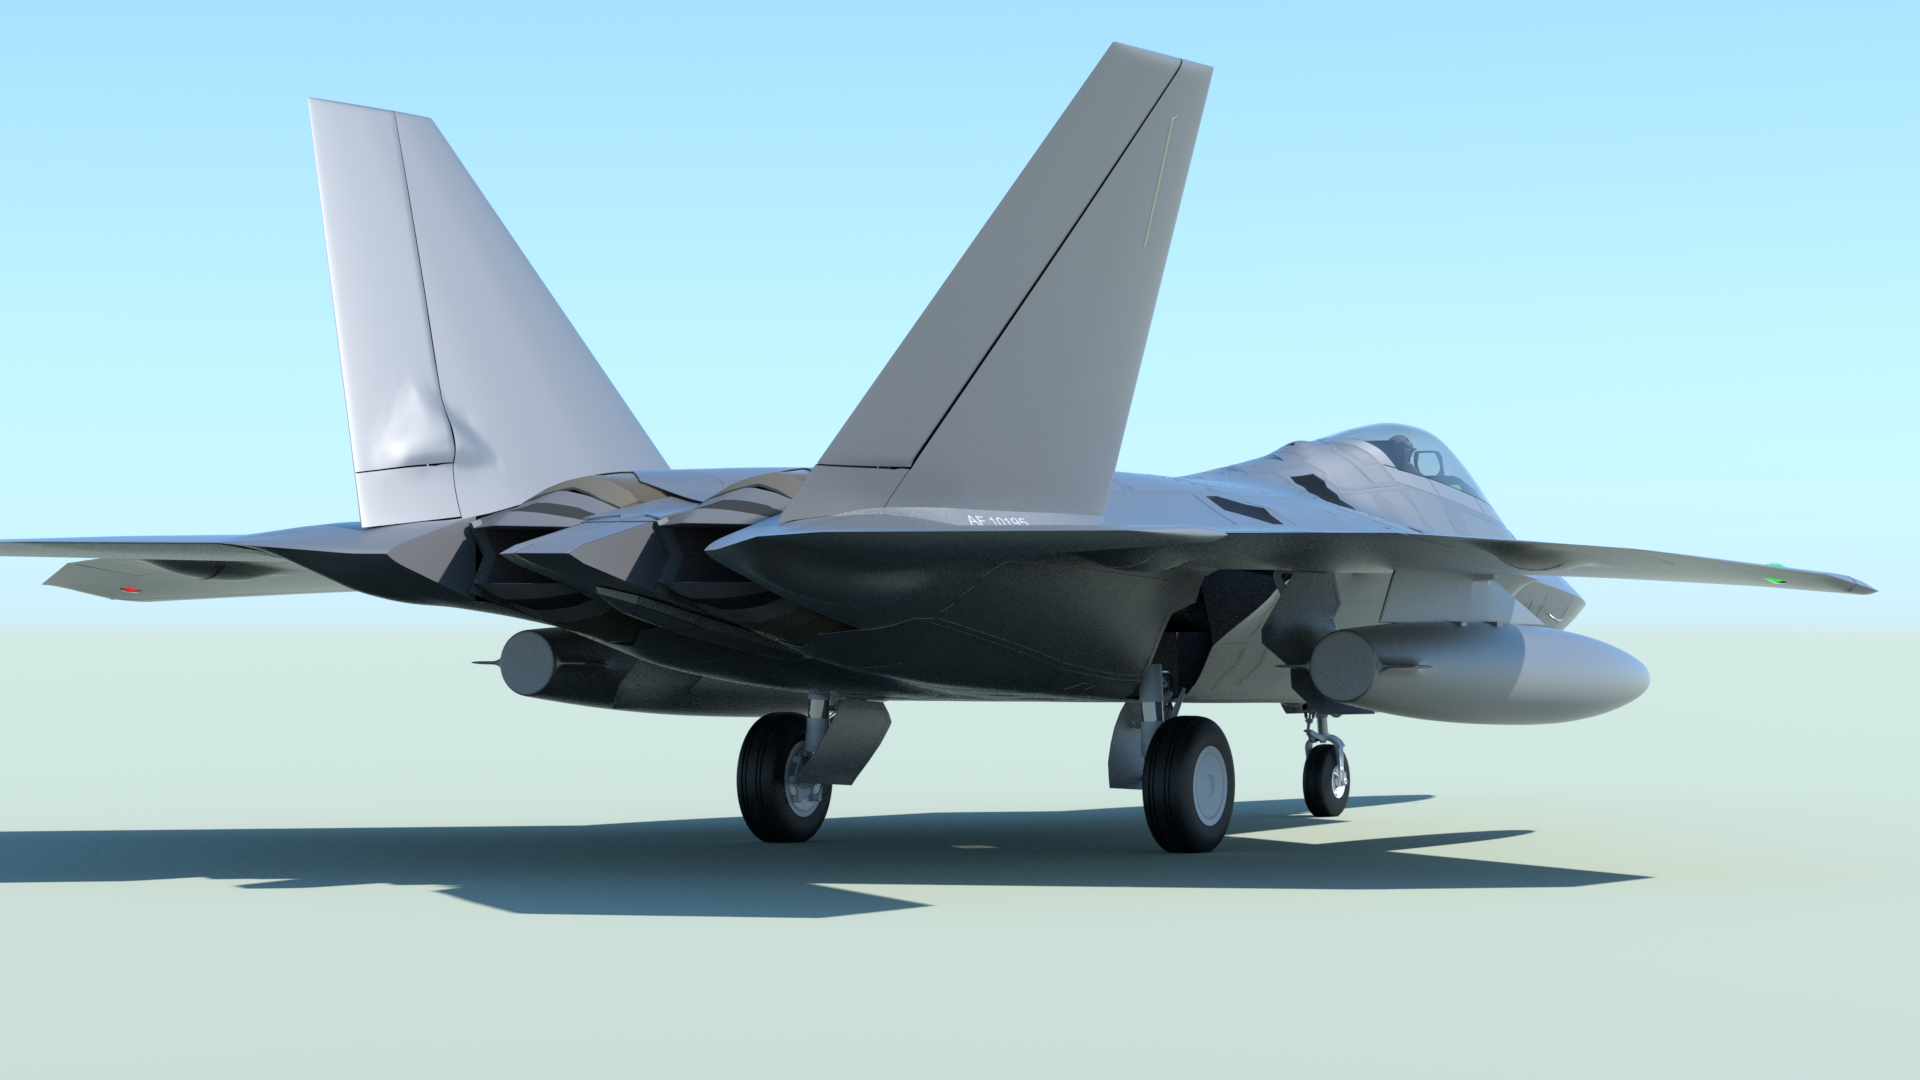
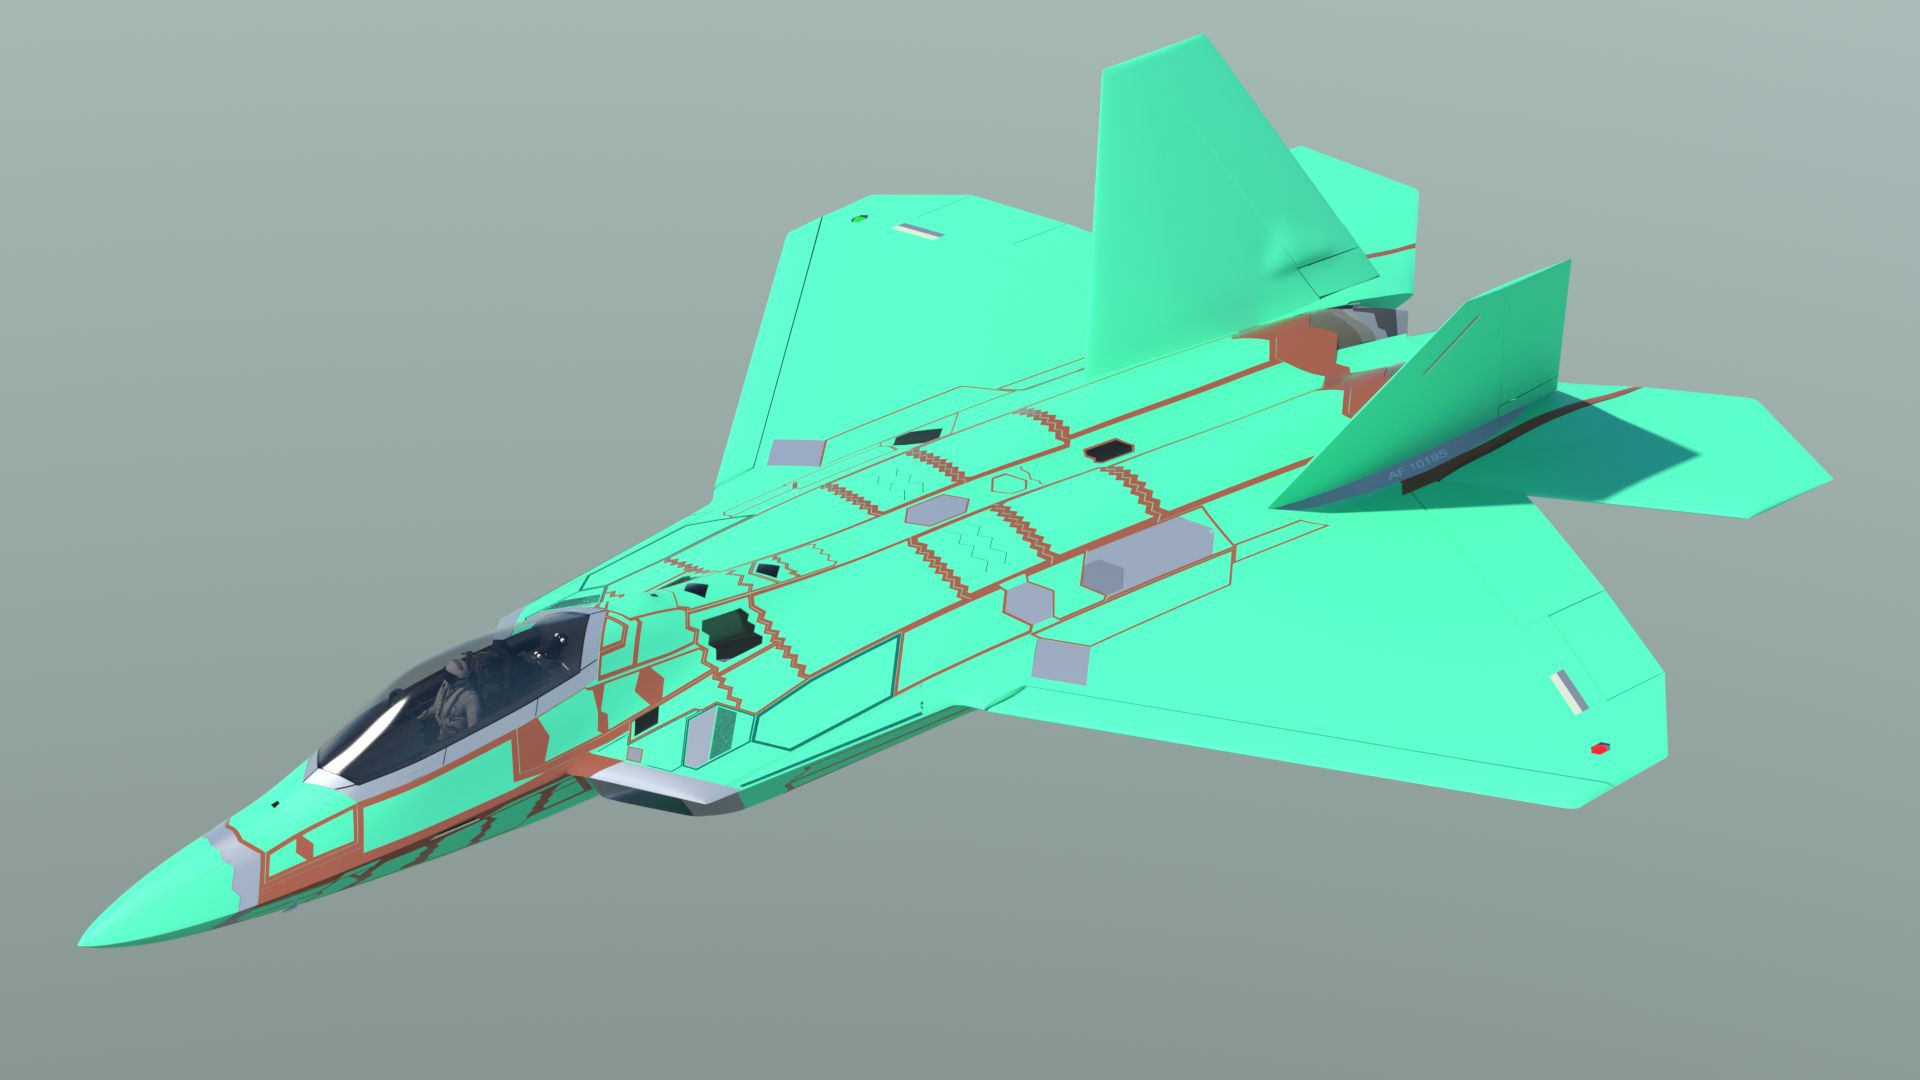
In addition to making the cutouts for the side and bottom weapons bays, and adding their panels, I've added other various new panels toward the nose, and also around the aft section near the engine exhausts. I've also set up some polygonal selection sets within MODO, so that when I show the aircraft as it's seen here, in it's factory "primer" colors, the beveled panel edges are a reddish-brown. This helps me to compare my work with Lockheed Martin factory photos, but can easily be switched off to show the aircraft in it's overall gray color. Just a few more panels to go, and then I can start on the internal parts.

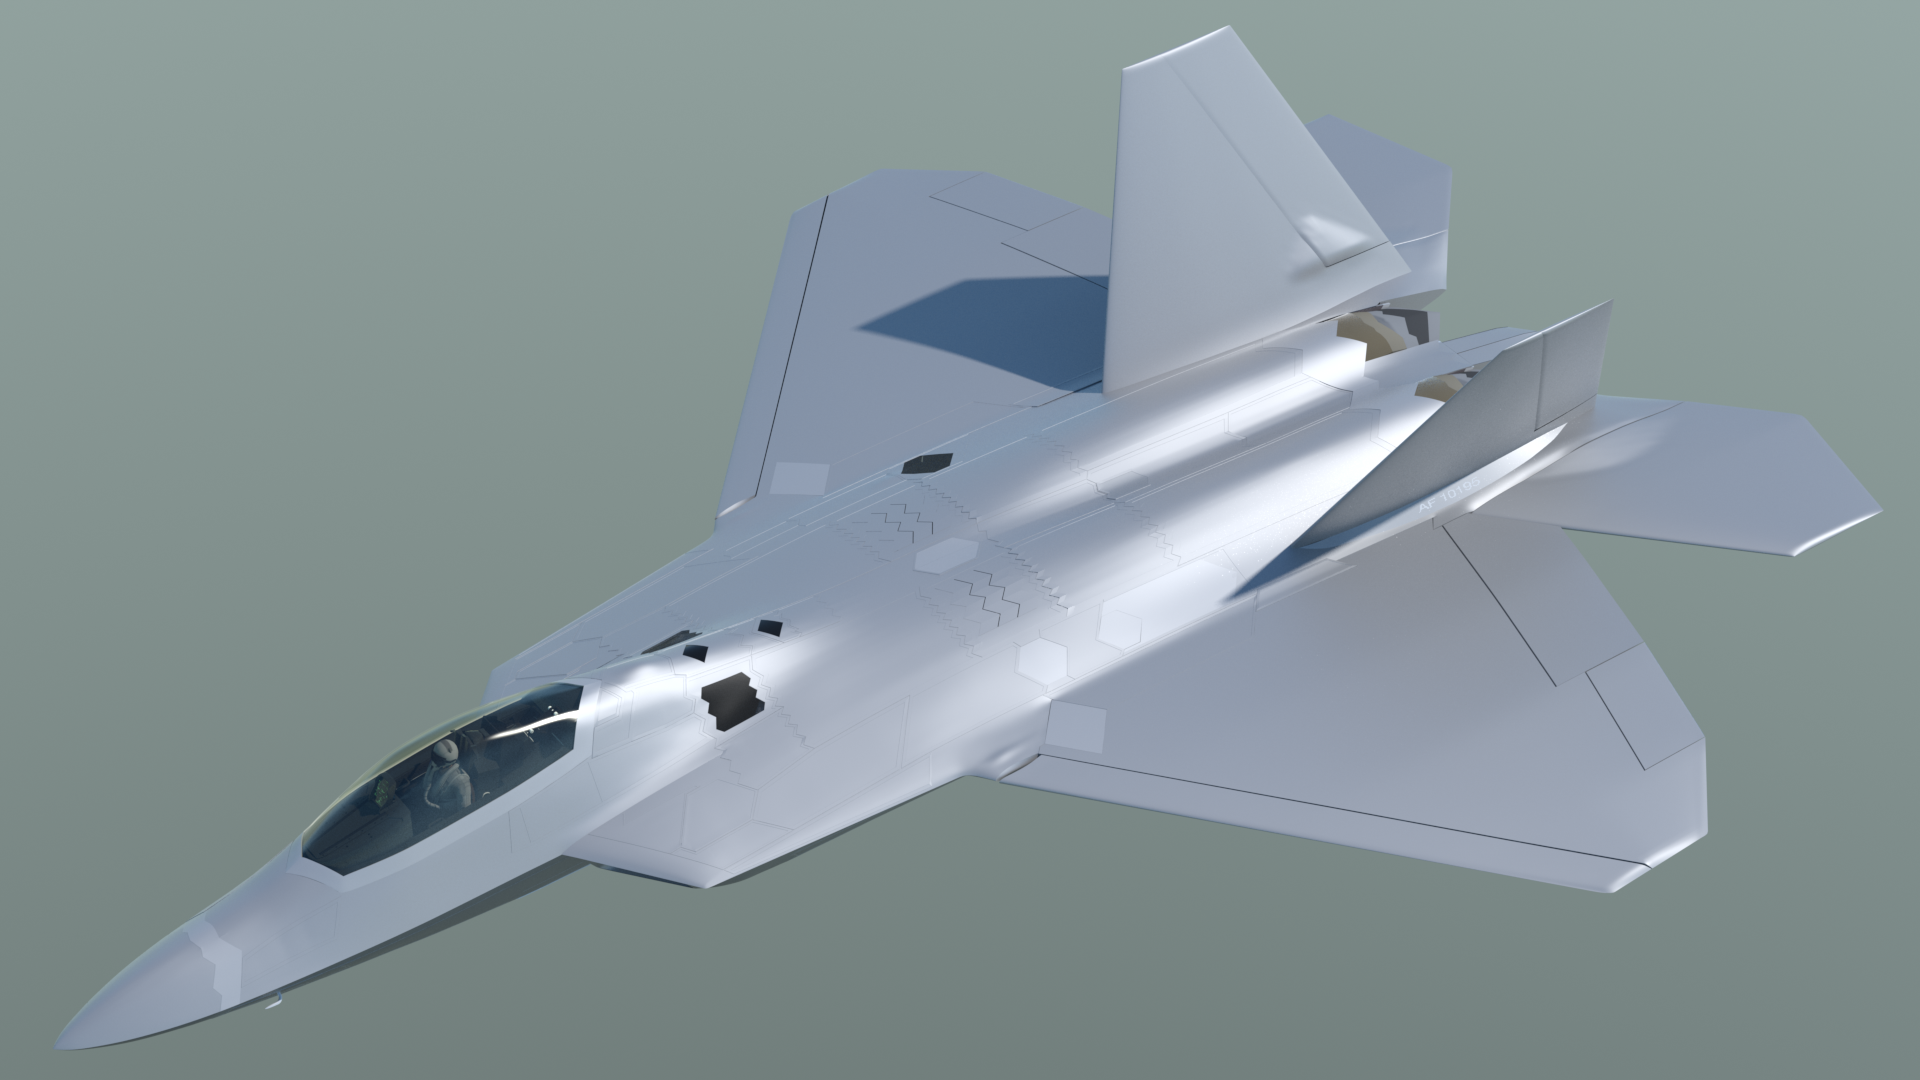
Exterior panels nearly finished.
As I build additional parts, some of these panels will surely change, and others will be added. But, the major ones are in place, and I'm nearly ready to start on the internal structures, which will be a huge challenge, but a lot of fun. Here's where the model stands as of 02-15-15. You can see how the "factory" colors really help during the modeling phase, to make all the panels more obvious.
A brief look at the airframe, and a little "zoom climb"...
Click here to see a turntable-style animation of the airframe, followed by a brief "flyby/zoom climb" test animation, using an imported sIBL environment.
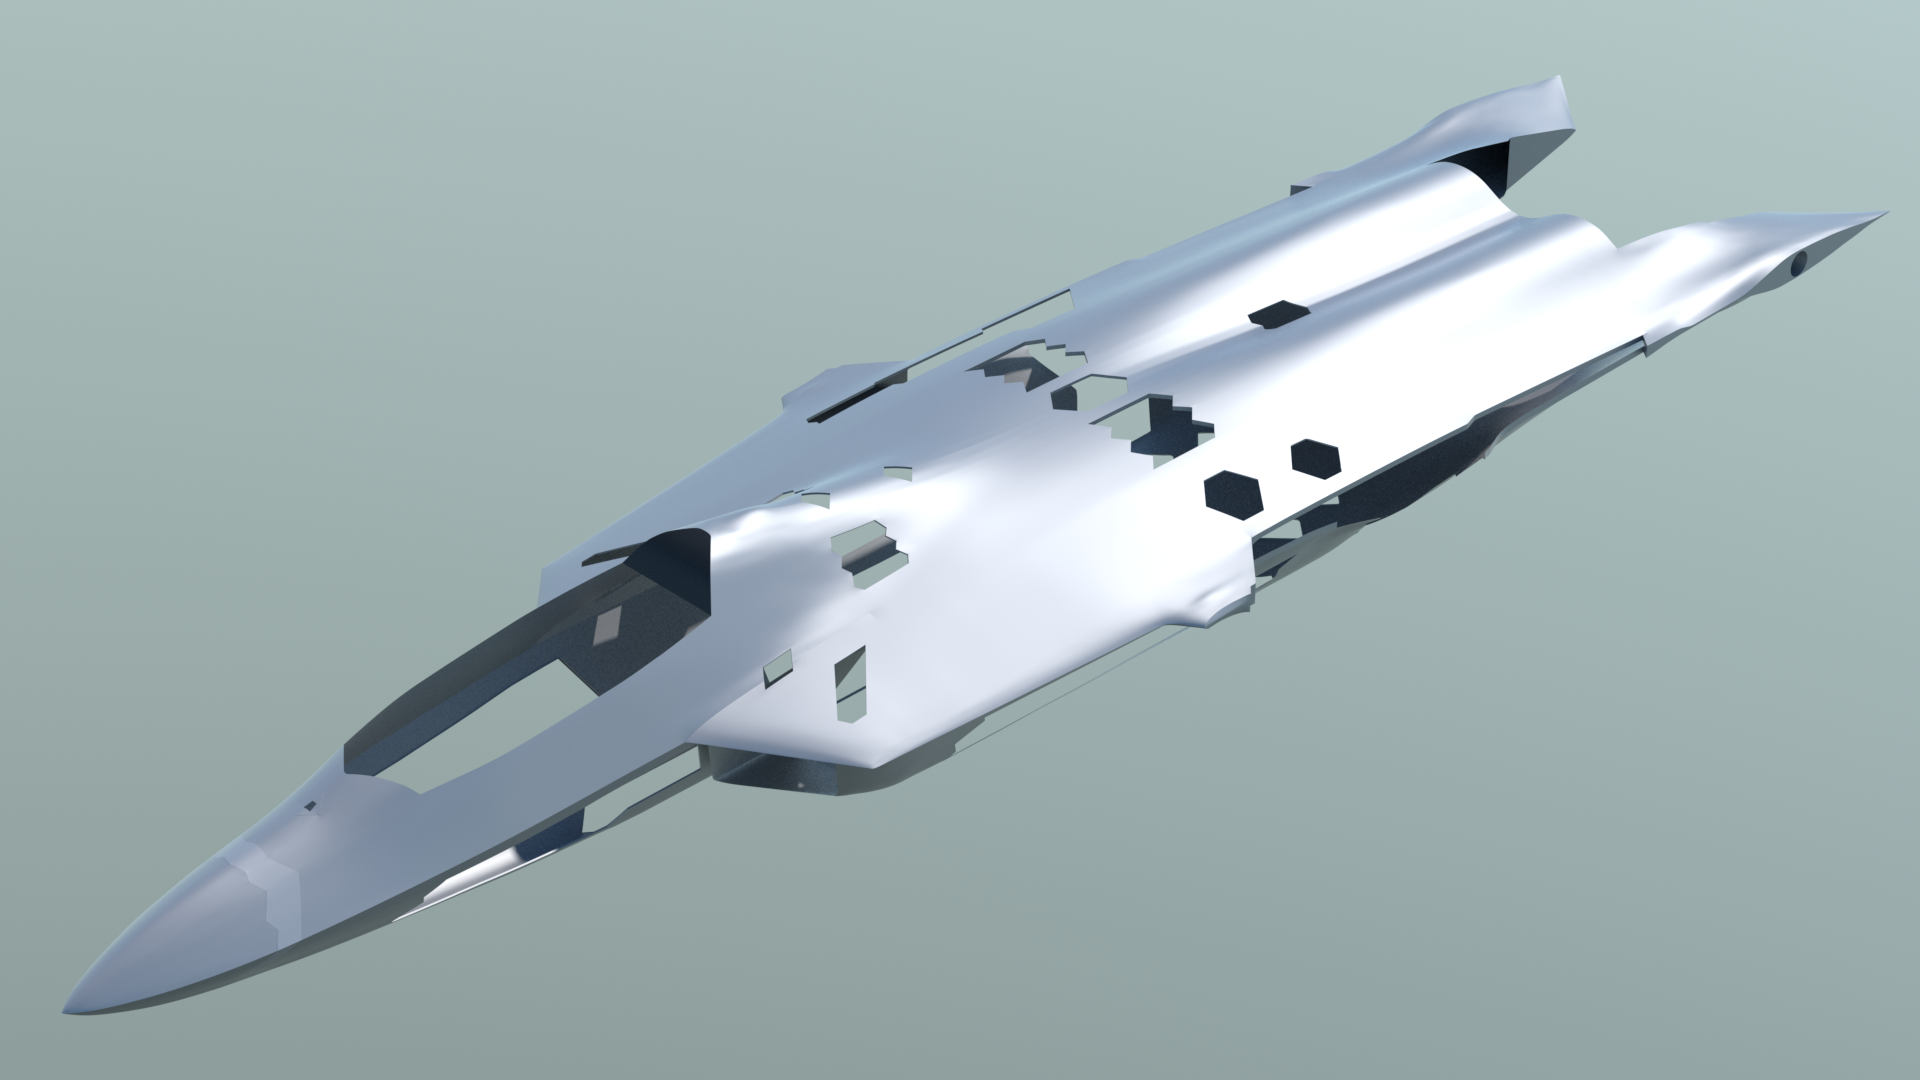
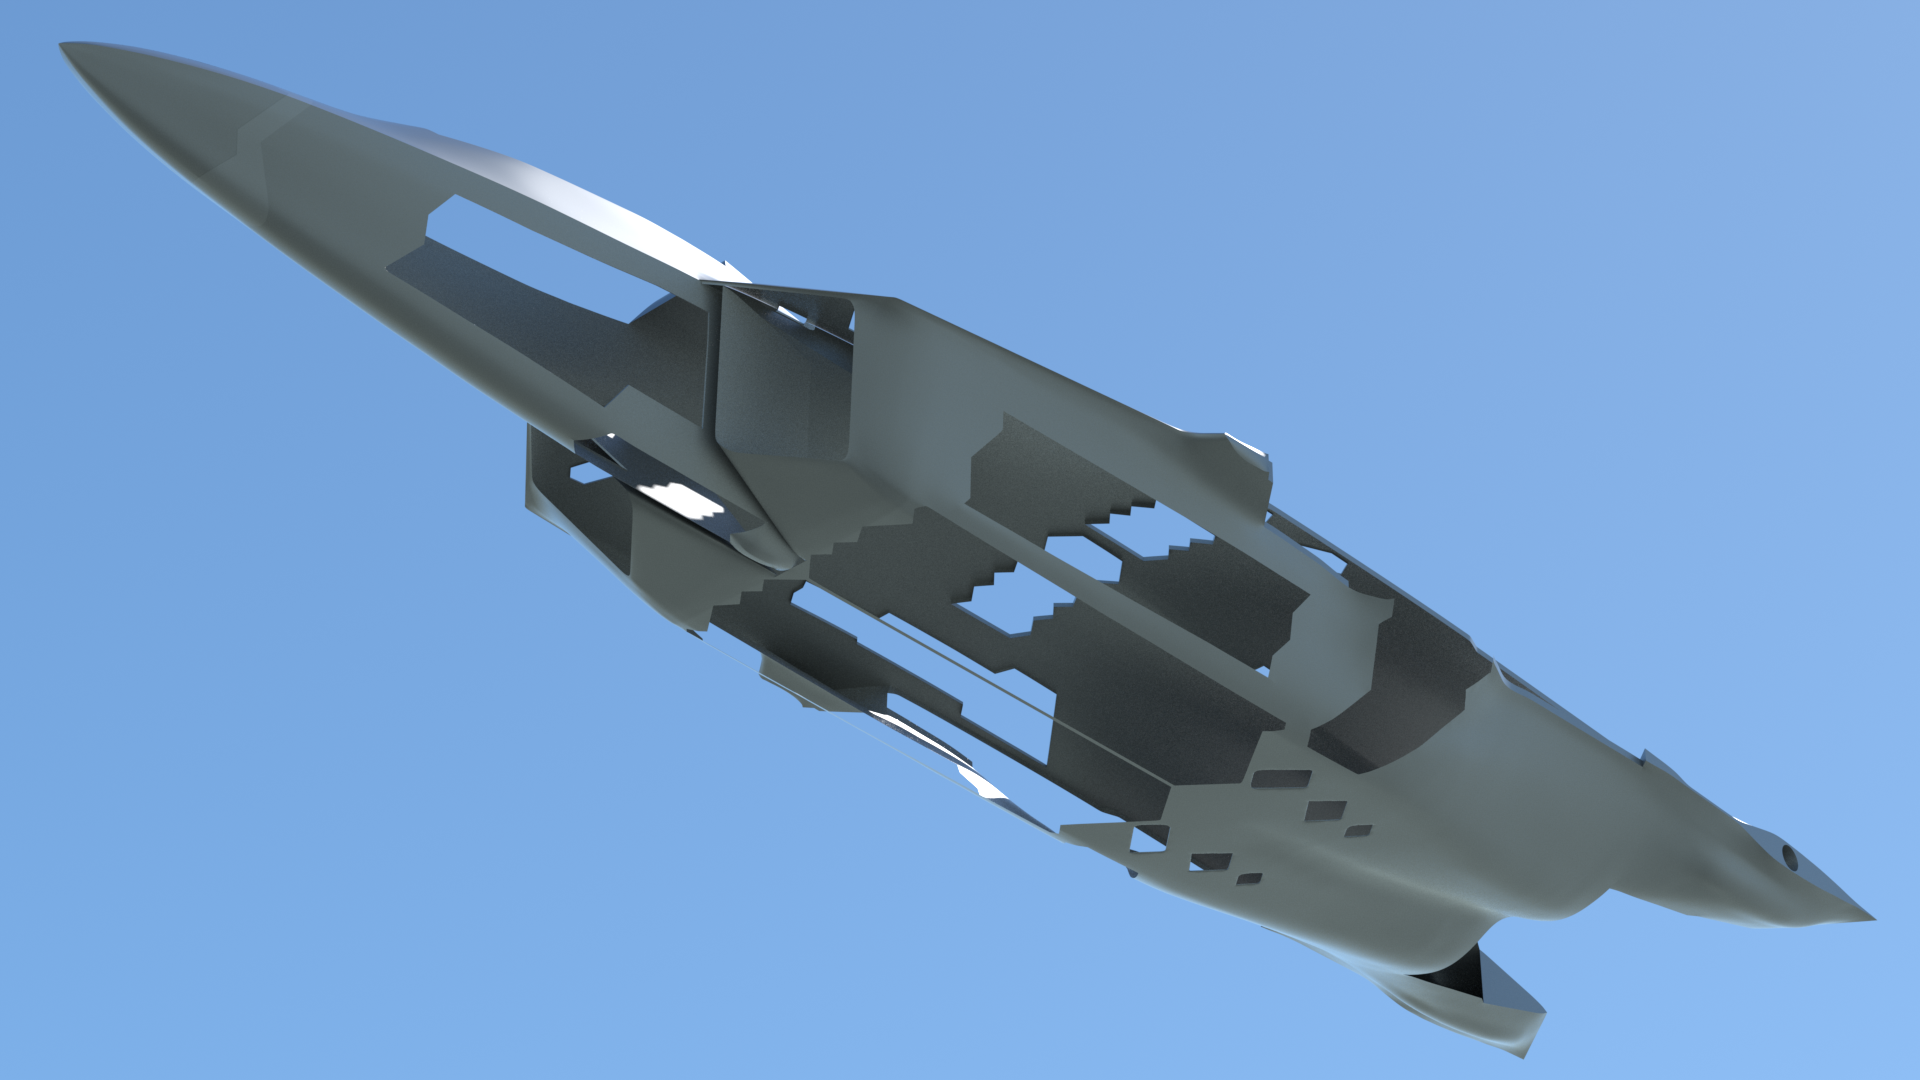
The fuselage
Many of the panels I've applied will be removable, or animated in the final model. So, for those panels, the underlying skin had to be removed from the fuselage. Using the same sort of edge-weighting, it's holding up quite nicely.
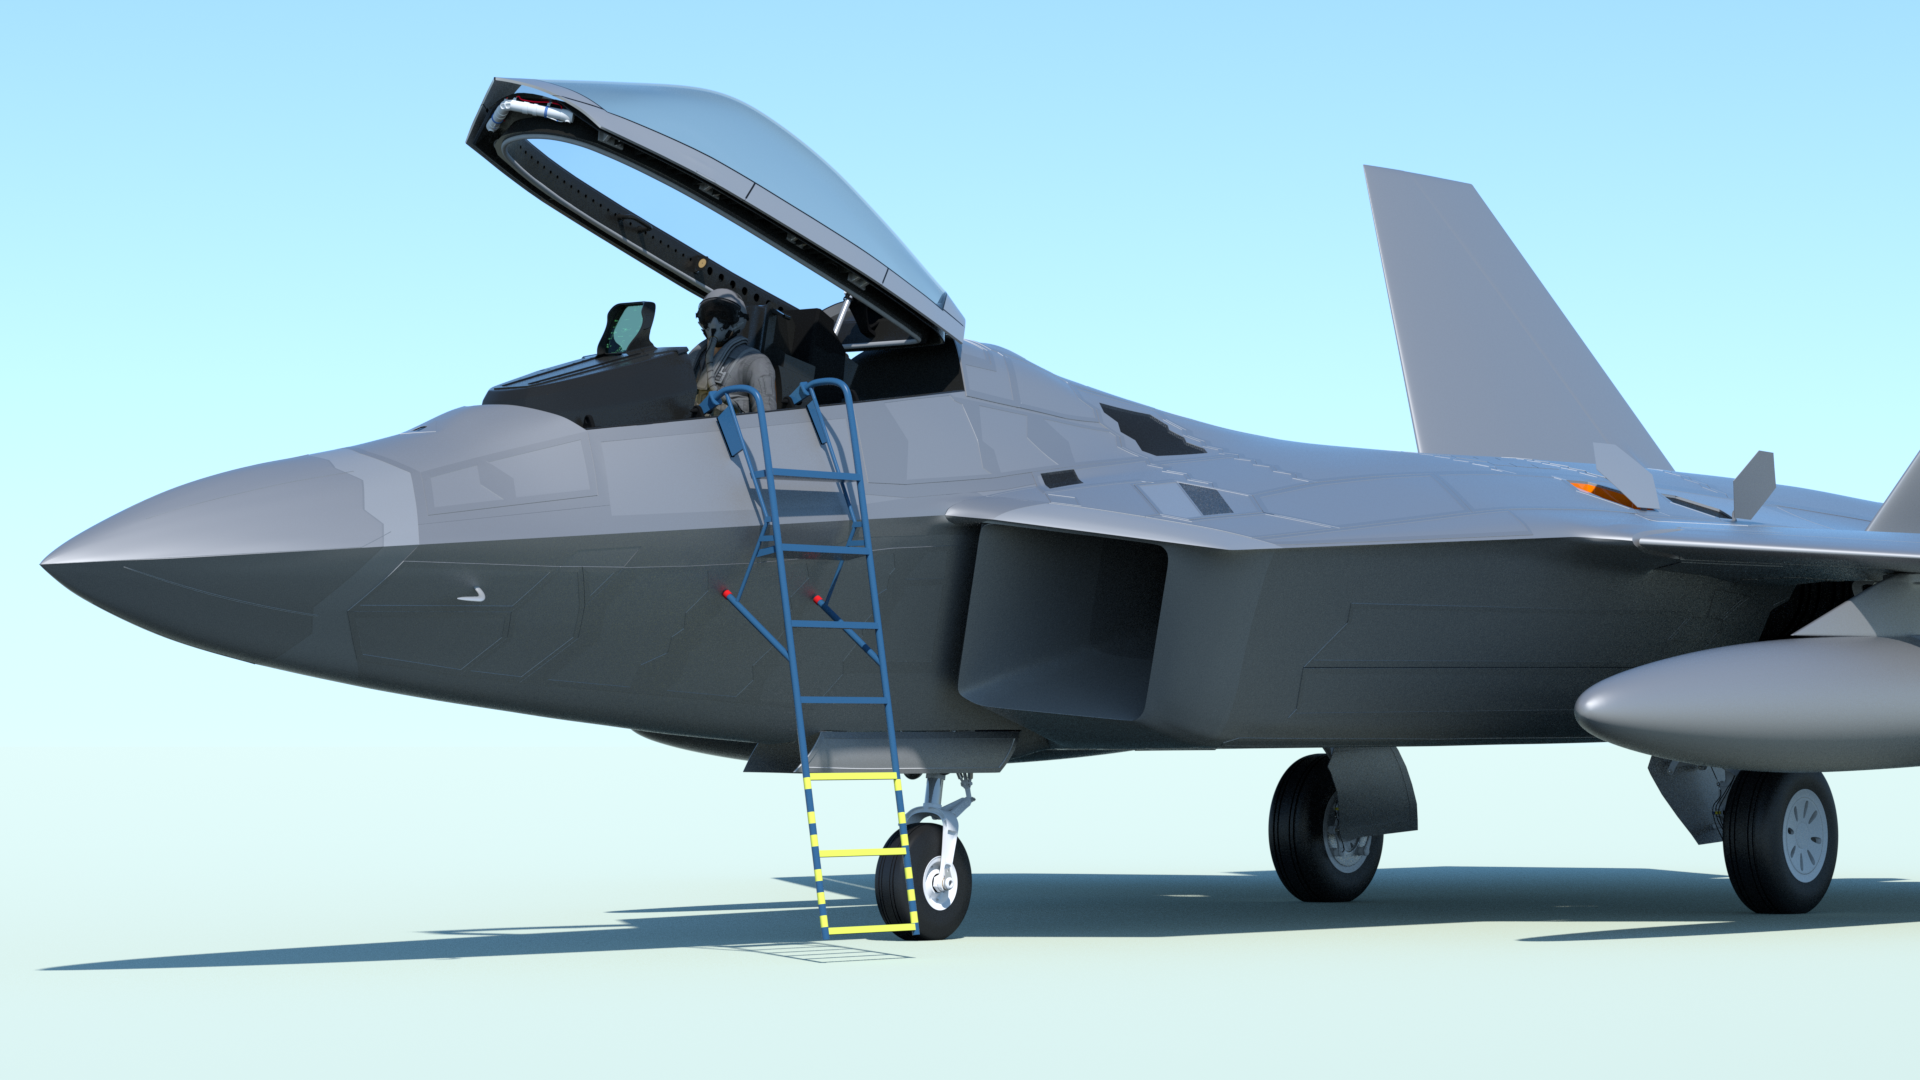
The Base model is nearly ready.
Having spent a couple of weeks tweaking small details on the fuselage, I'm nearly ready to start work on the interior. These refinements include construction of the nearly-invisible area between the intakes and the fuselage, (boundary layer diverter spill duct) some small details including some tiny bulges, on the canopy frame, the shape of the landing gear door bulges, addition of the wing position lights, and the tweaking of many of the stealth panel edges.
Soon, it's on to the interior, which will be both challenging and fun.
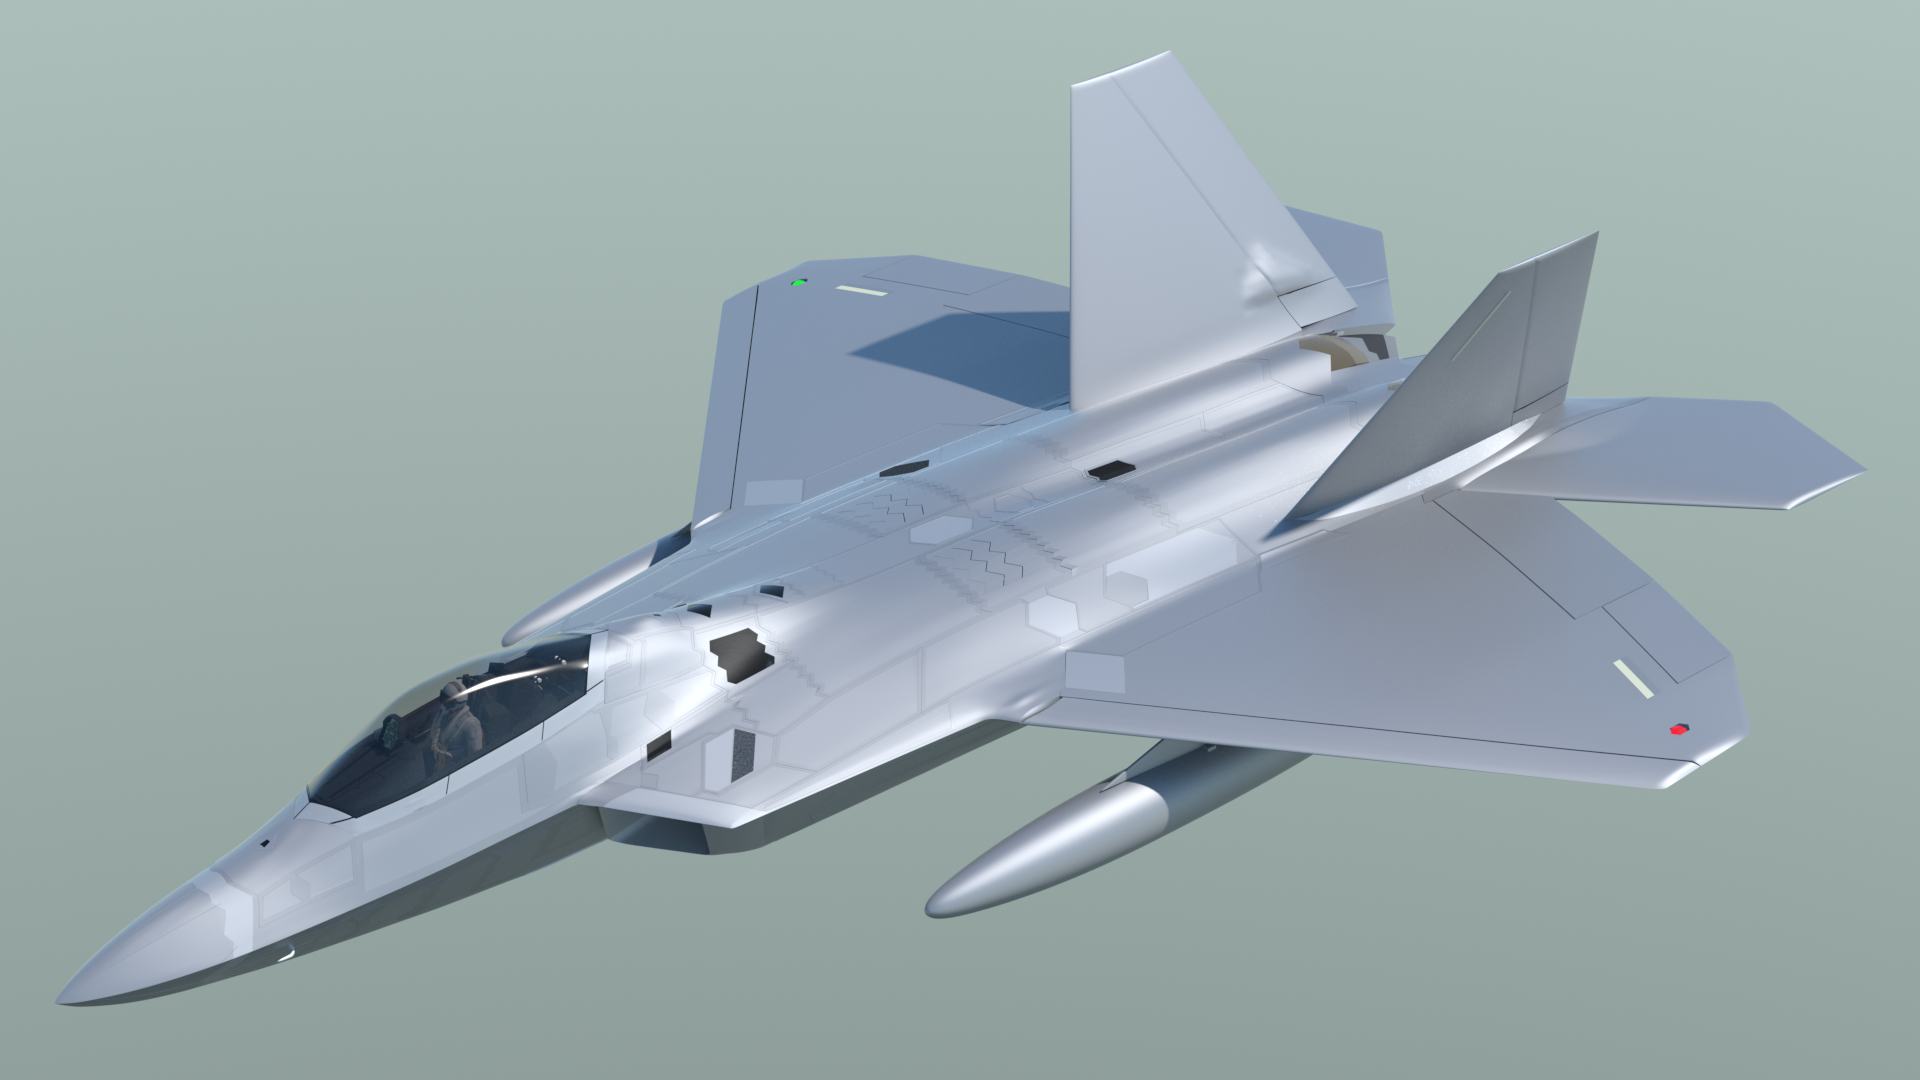
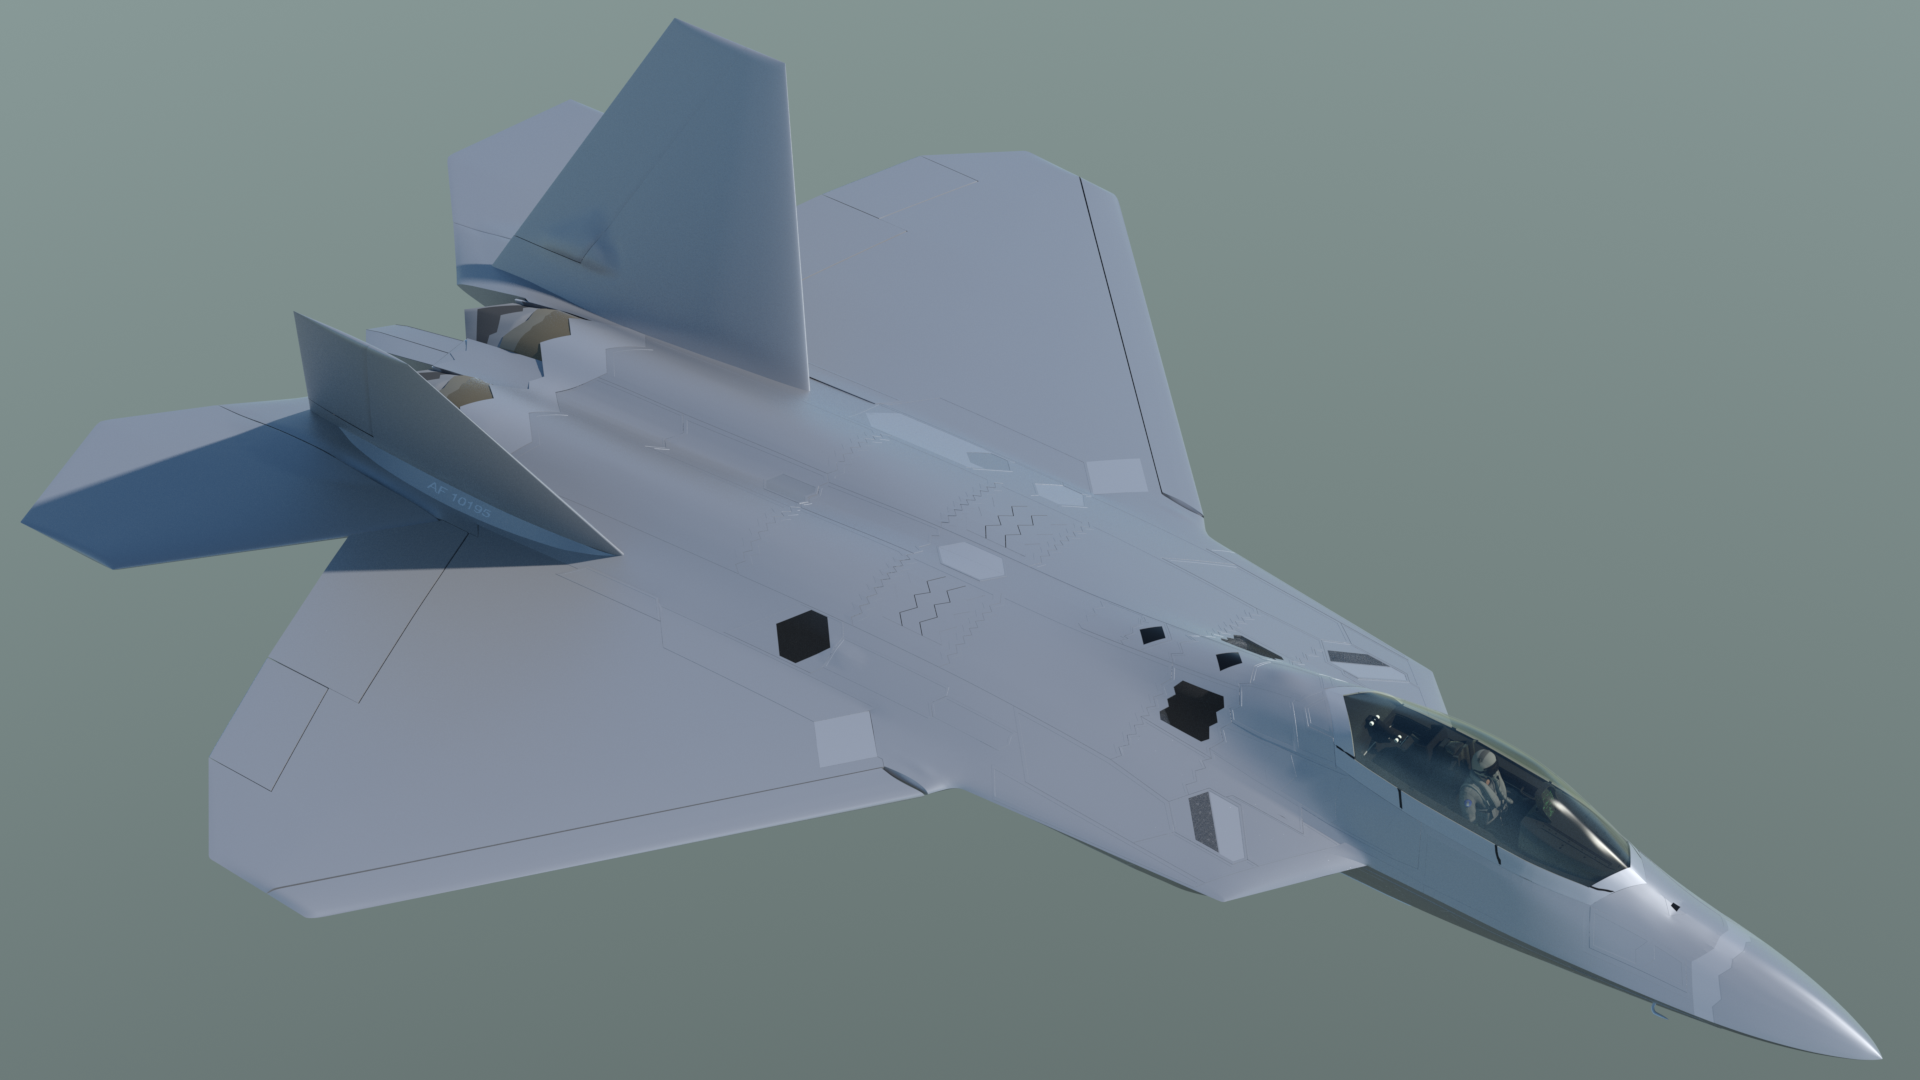
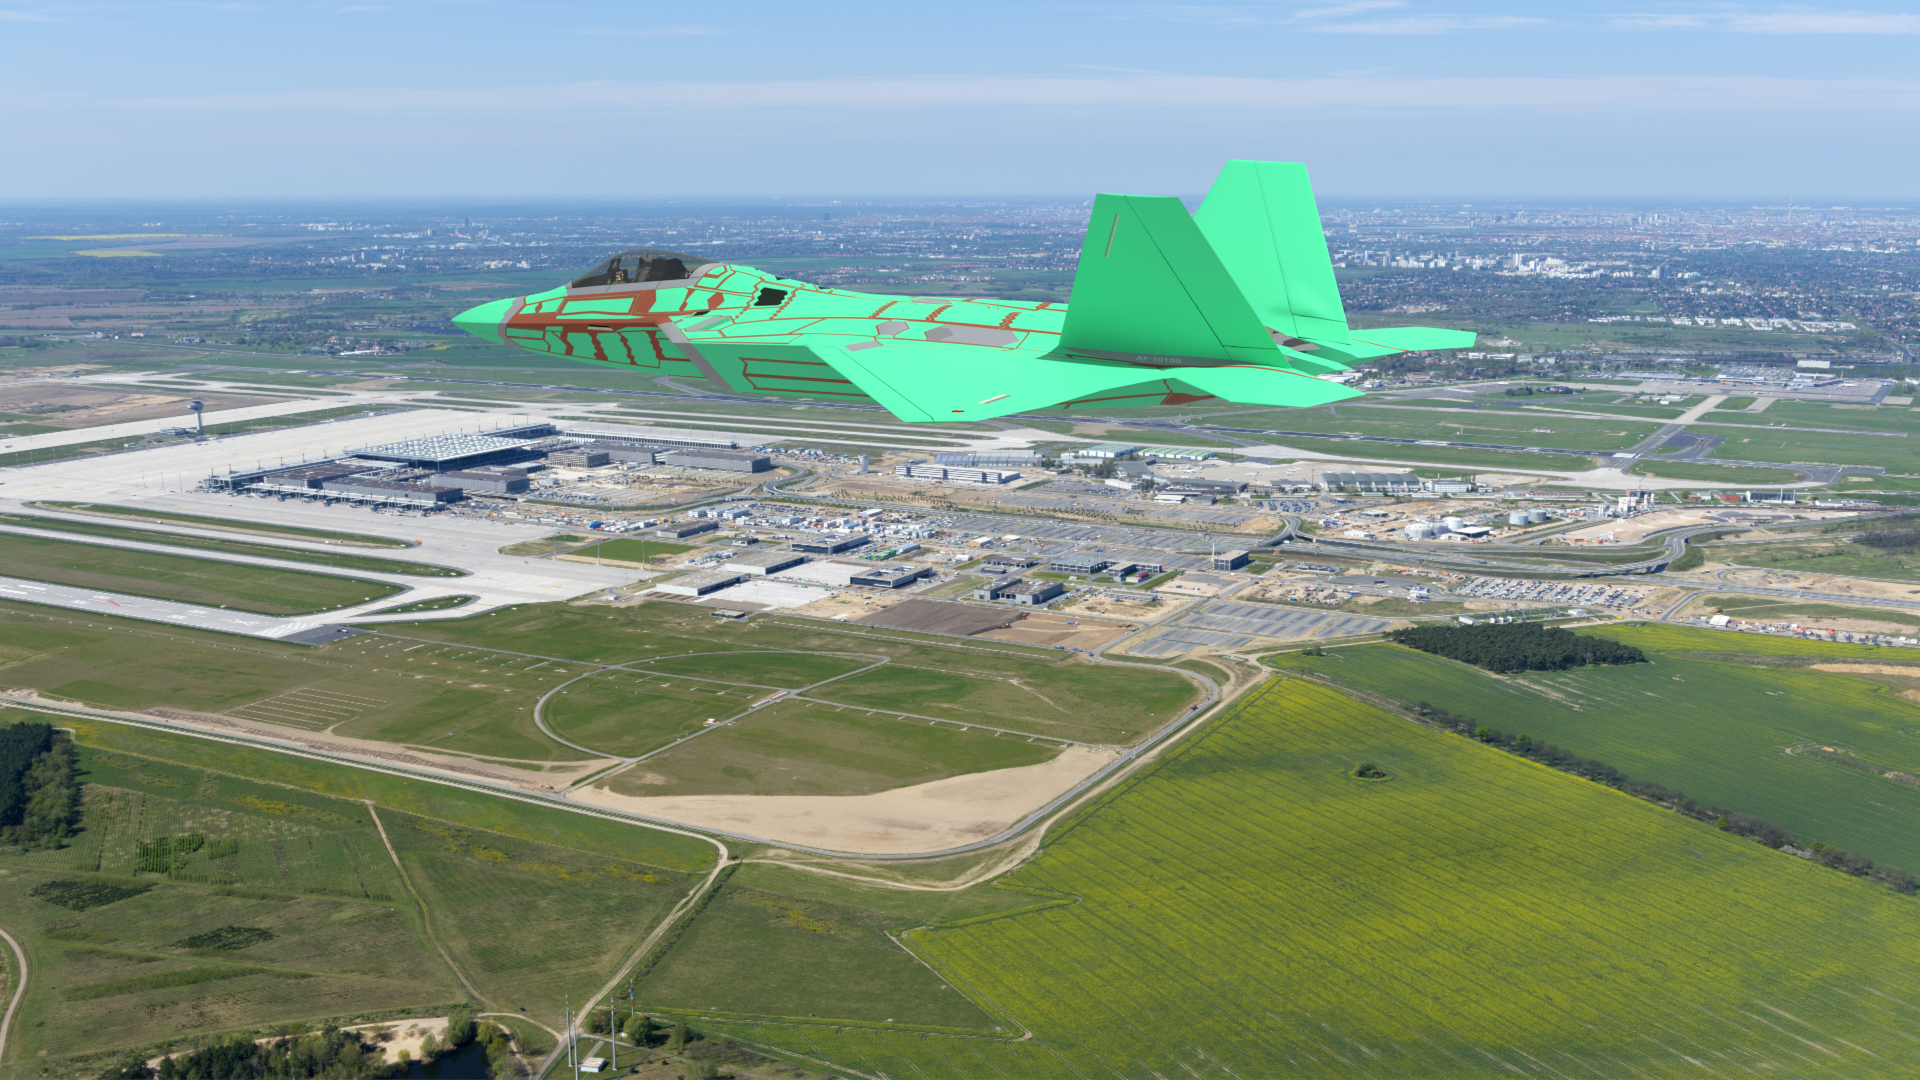
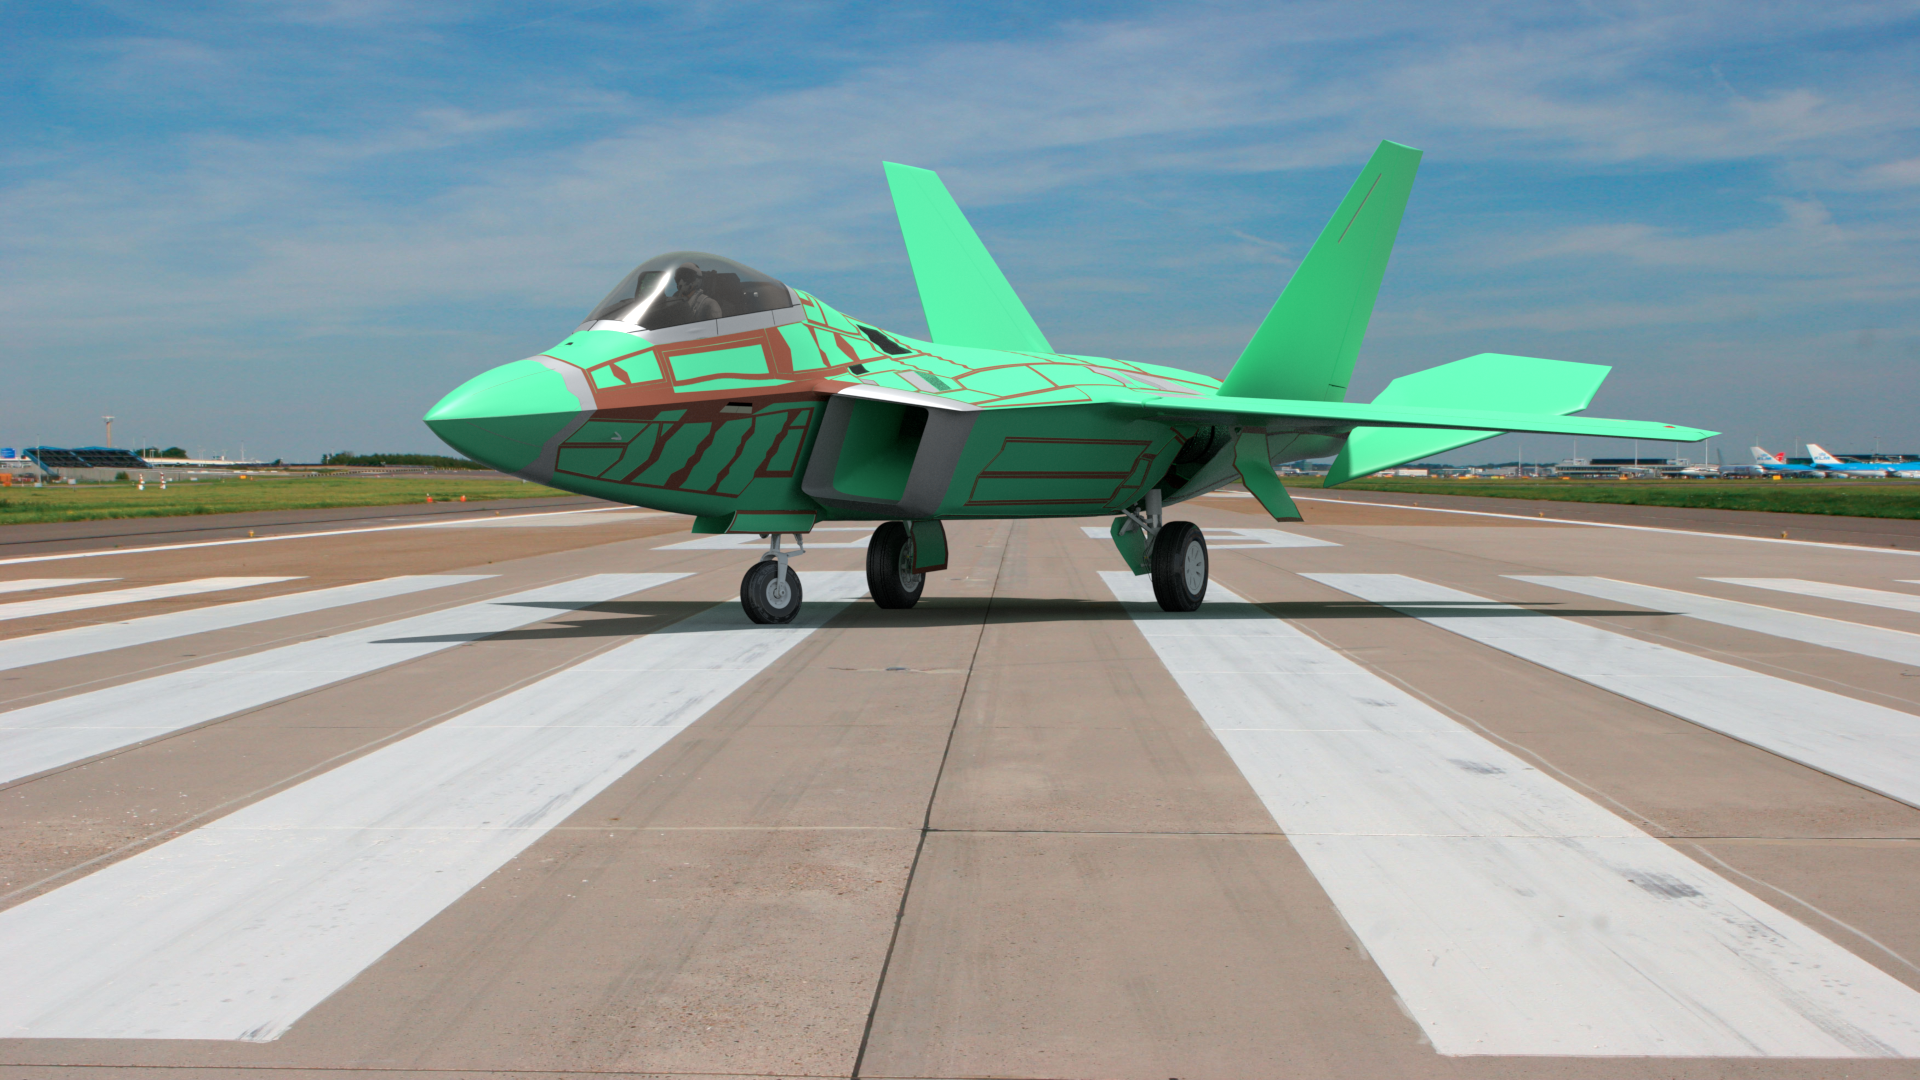
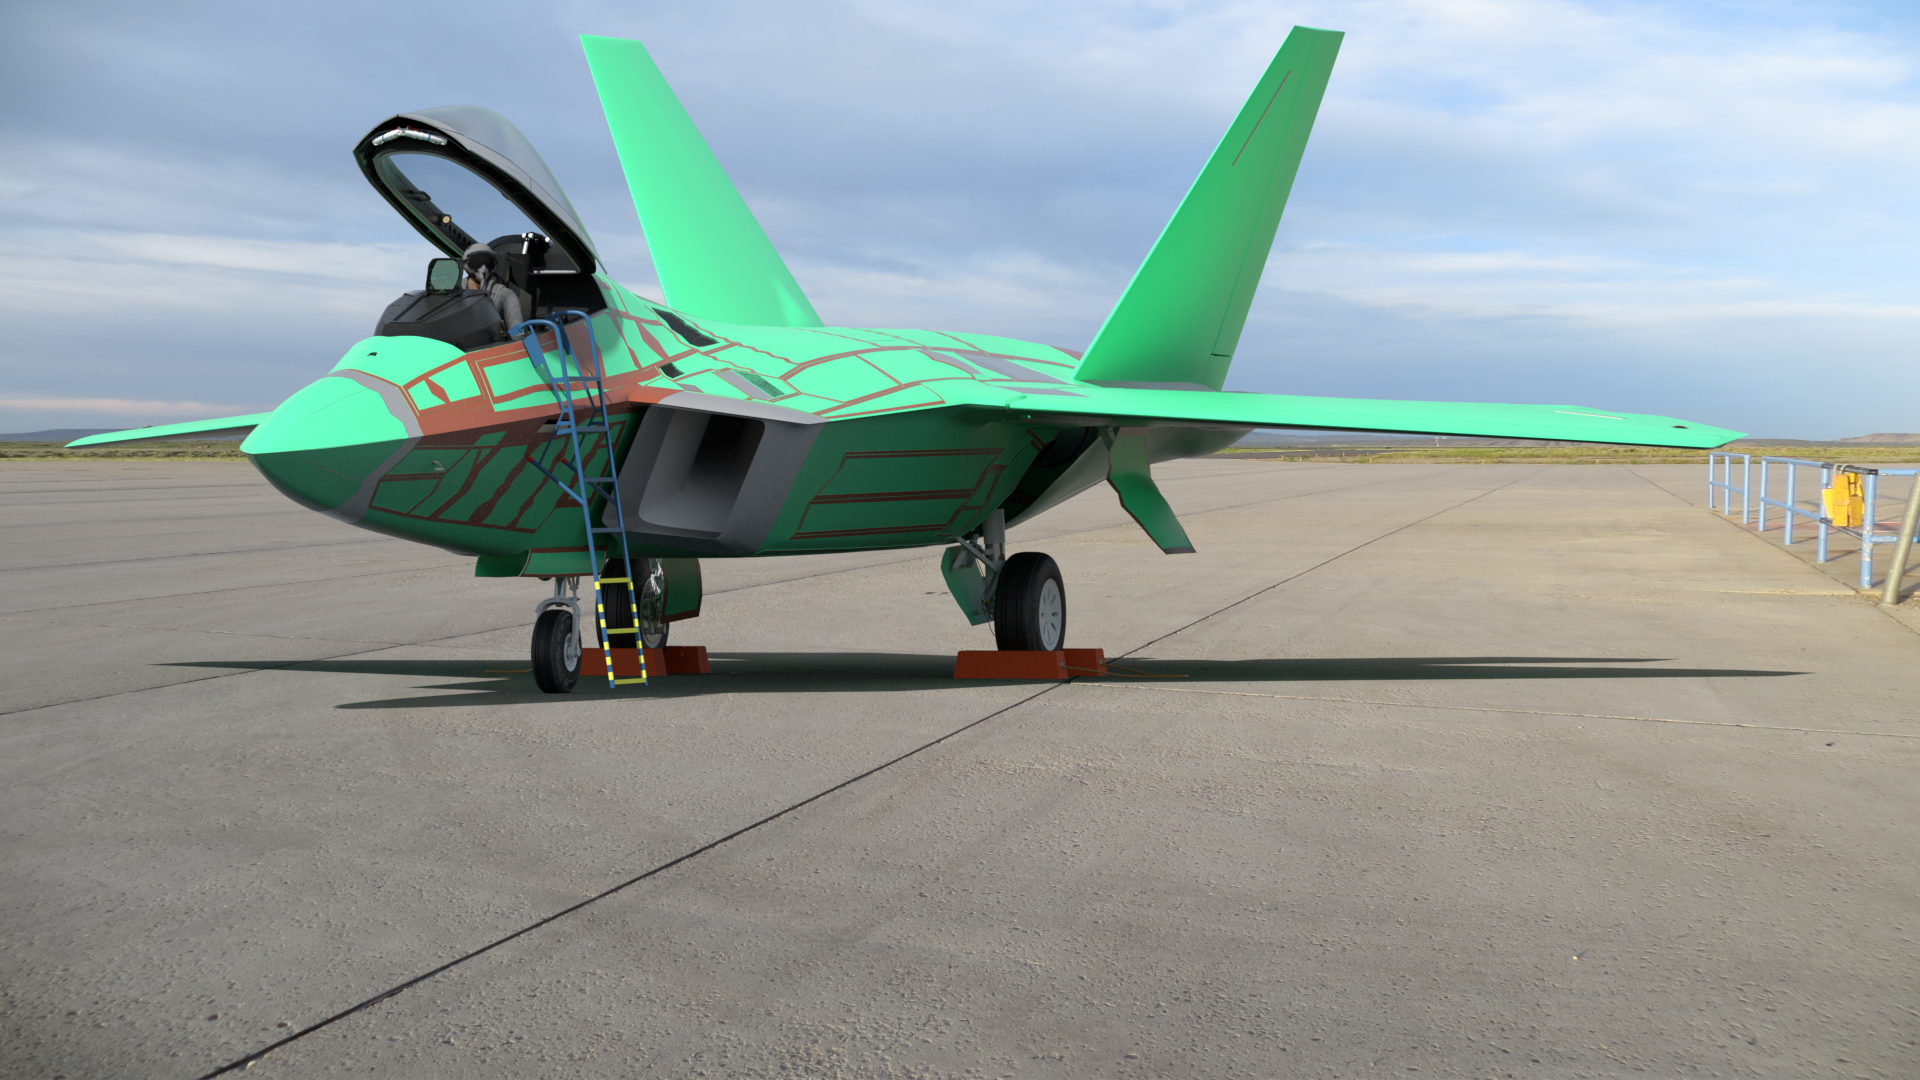
Exterior "final" checks:
I placed the word "final" in quotes above, because there is always some minor tweaking that goes on, as this kind of a model progresses. But, I'm pretty happy with the current state of the model, and in particular, the exterior shape is close enough to final for me to start with the building of the interior.
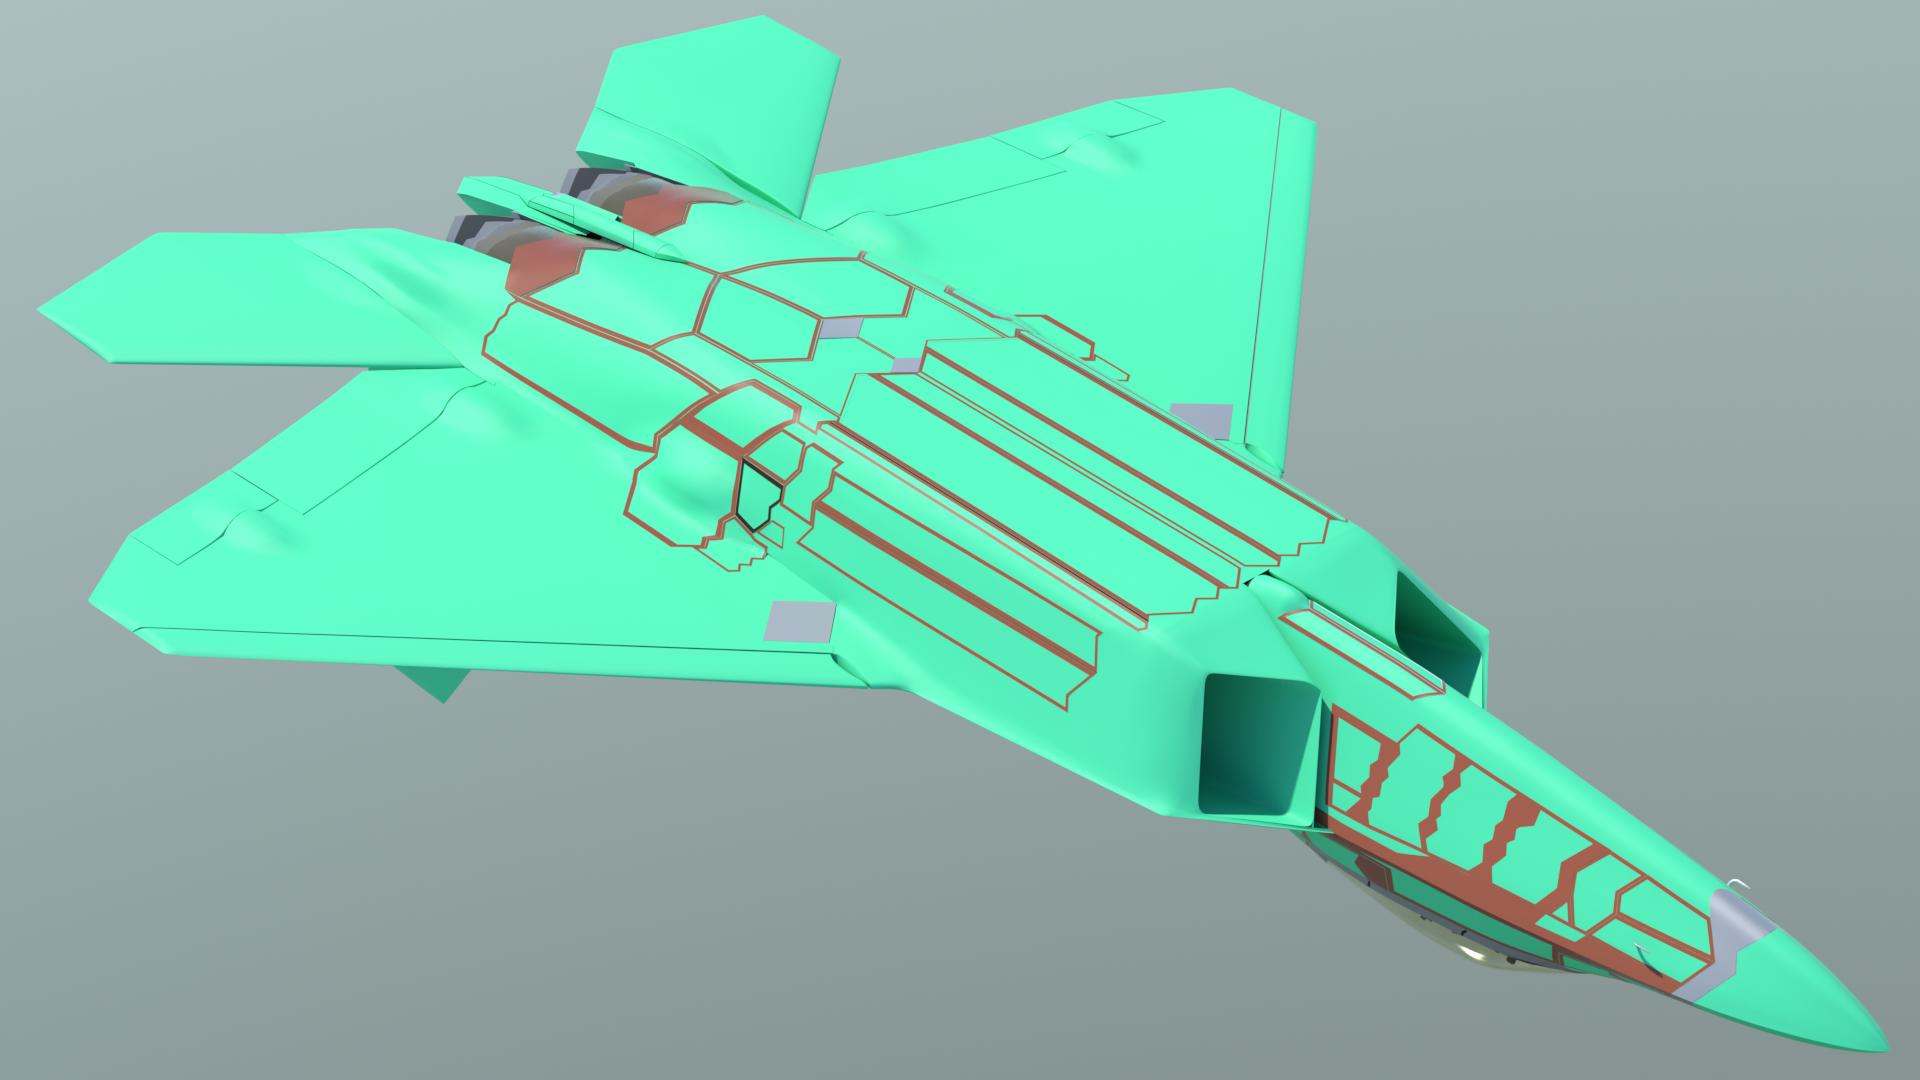
The next two renders give you a clear view of how many exterior panels I've added, with the fuselage turned off. As you can see here, nearly the entire exterior skin has been covered.
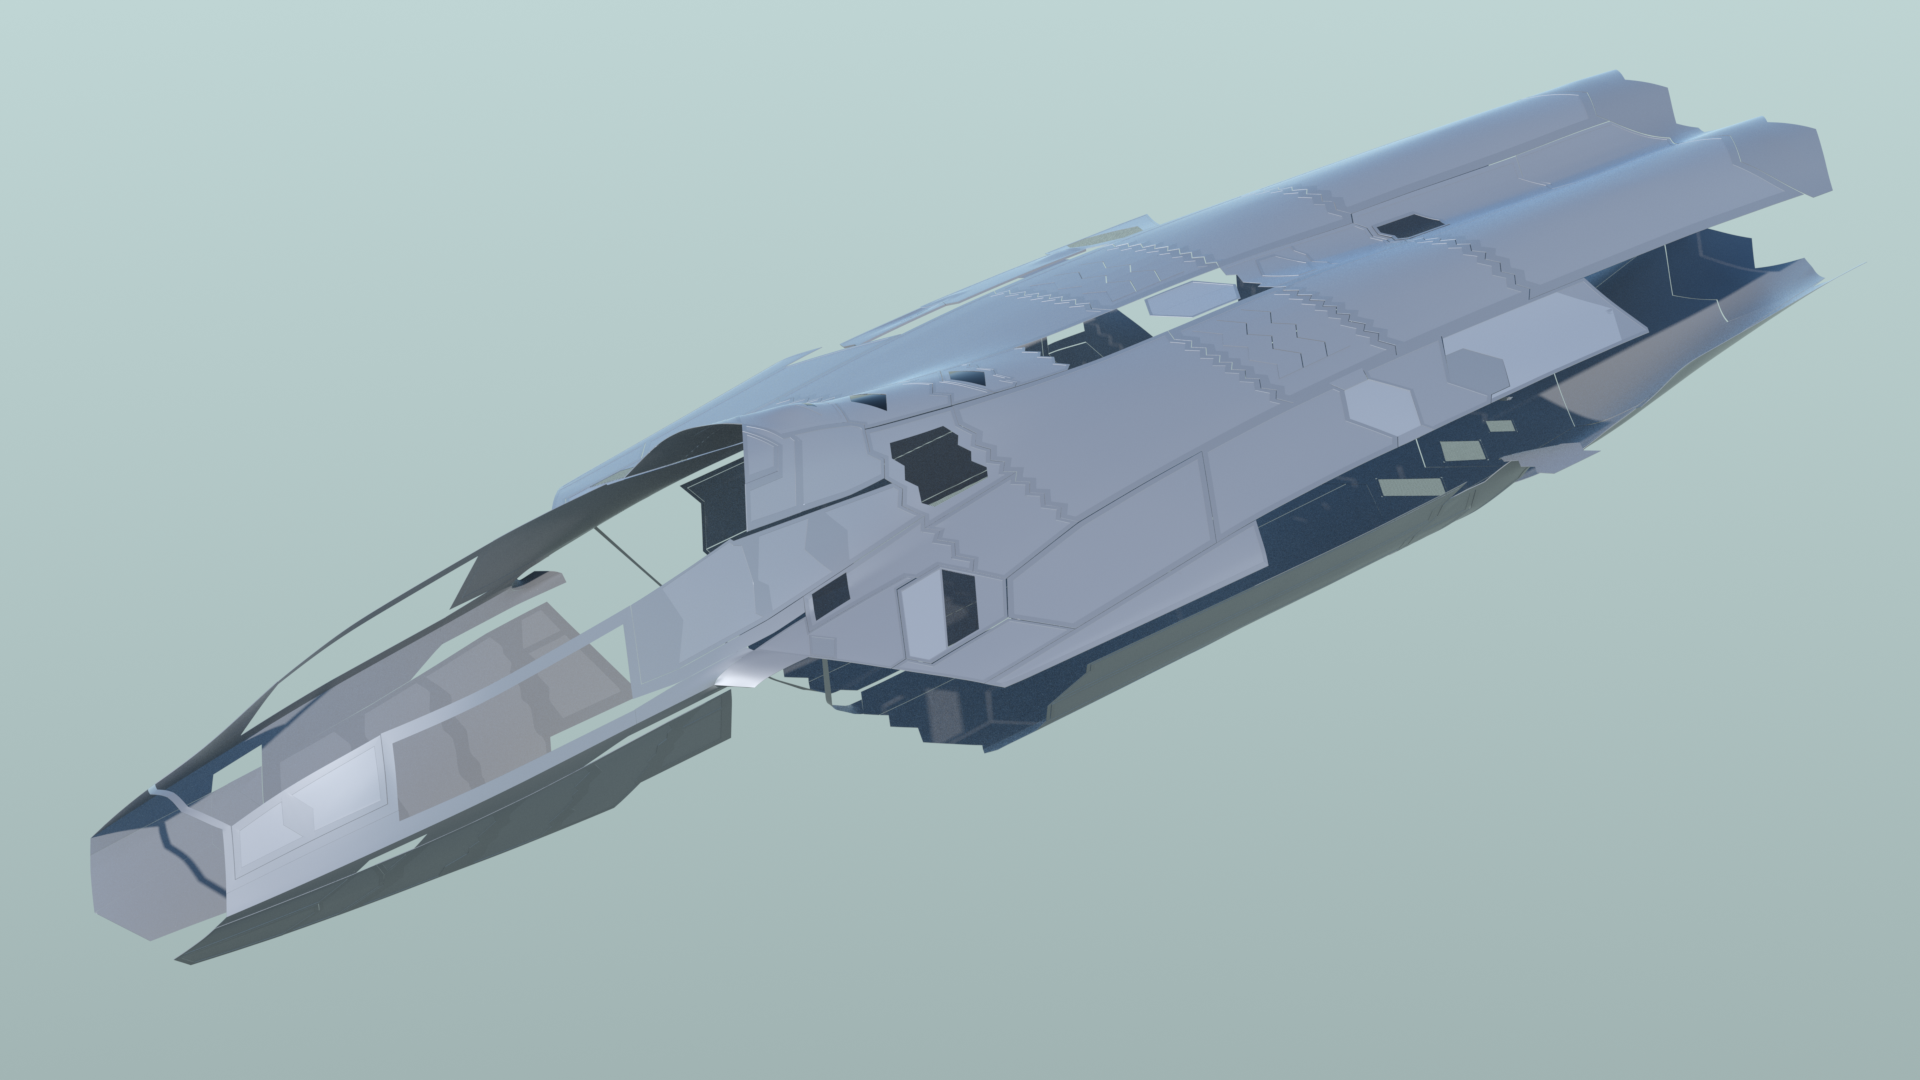
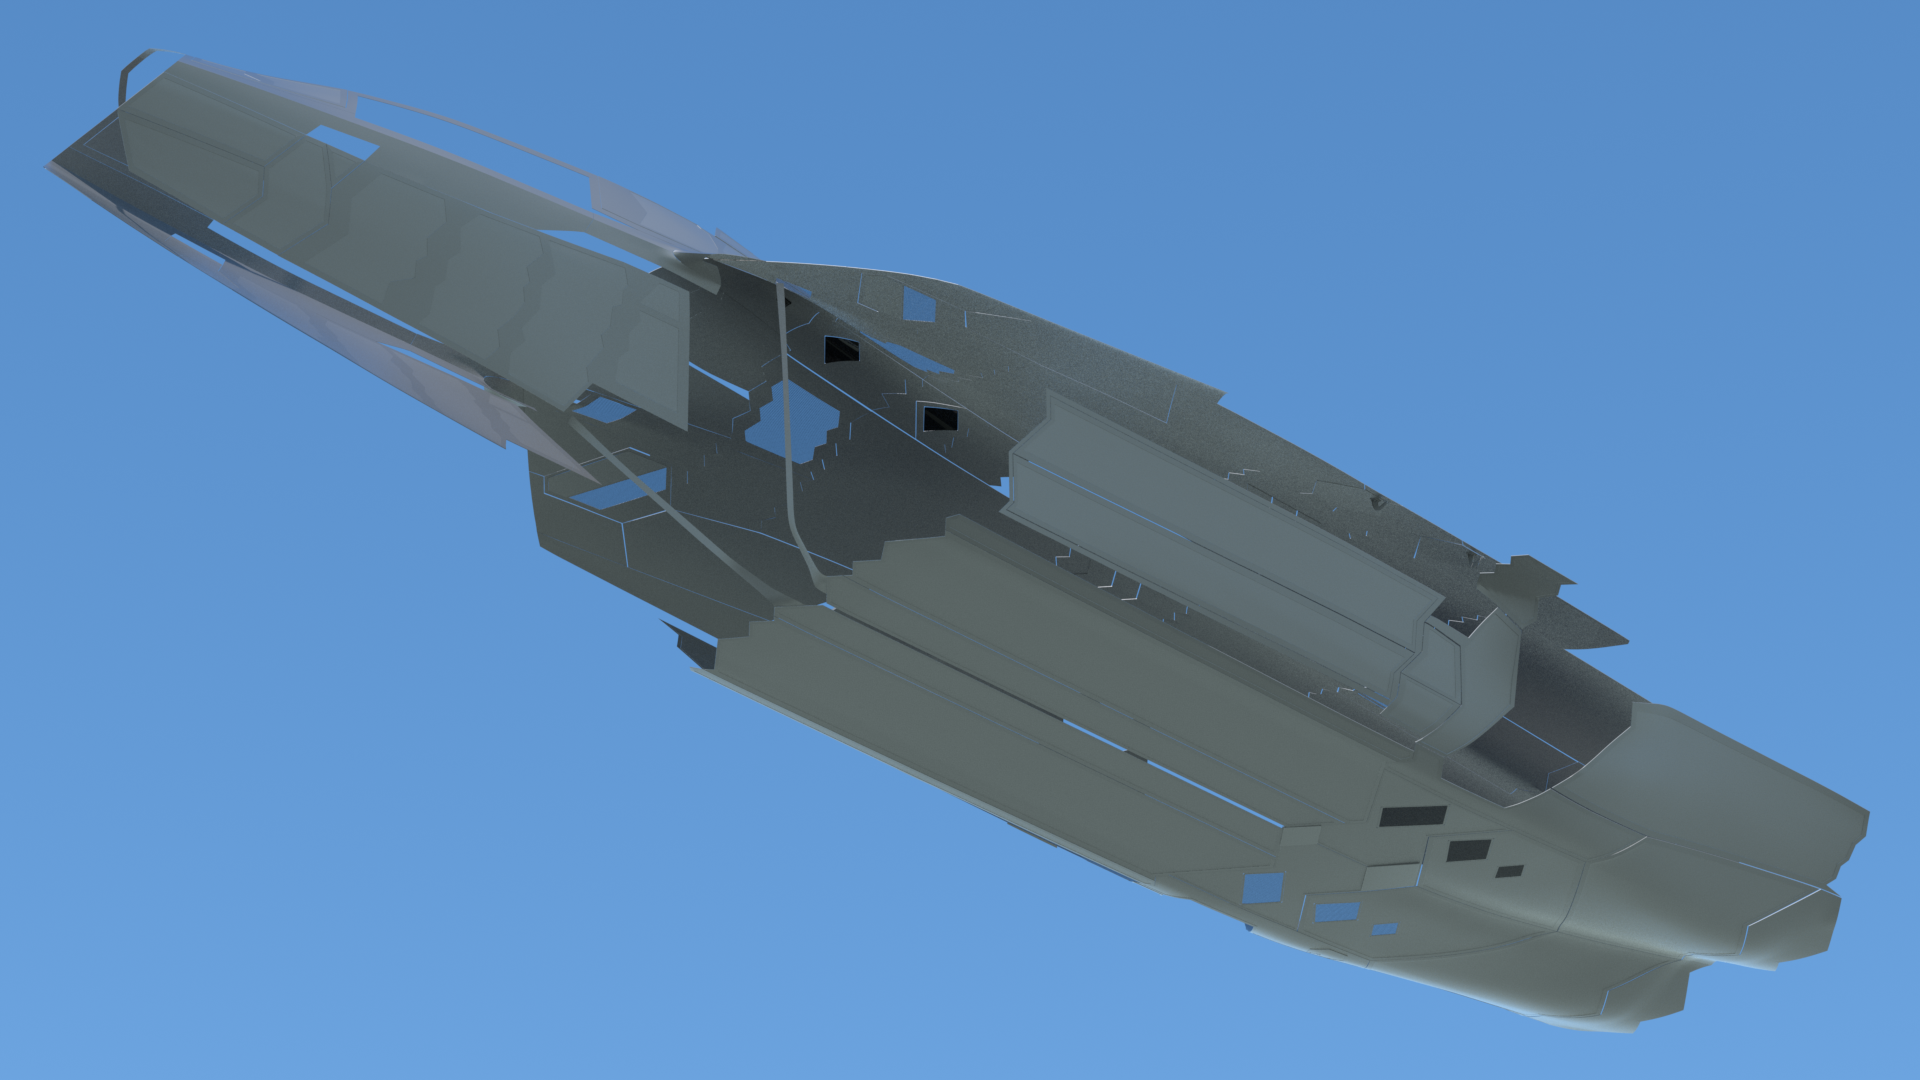
Here's the model as it stands on March 19th, 2015.

I've also kept the ability to switch the model to it's factory paint scheme, (thanks to MODO's polygonal selection sets) which sometimes provides more clarity for editing details. Like any 3D modeler, I enjoy producing occasional renders during the process, so the other advantage of this pre-textured version of the model is that I can do realistic renders, regardless. I've included a few of those, below.
Click here to view a video on the current state of the model, including it's rigging, and how I've setup the start of the interior structures.
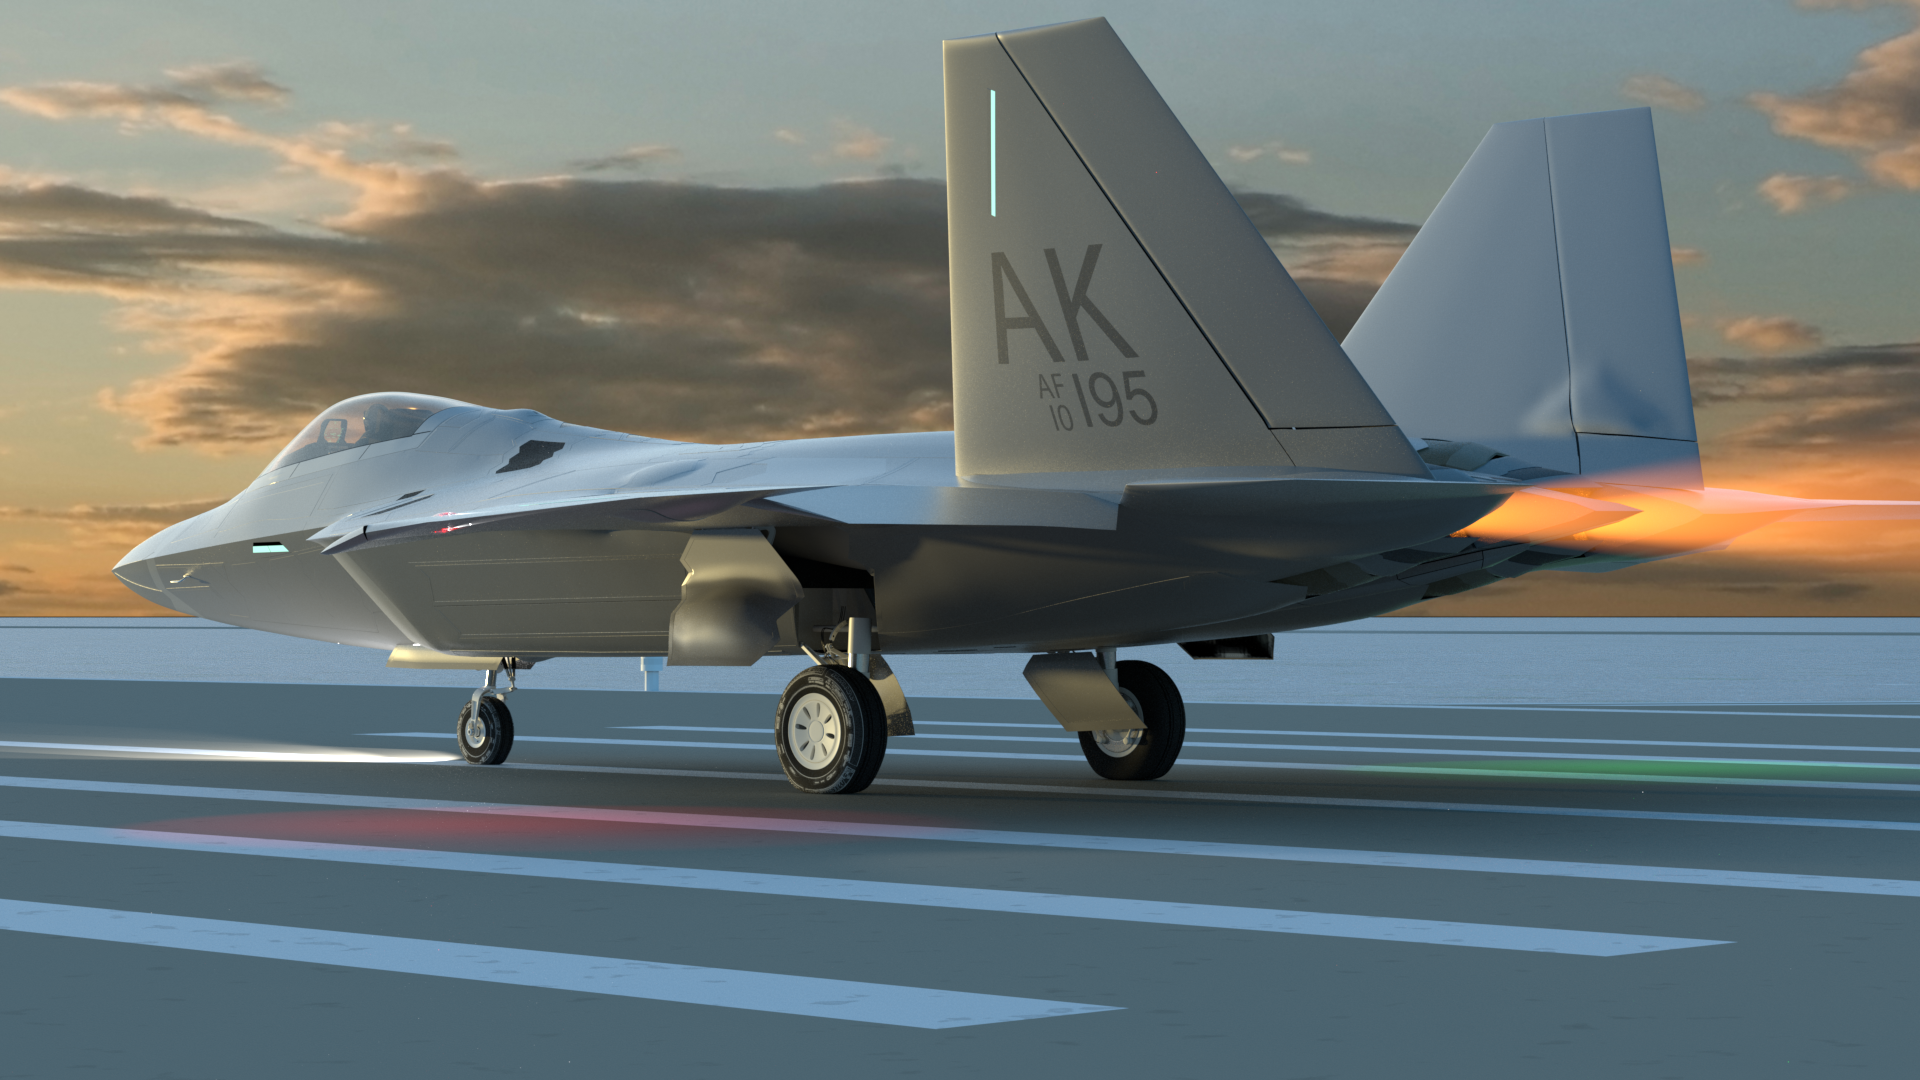
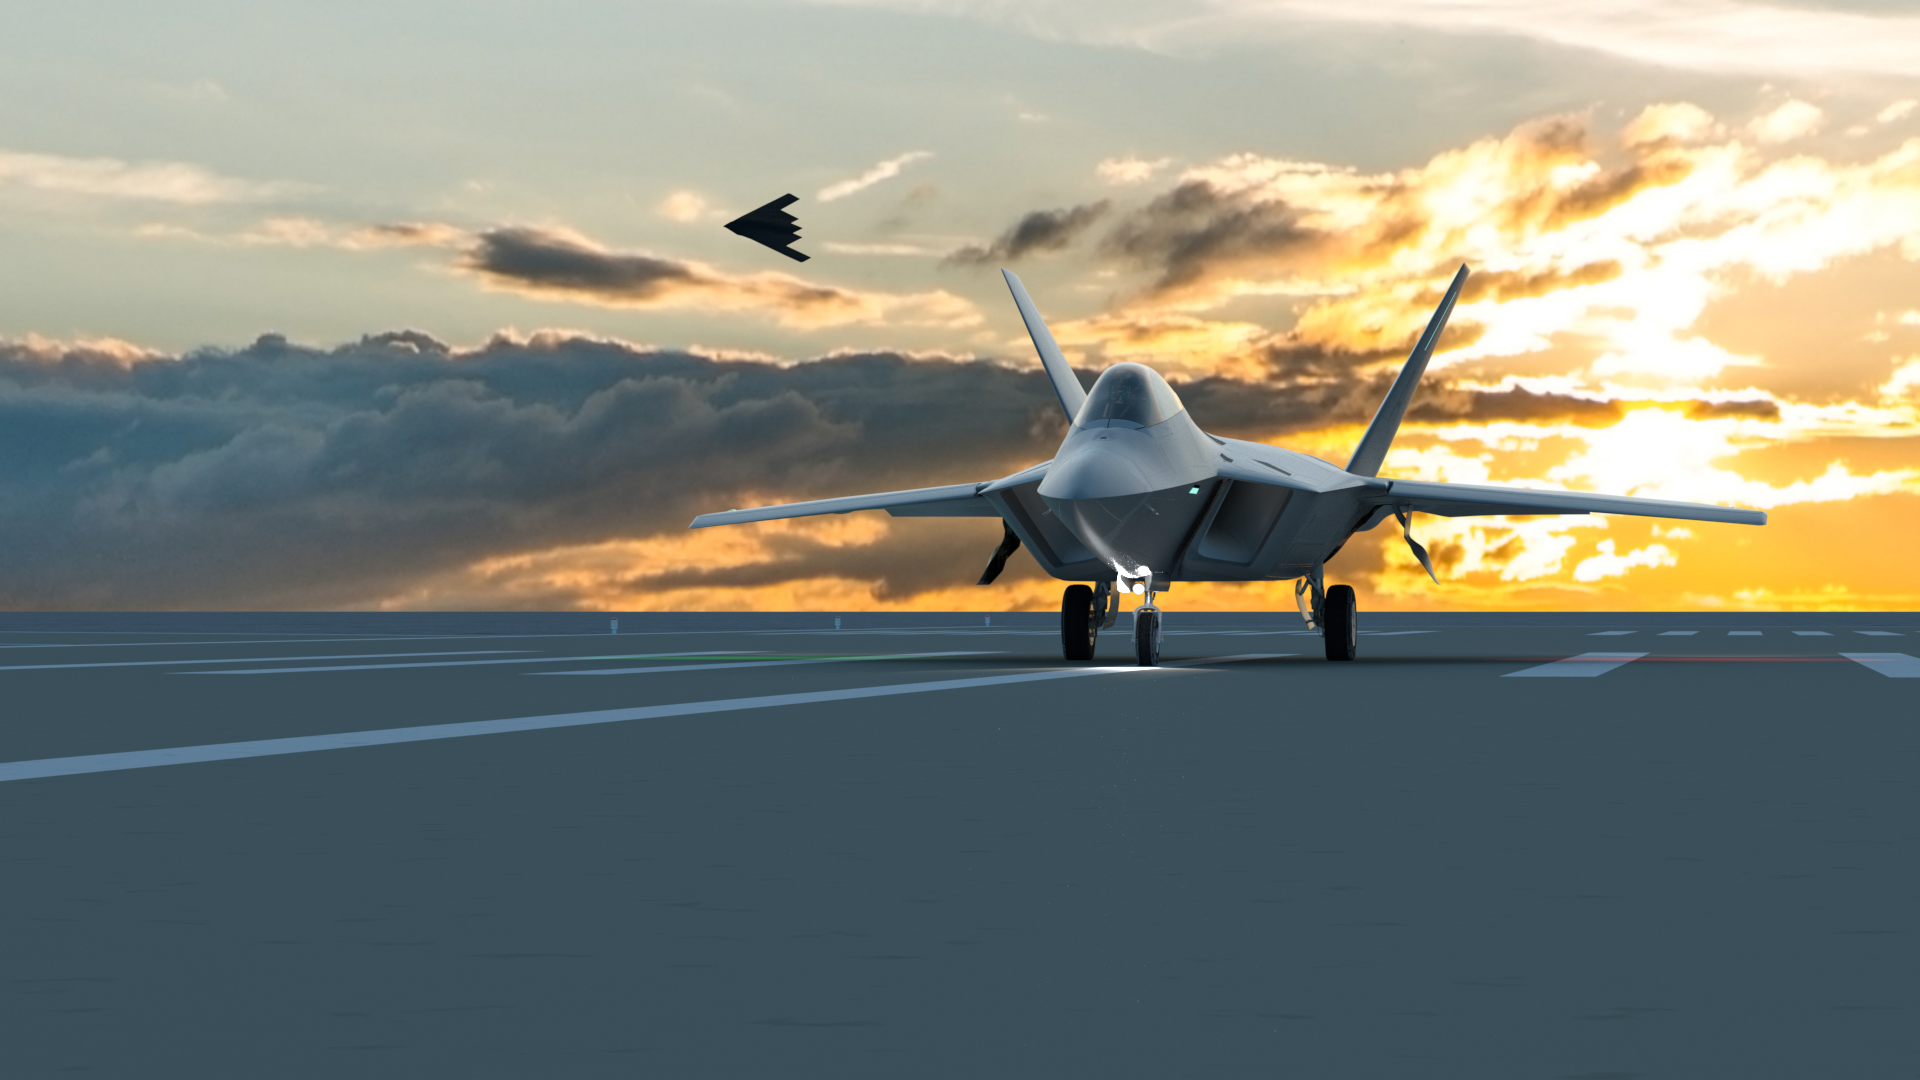
A few "factory delivery flight" renders:
As I mentioned above, it's nice to be able to experiment with realistic renders during the build process. Here are a few.
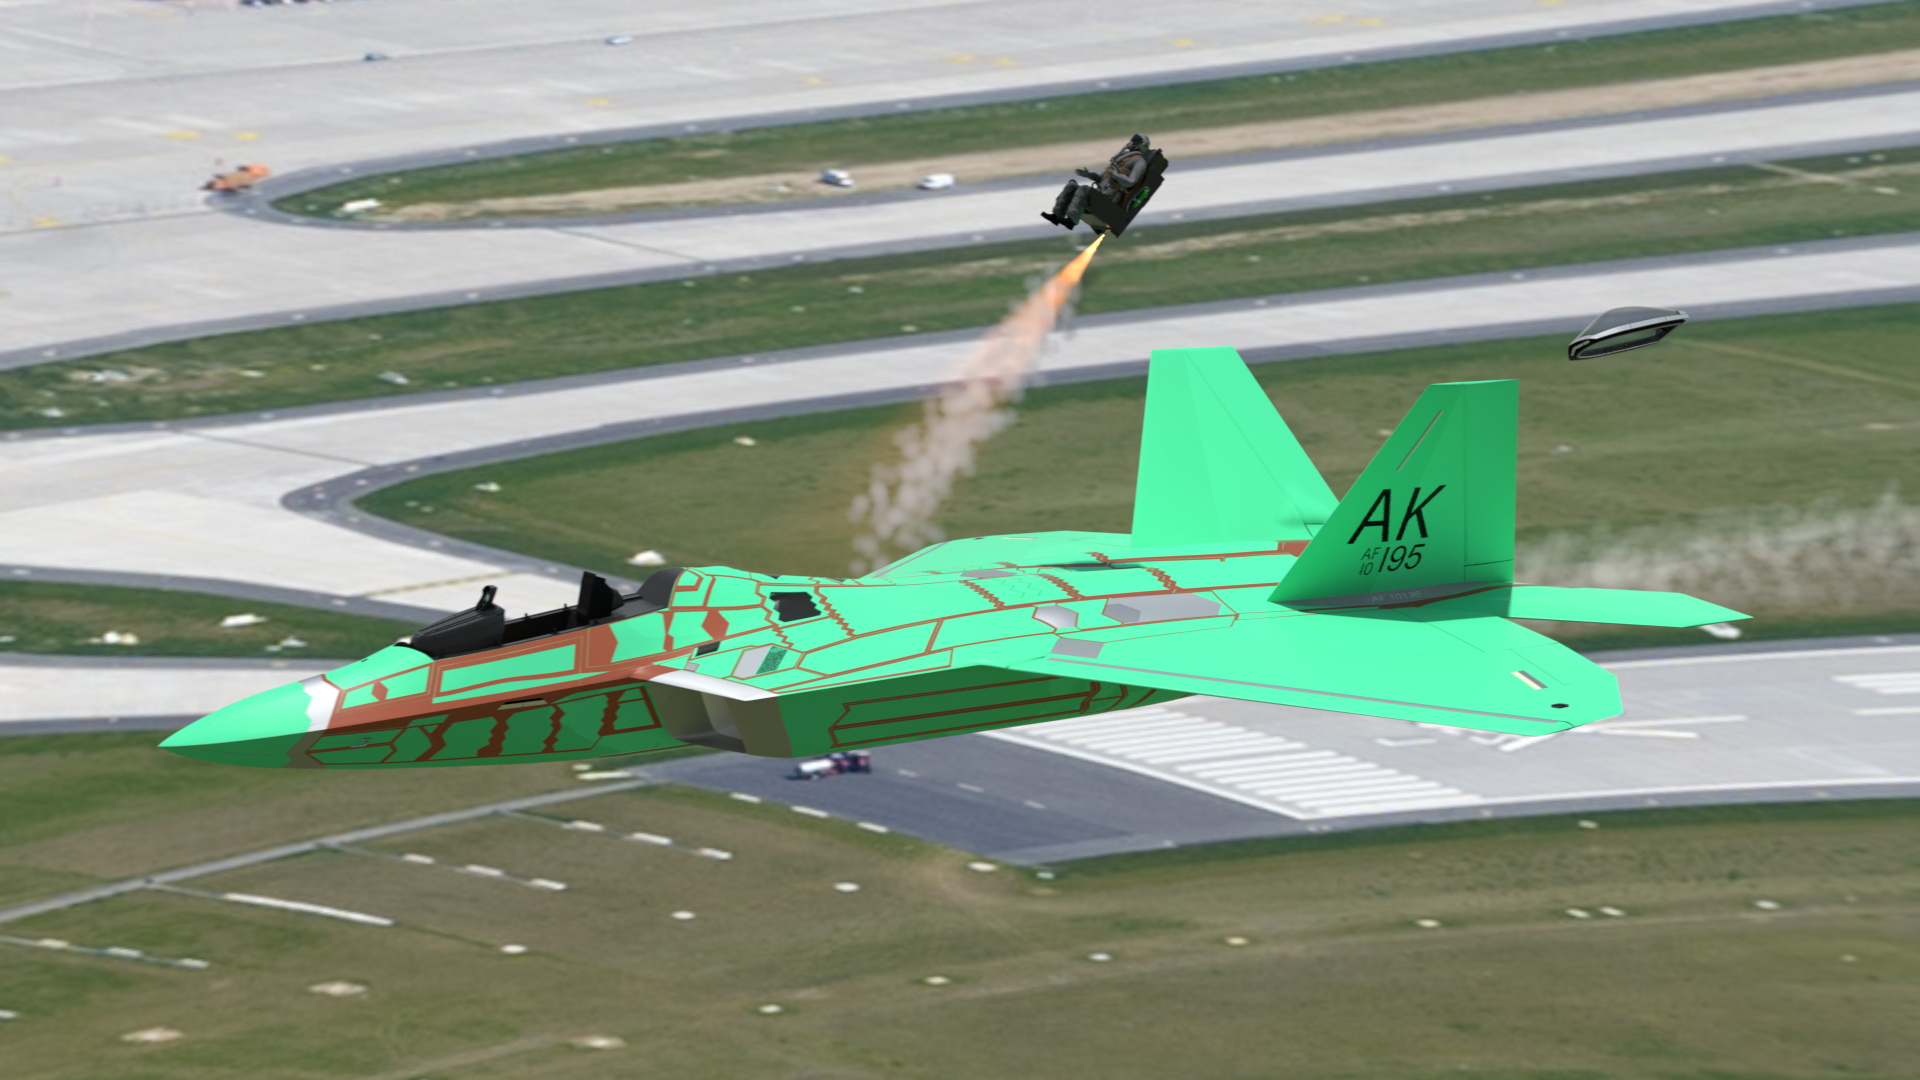
EJECT!
I've done some work on the ejection sequence for the Raptor. Everything is working, but I have some timing issues to work on, as the project moves forward. Here's my first (5-second) animation test.
Summary of what's been done so far:
This 2015 version of the F-22 "Raptor" has now been modeled to the stage that I feel confident to move on to the internal structures. Briefly...
- Building the exterior first ensures that the model can be rendered or otherwise used, while construction continues on the interior.
- Exterior was completely rebuilt, using Catmull-Clark subdivision surfaces ("Psubs", in MODO) During that process, it was separated into more logical sections, to emulate the major assemblies so that they resemble what Lockheed Martin did with the actual aircraft. The benefit of that is more realism in general, and also so that later on, I can produce renders that show the aircraft in it's early "modular" assembly state.
- The cockpit area. landing gear bays, and weapons bays have been simplified from the previous model, but in such a way that more accurate detailing can be added later. This basic "blocking in" of those parts allows exterior renders to be done, while I'm still working on the interior details.
- The sawtooth-edged panels that I could document, via photos, have been created, and where those panels surround movable doors, or where they might be removed for maintenance, the underlying skin was removed. That helps to establish locations for certain internal equipment that will be added later.
- All control surfaces and movable doors have been separated and rigged for animation. (leading and trailing edge flaps, ailerons, rudders, and stabilators, the landing gear doors, canopy, and various other doors on the fuselage) Nose gear steering was also rigged.
- The basic rigging for an ejection sequence is done, leaving only the timing details to be fine-tuned later.
- Two color schemes are easily switchable. The primary one, a gray military version, will evolve over time, as the final markings are added. The green "factory" version, was done so that during the continued construction of the interior, I could still do renders, even though the final color scheme is incomplete. It's higher contrast has the additional effect of making certain details more visible in those renders.
New features in the rig setup!
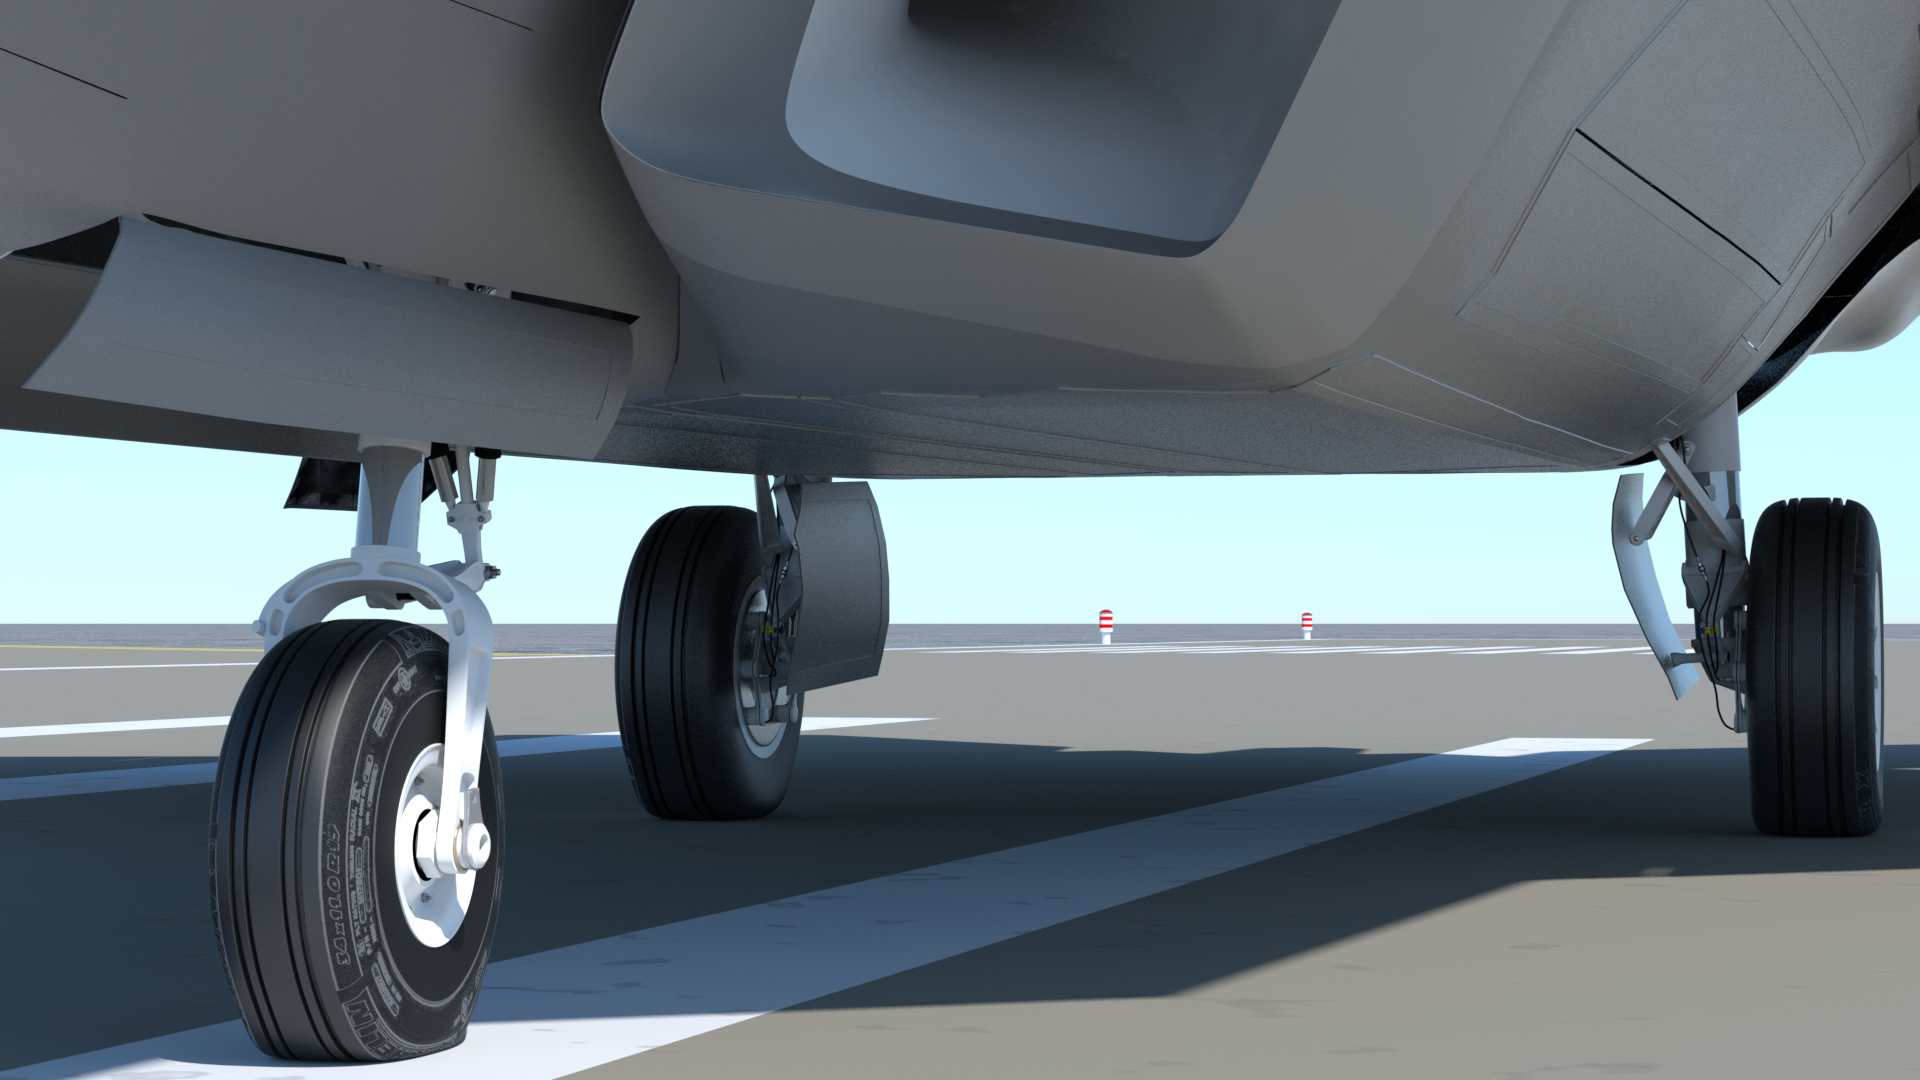
Below - Thanks to lessons learned from the updated version of Rich Hurrey's "Rigging Master Course" for MODO, I'm now adding the kind of rigging features that will enable the model to stand up in closeups. Here, you can see that deformers are enabled for all of the tires now, providing a small amount of "squash and bulge". The cool thing about the rig is that it works in all modes. On the ground, all of the wheels turn, the nose gear is steerable, and of course, all the landing gear extends and retracts.
Now, the wheel rotation has two new features. When making turns on the ground, one main wheel would normally rotate faster than the other. This works on the model too, even if the model is rotated in such a way that one or more of the wheels rotates backward. The other consideration is what happens off the ground. When the aircraft rotates around the main gear for takeoff, each wheel's rotation (and it's deformers) stops when it lifts off. On landing, the reverse is true. When the gear is first extended in flight, the wheels aren't rotating. But as they touch down, each one begins to spin and deform appropriately, even if one main wheel touches down before the other. (Thank you for the great course, Rich Hurrey!) There will be lots of other cool features like this added to the flight control system, as the project moves forward, and many of these are incorporated into "Modeling with MODO, Volume Seven", which was released in July 1st, 2015.