NOTE: I am not at liberty to redistribute the documentation used to build this model.
 Boeing 747-8 "Intercontinental" Project
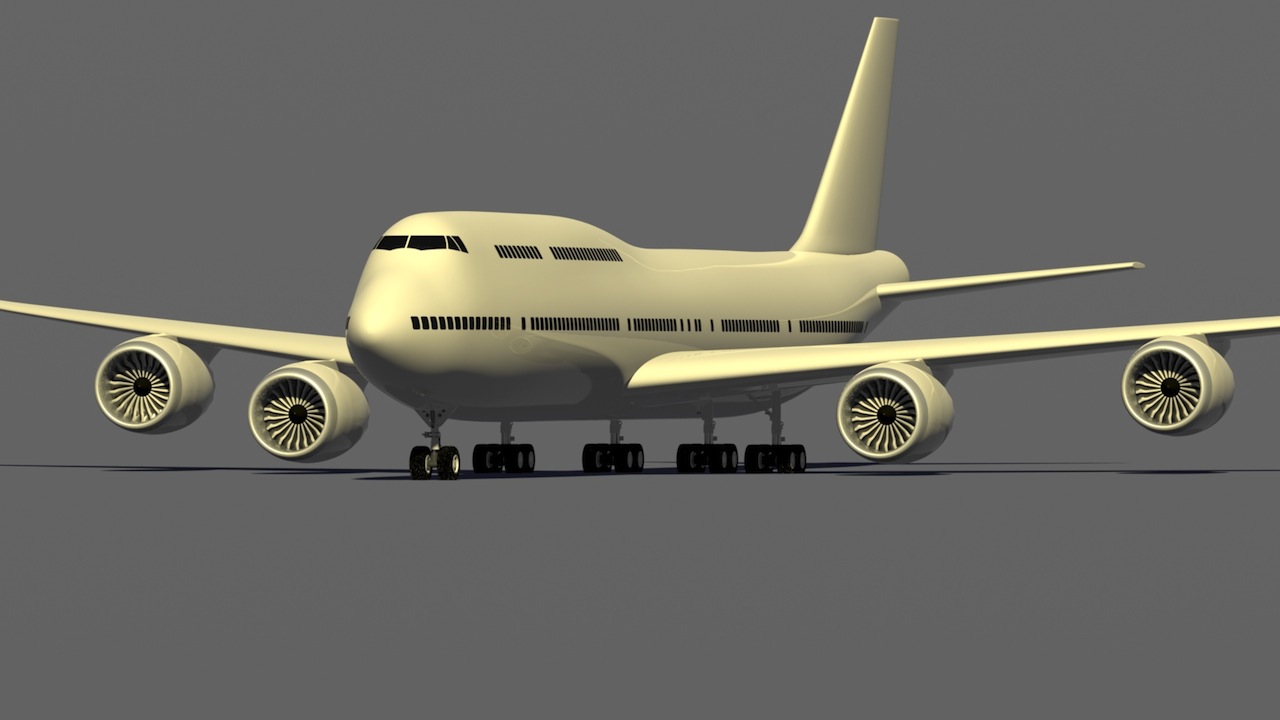
Boeing 747-8 "Intercontinental" ProjectAlong with other projects, I've been modeling historical Boeing aircraft over the last few years, and the Boeing 747-8 is certainly an important one to include. There are two versions... One is the 747-8 "F" (freighter) and the other is the 747-8 "I" (Intercontinental - Passenger version) I've decided to model the passenger version, since it includes more detail, and so is more interesting to me visually.
Documentation is always an issue these days, but thanks to Boeing, I was able to download some PDF documents from their site, to aid in the getting the details right. I've previously modeled the General Electric "GEnx" engines (Boeing 787-8 project) so some of those parts can be used here, saving a bit of time. Regardless, it will be a fun challenge.
Setup and start:
After searching the net for a while, I've collected some drawings, and have broken it down into parts, for MODO. Combined with photos and Boeing's PDF documents, I have some great information to build the 3D model.
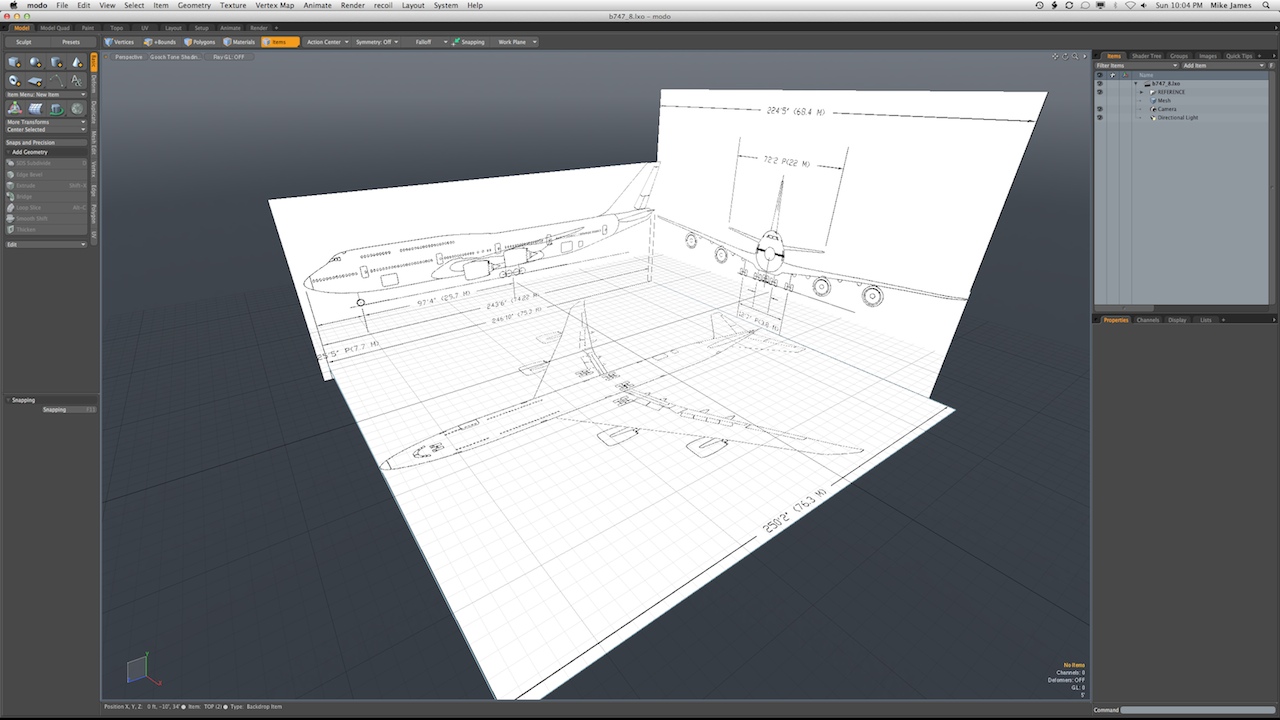
I started with a simple sub-d model of the fuselage.
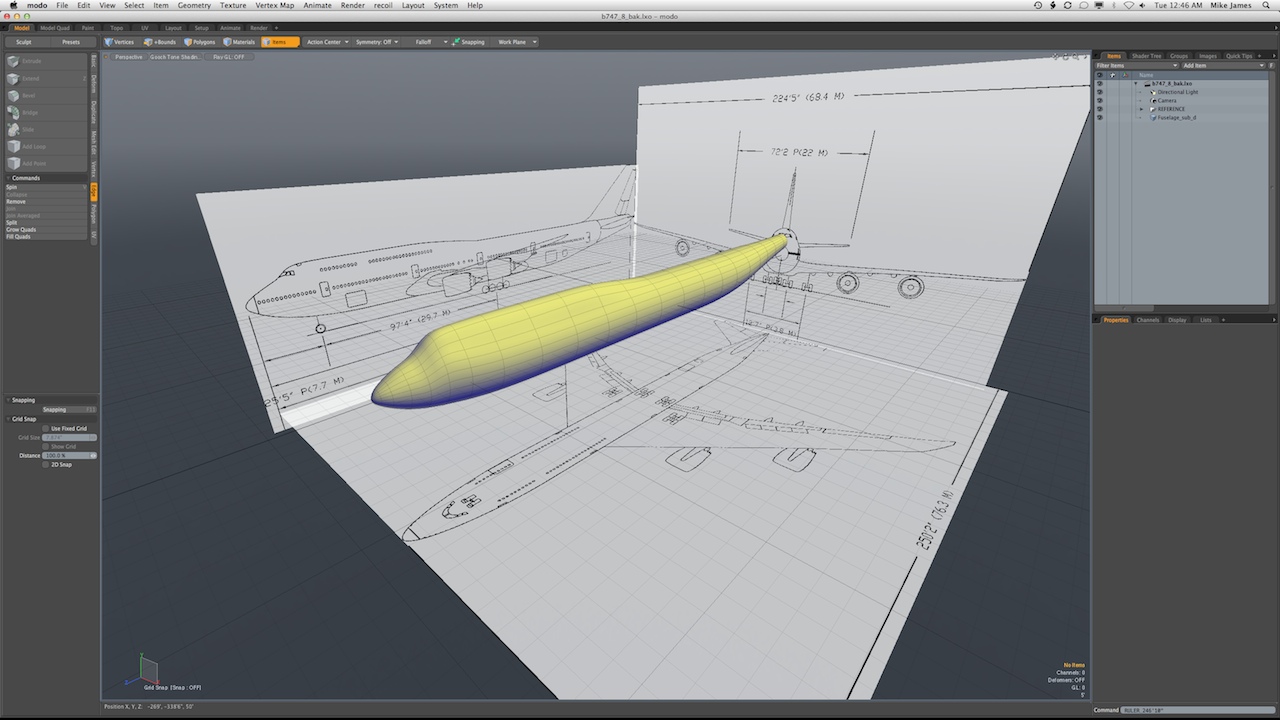
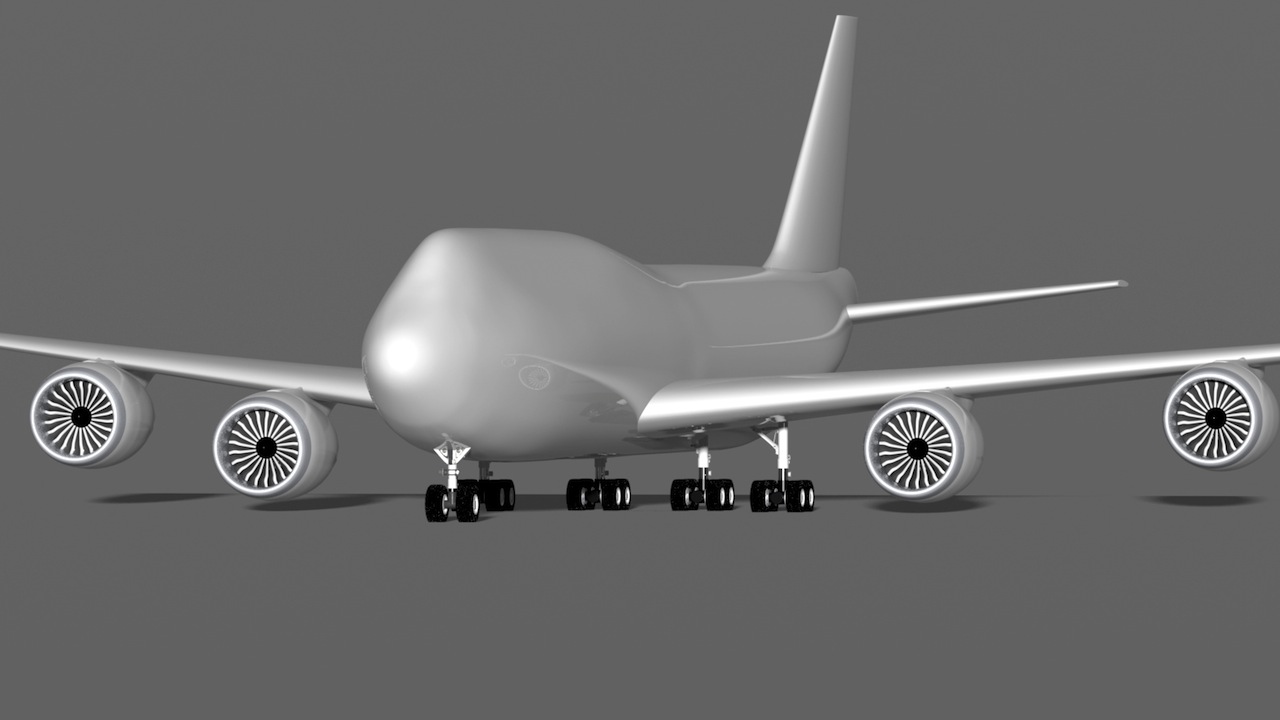
Many of the photos I'm using as references for the structure are Boeing factory assembly photos. So, it makes sense to place this in my previously-modeled "Boeing building", and to color the parts so that they resemble Boeing's primer. Later, I'll add "paint" and markings of course, but this scheme makes sense during the early part of the build.
Errors, windows cut out, and lots of proxy parts:
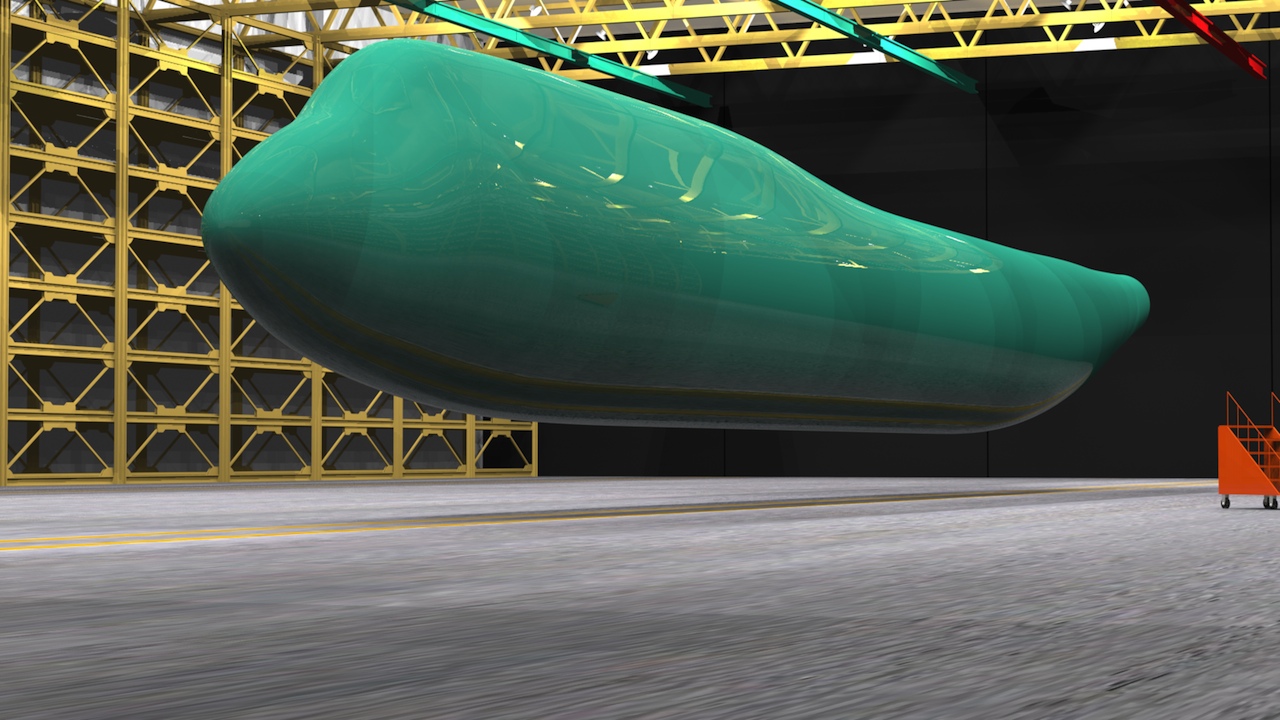
The overall fuselage, wings, and tail shapes came together pretty quickly, so I've frozen the fuselage geometry and cut out all the window openings. This instantly showed me that I'd made some errors with the fuselage shape. I've kept the glass a dark color for now, since there's nothing inside the fuselage. You can see how important this visualization is, in spotting the shape errors, especially around the cockpit windows.
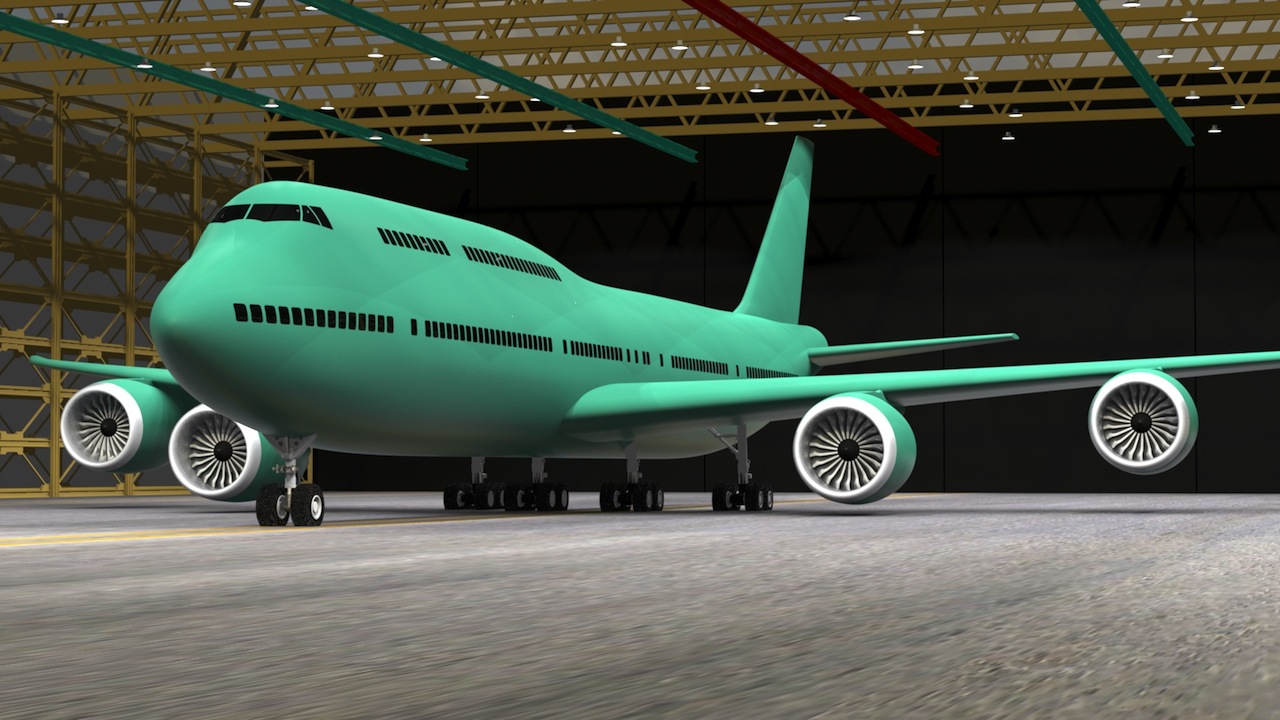
This model isn't as far along as it seems. I know that I can use the General Electric "GEnx" engines, already modeled for my Boeing 787-8 "Dreamliner" project, so I've copied those parts and placed them into approximate position. The landing gear is temporary (again, copied some parts from the 787) and will be true to the 747 by the time I'm finished. I'm going to detail this one as least as much as the 787, so there's a LOT left to do.
Stay tuned!
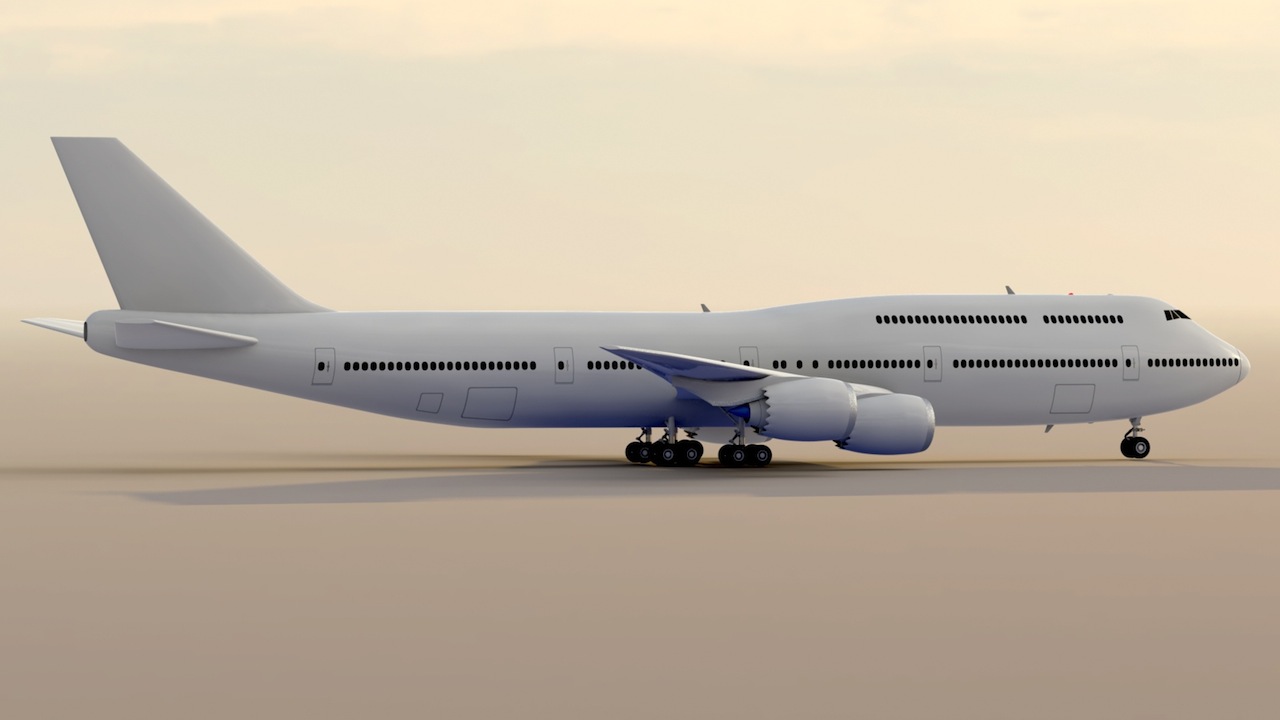
Better Fuselage:
The first image below is of my original fuselage and windows, which hass errors. After studying the documentation a bit more, I realized several things... The windows are the wrong shape, (not rounded enough) and the upper forward deck is not quite the right shape. So, I scrapped that fuselage, and the boolean cutters, and started over. The second image below (without the window cuts) is much closer. Soon, I'll be able to make the window cuts again.
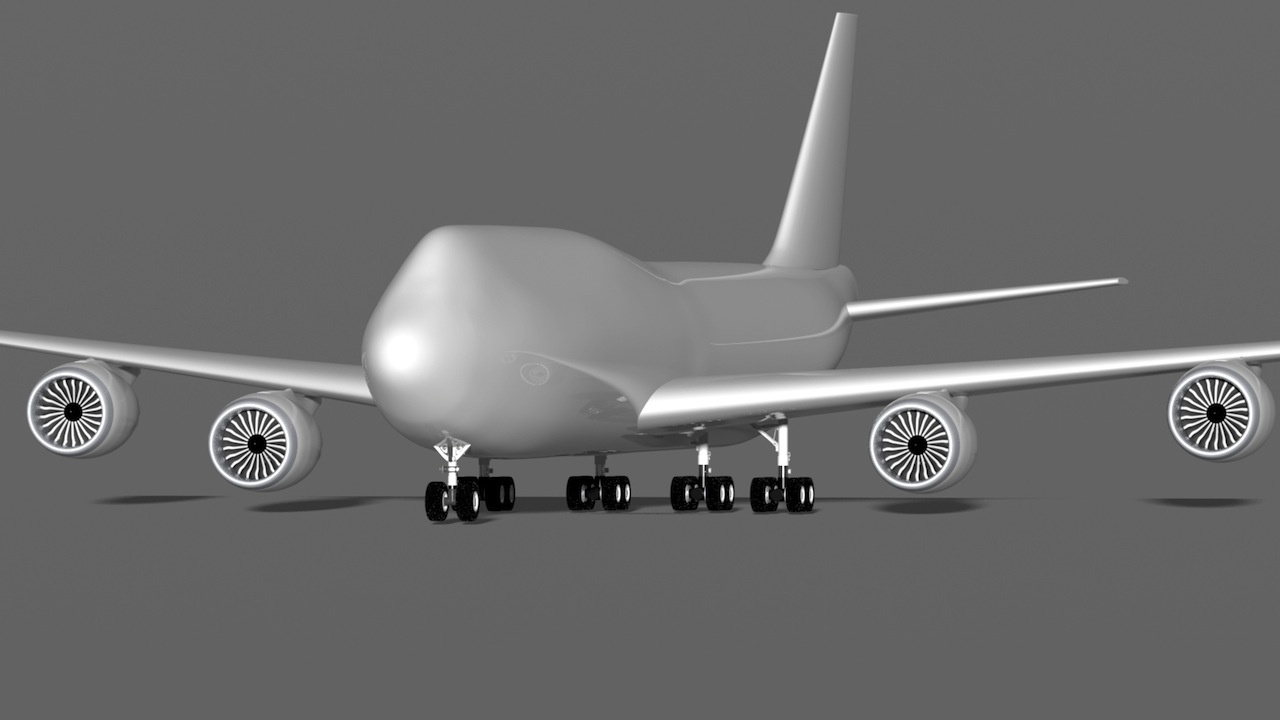
A little fix... I found that my proxy engine parts were a bit too large, giving the impression that the inboard engines have very little ground clearance. Fixed for now... More details on the engines once I finalize the fuselage.
Most aircraft drawings show the aircraft "level", in it's cruise configuration, and then draw the ground plane at a slight angle, showing the most aircraft of this type generally sit in a slightly nose-down position when on the ground. In the previous renders, I had raised my (level) ground plane a few inches, to keep the nose wheels on the ground. Now that I've corrected that, you'll notice that the nose wheels are slightly off the ground. Once the modeling is further along, I can adjust the entire aircraft's posture to match real life. Details...
With the fuselage looking better, I've corrected the window shapes, and cut the windows and cabin doors out.
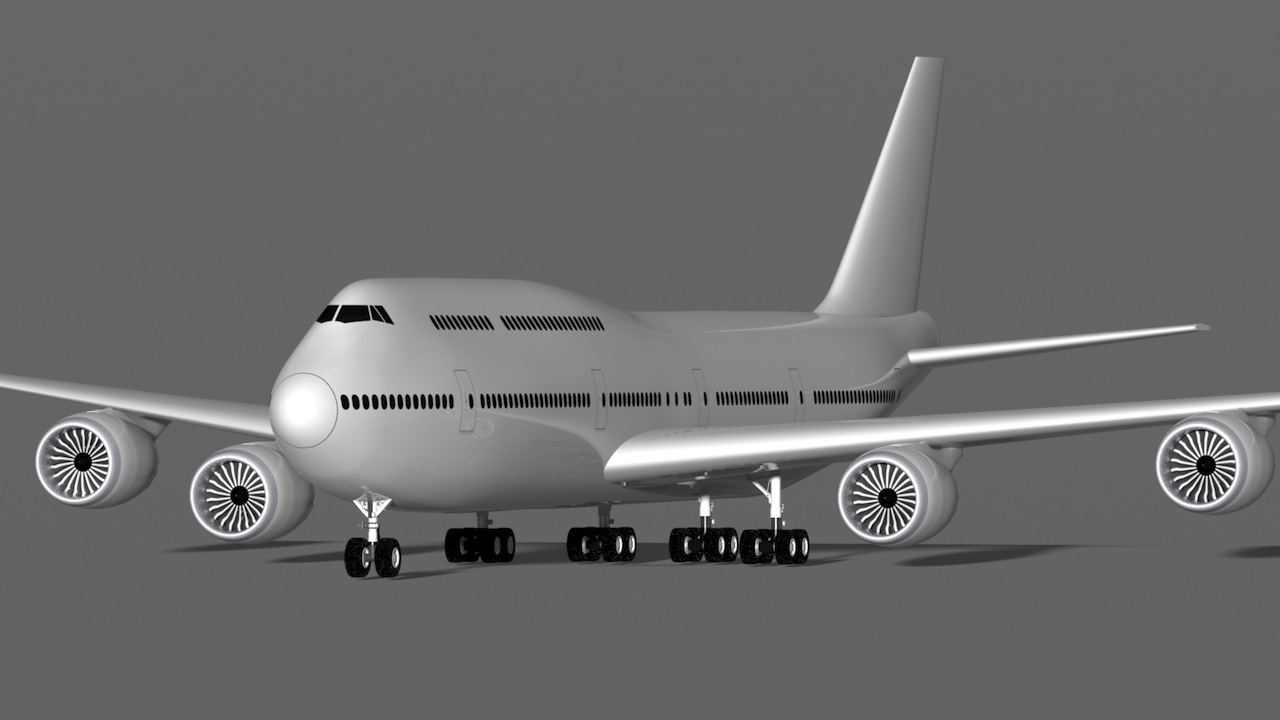
Cut out the cargo doors (right side of fuselage) and added some of the antennas and beacons. This is all the relatively "easy" stuff. I usually add these kind of items just to bring the airframe to life a bit. The difficult stuff is to come... correcting the landing gear and adding all the landing gear doors, cutting out the control surfaces, fine-tuning the engine mounts, and of course, (if I have enough system resources left) the interior. (I think I can do it, using replicas.)
Click the "Page 02" link below to continue...