Cessna 310K - Interior updates:
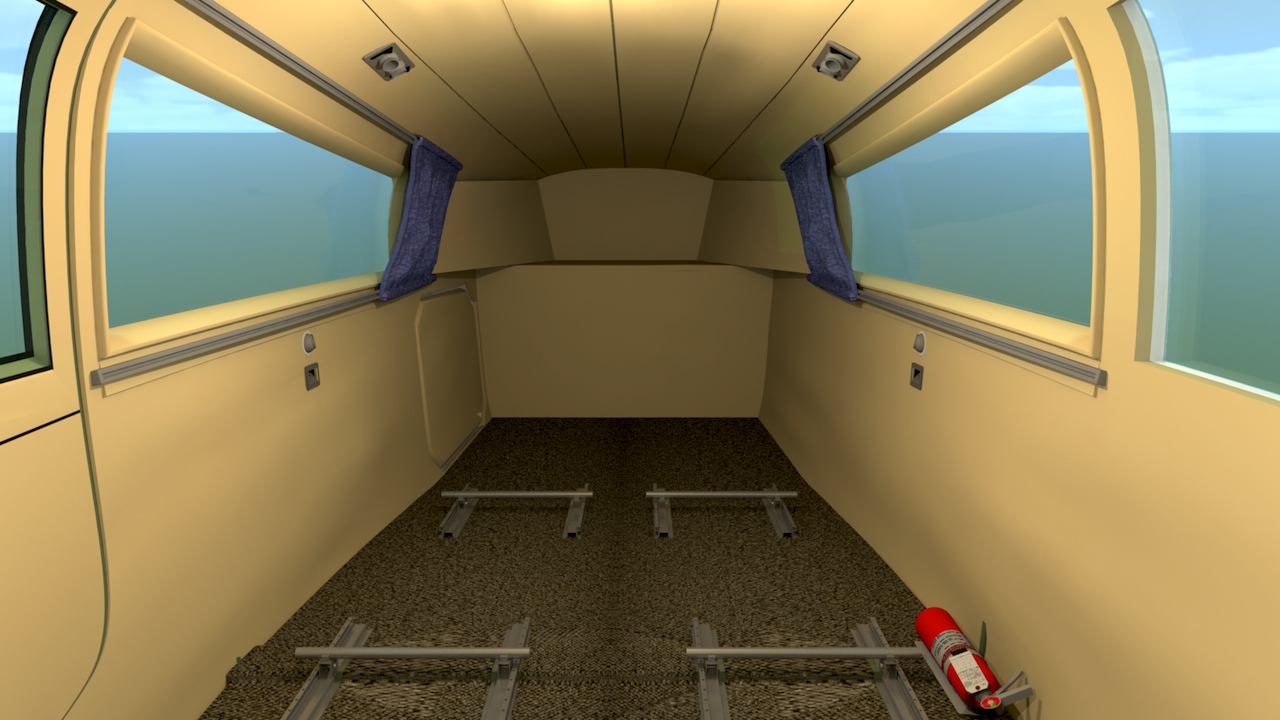
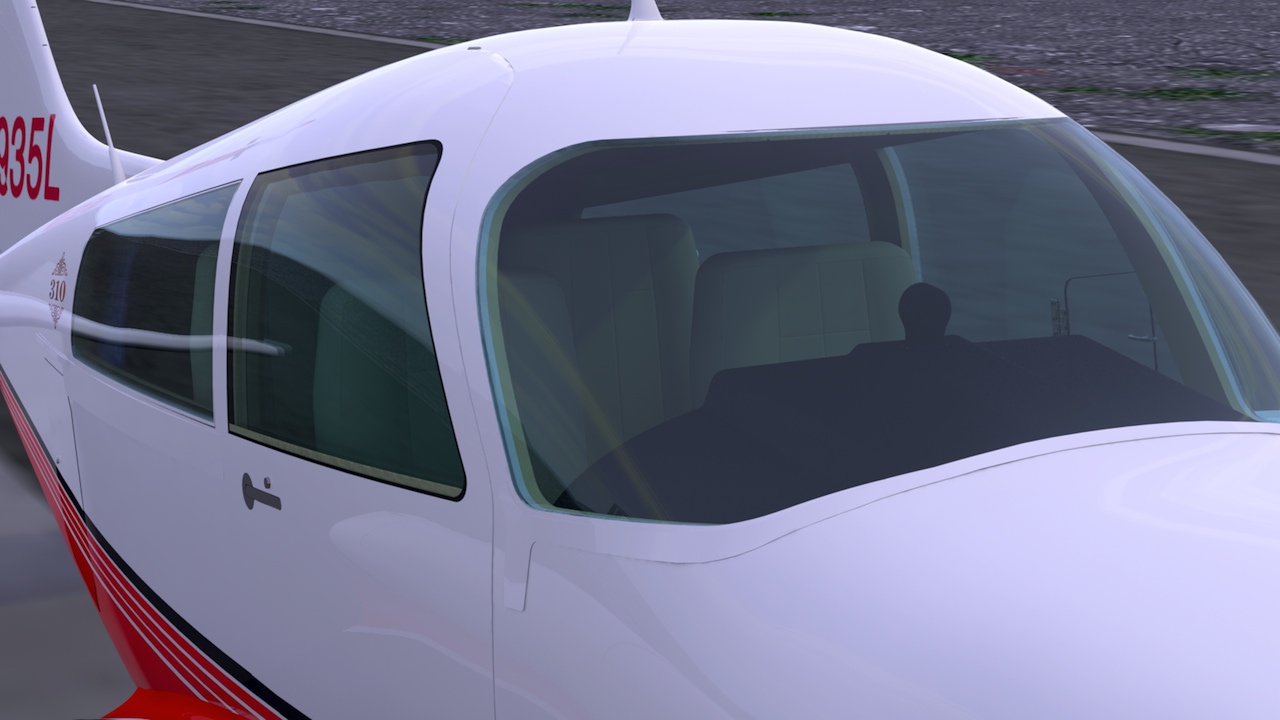
Quite a few updates on the interior here. One of the first things I added was the cabin curtains, folded up near the rear edge of the aft window.
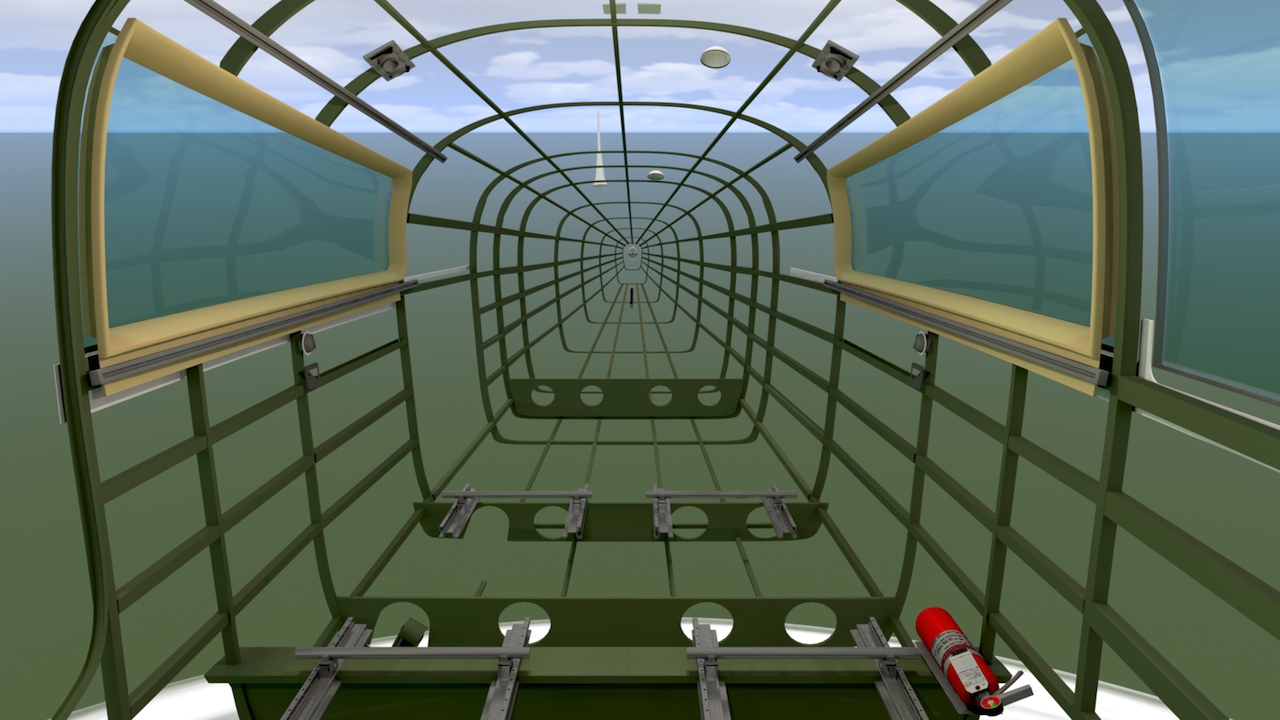
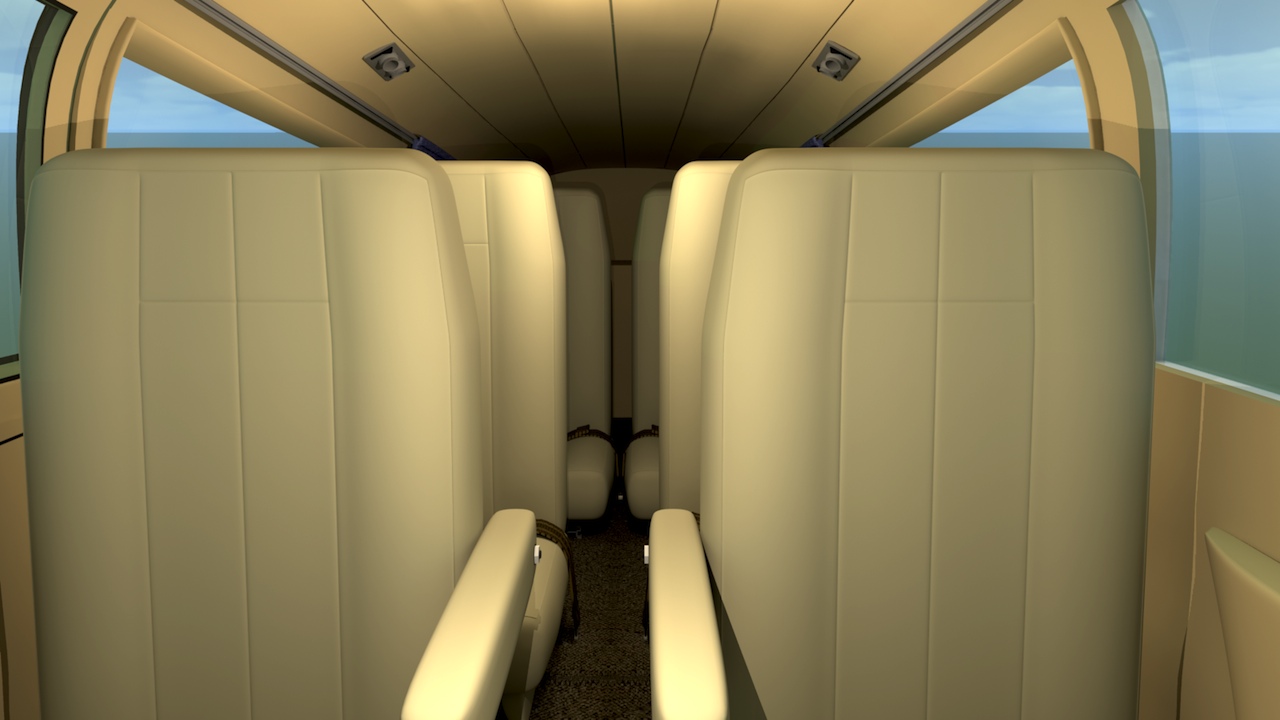
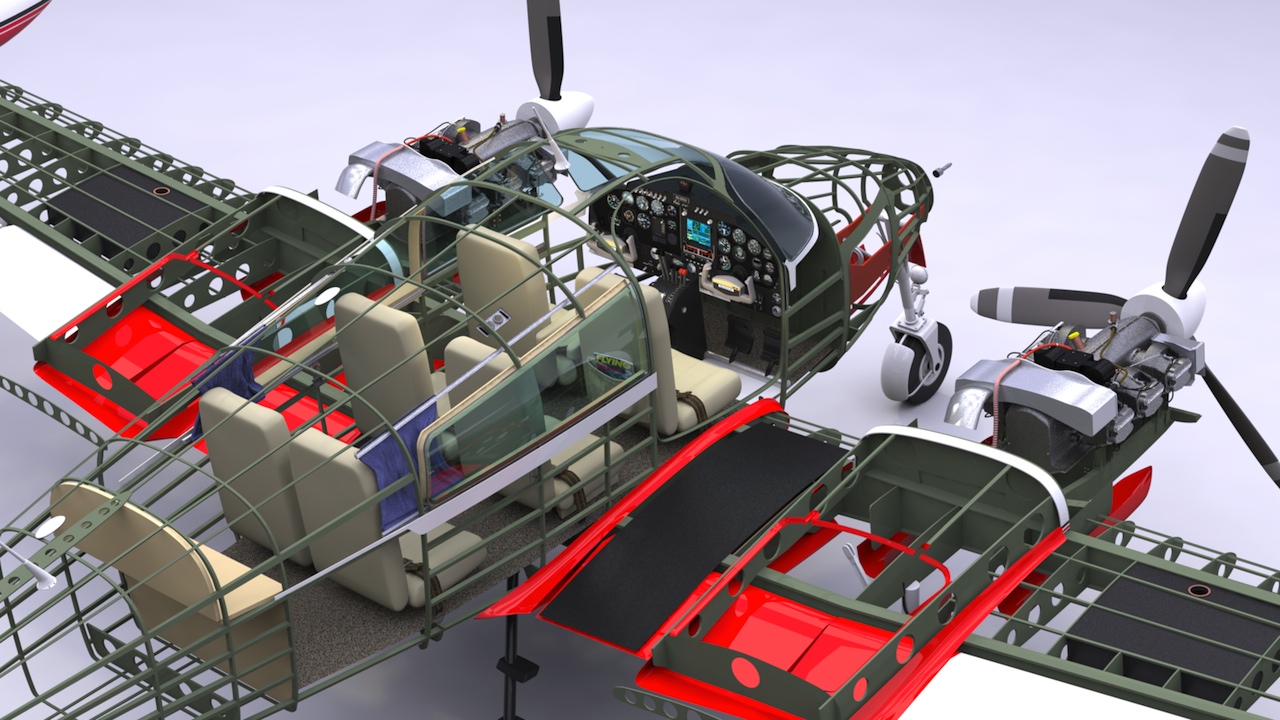
A tour of the new cabin parts:
First, the basic structure, along with the seat mounts, passenger audio panels (for headphones/intercom) the overhead passenger reading lights, window liners, and the cabin fire extinguisher.
Next, the cabin liner. I've used MODO's sculpting tools to make the interior a little "bumpy", like the actual fabric cabin liner on the real aircraft. The curtains and their tracks look good.
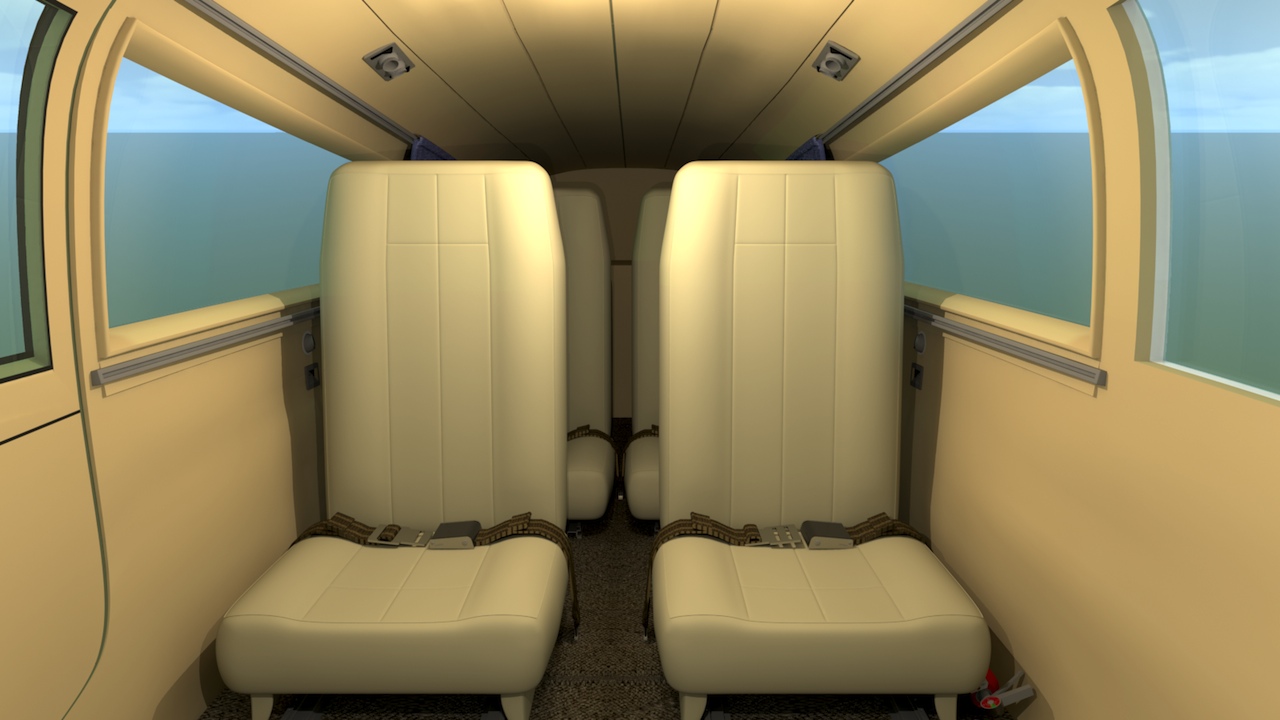
The rear and middle row of seats, now complete with seat belts.
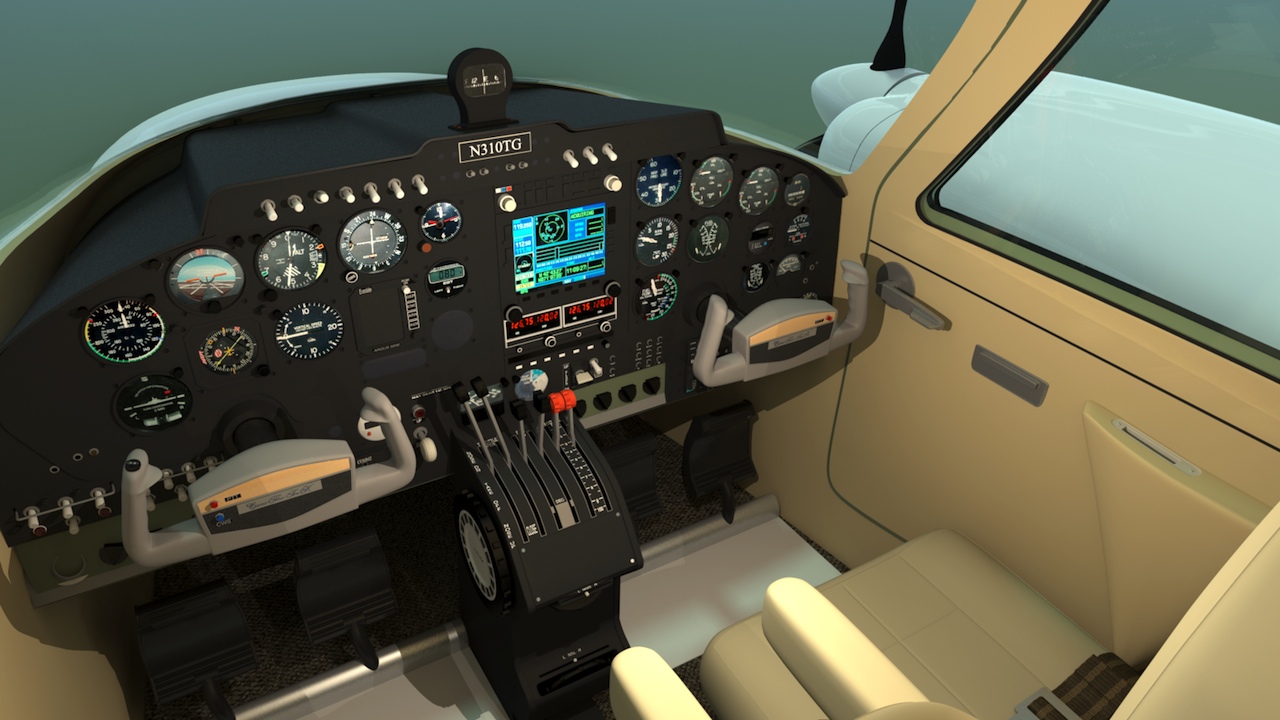
The crew seats
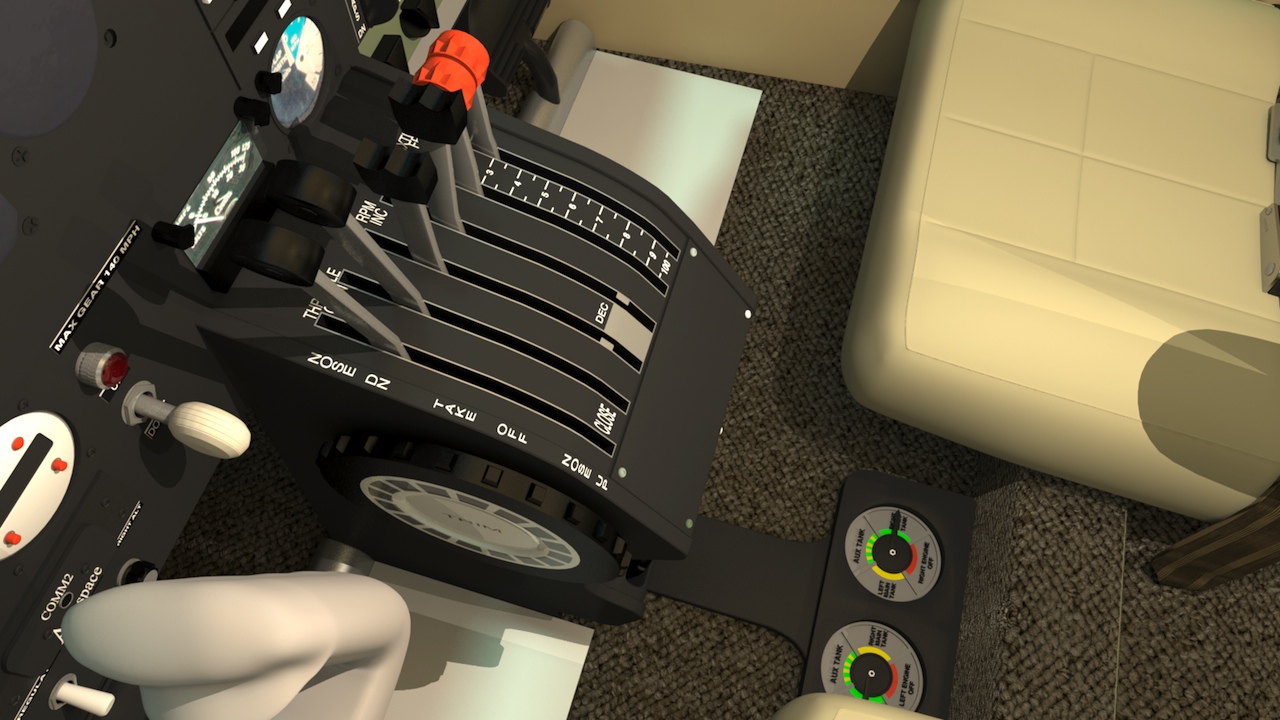
Some newly-UV'd components in the cockpit.
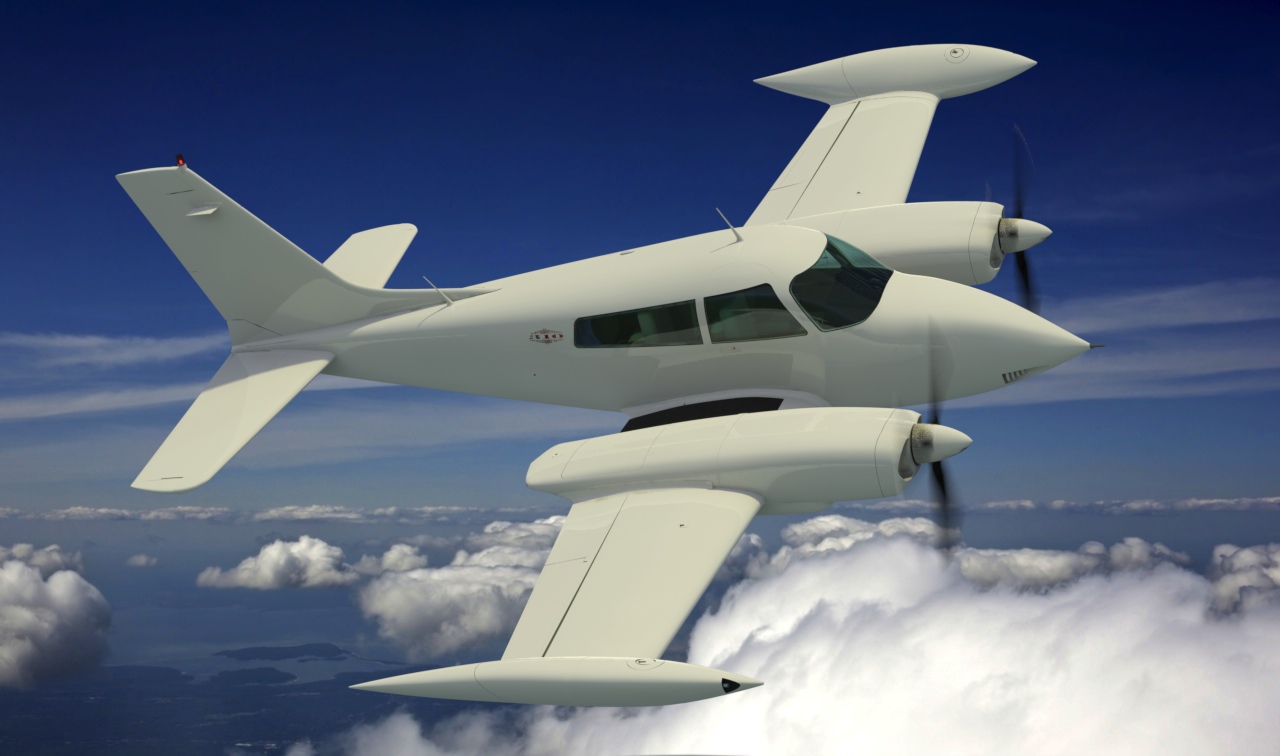
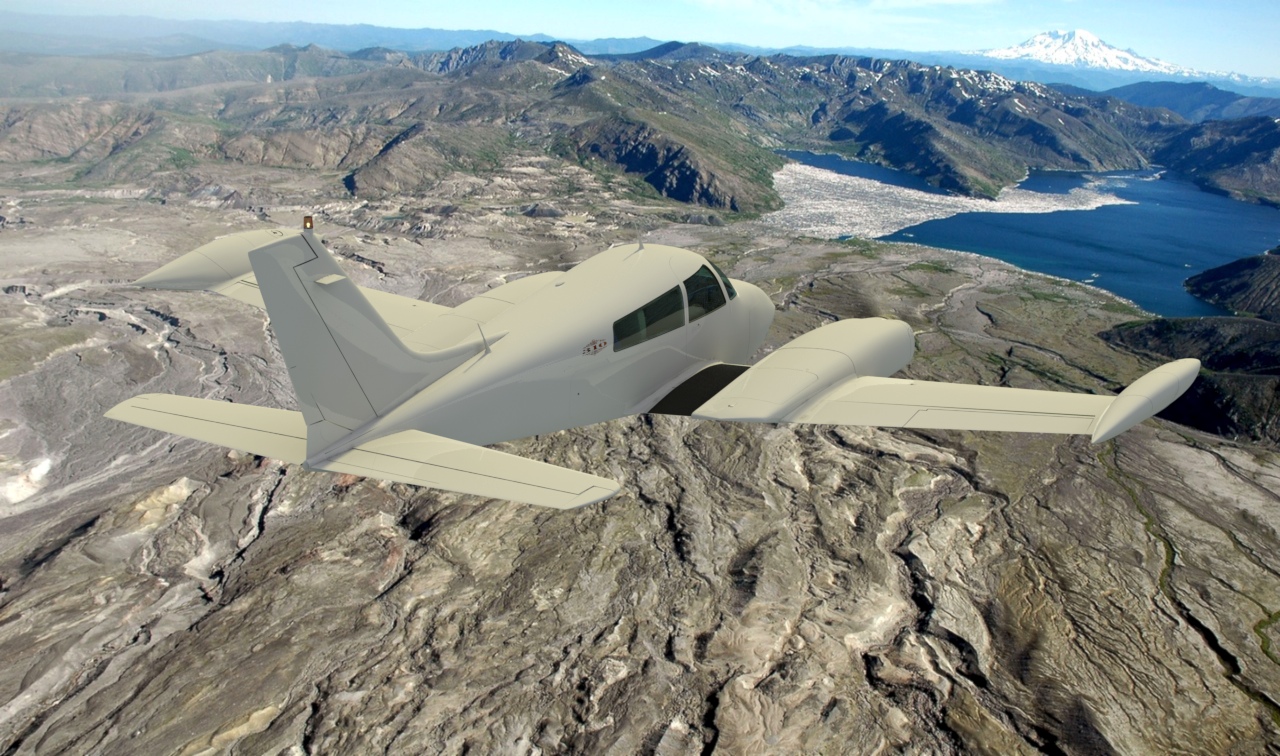
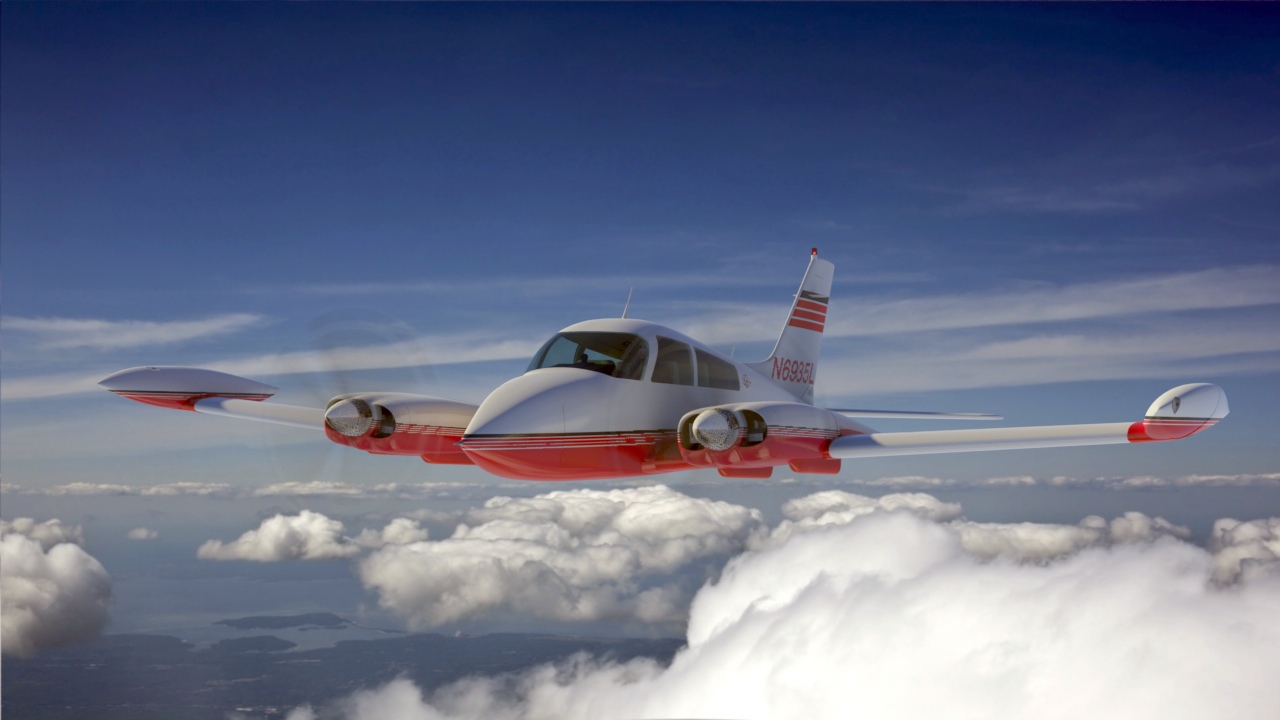
Finally, a couple of renders in flight...
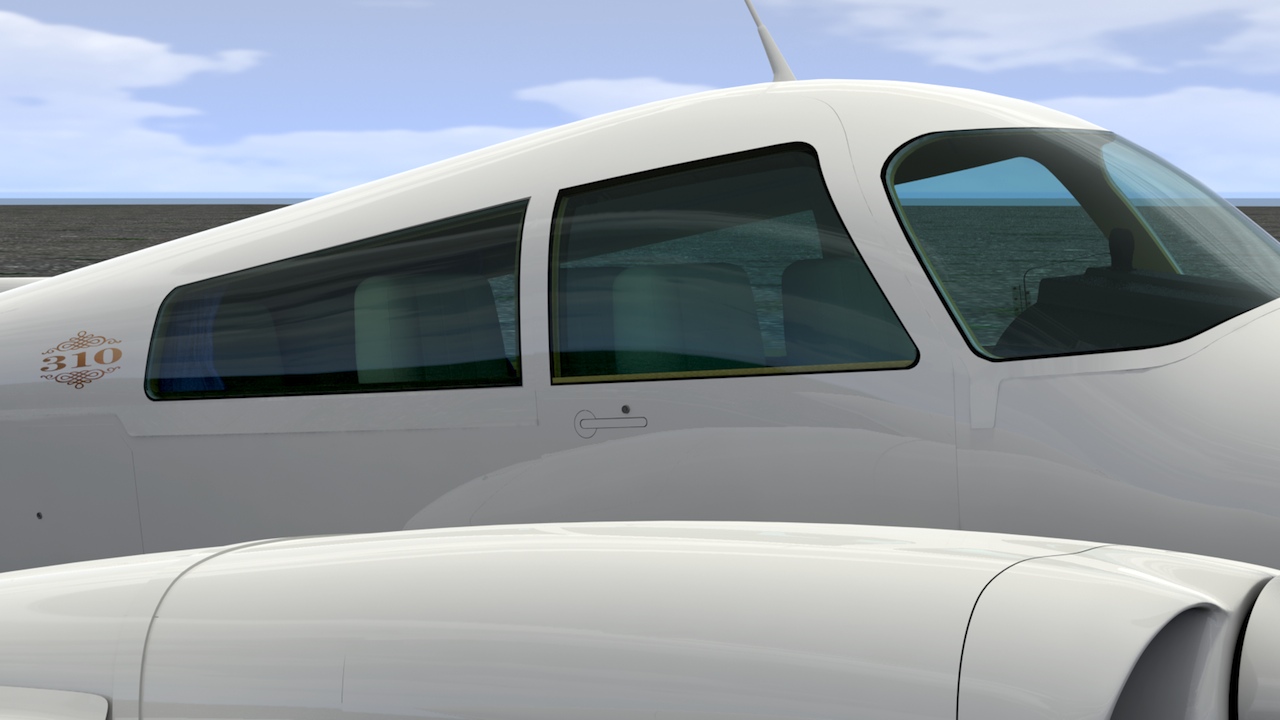
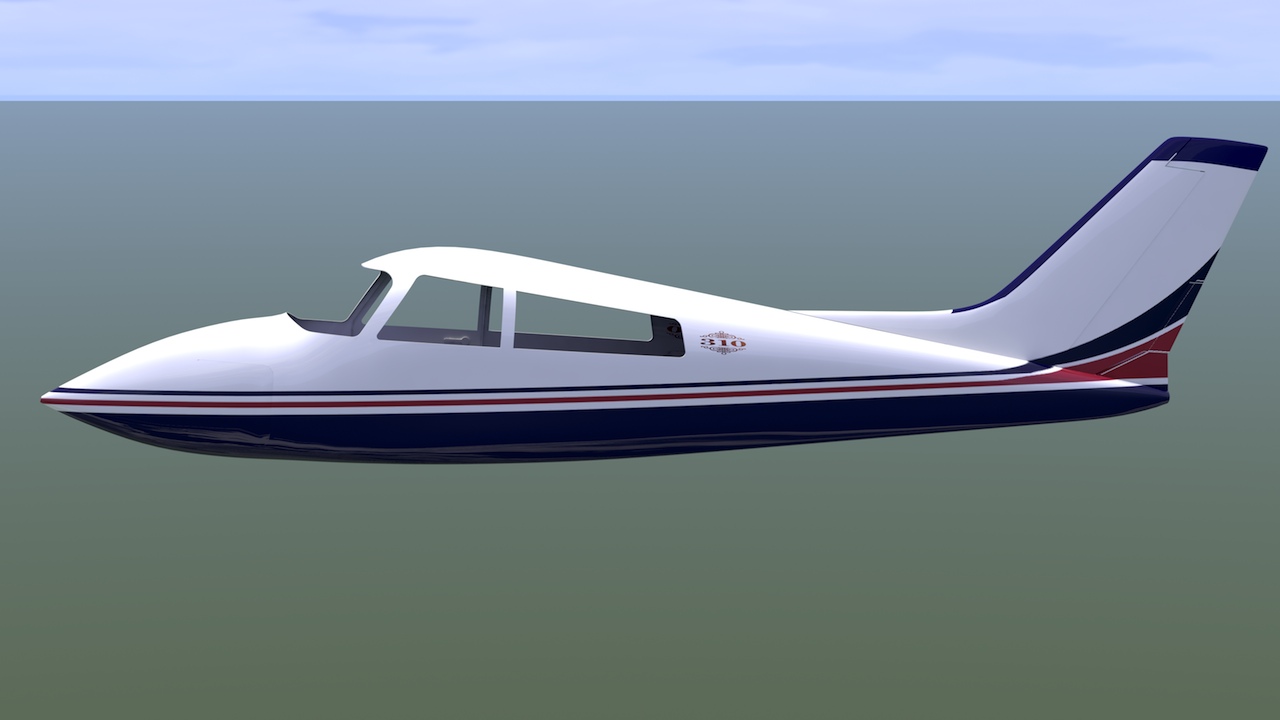
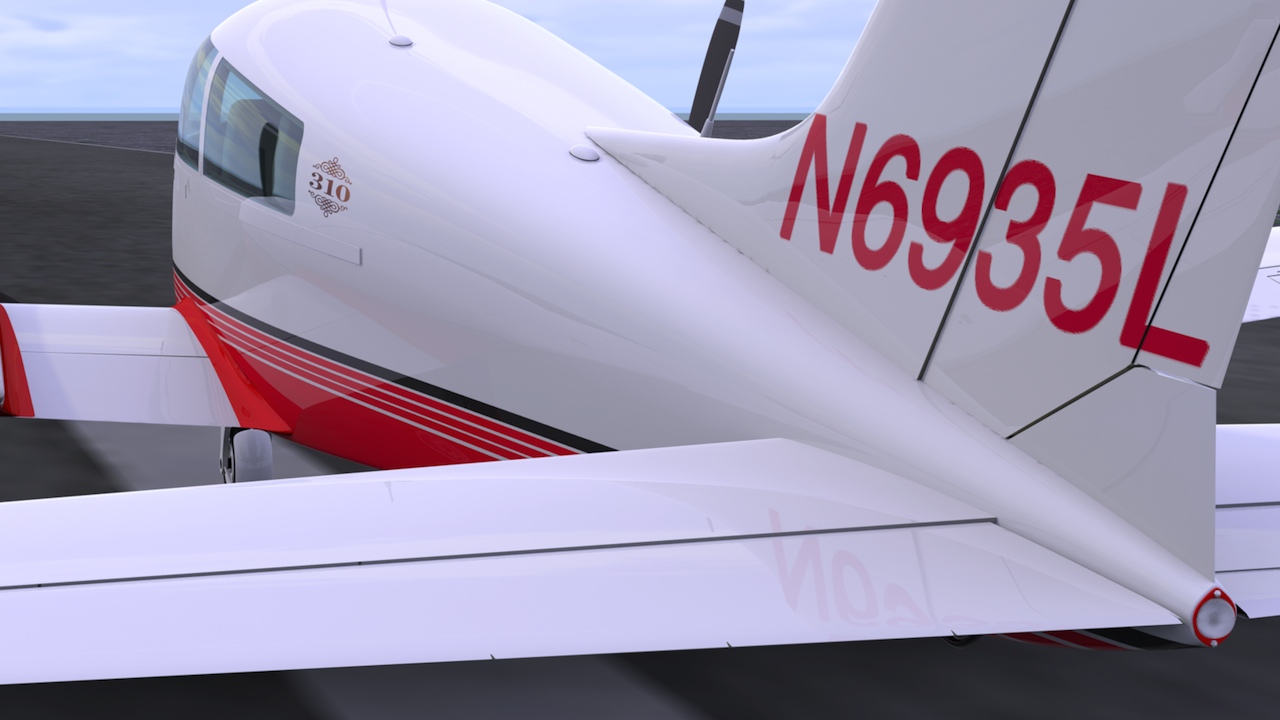
Fuselage Paint:
I've UV-mapped the exterior fuselage parts, and applied the paint scheme here. Only the N numbers and some minor markings left for the fuselage. On to the wings next...

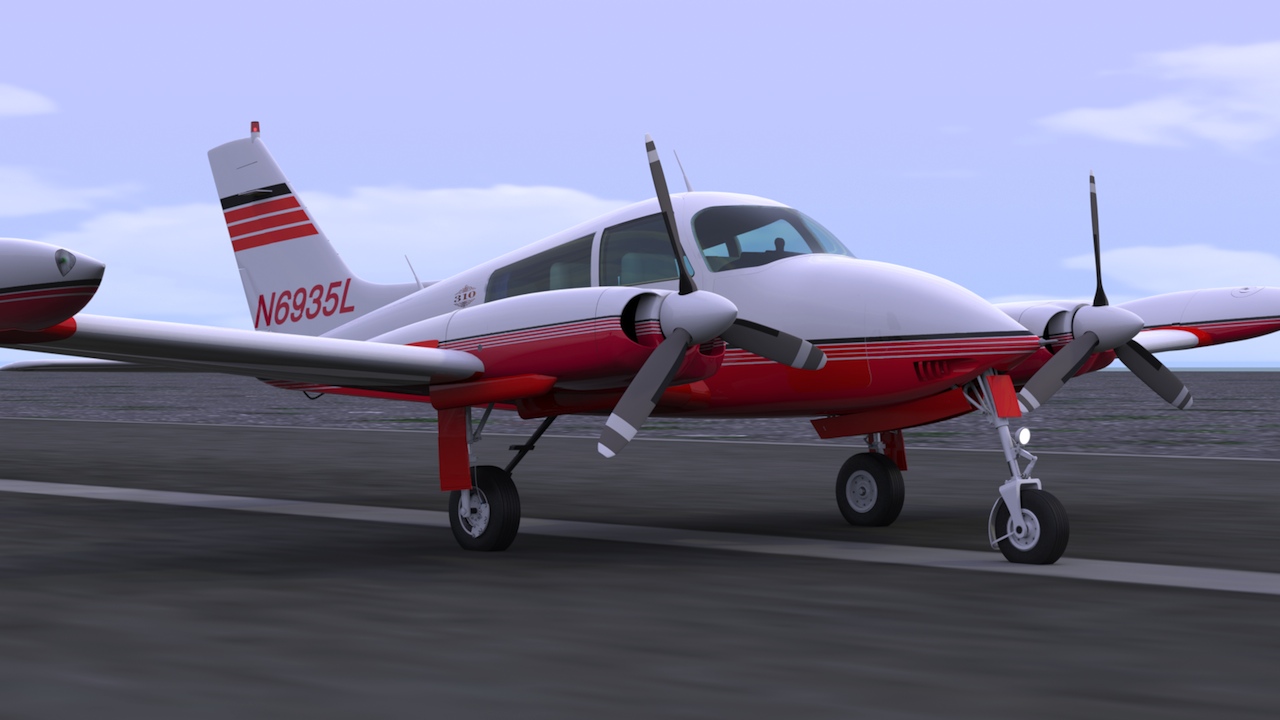
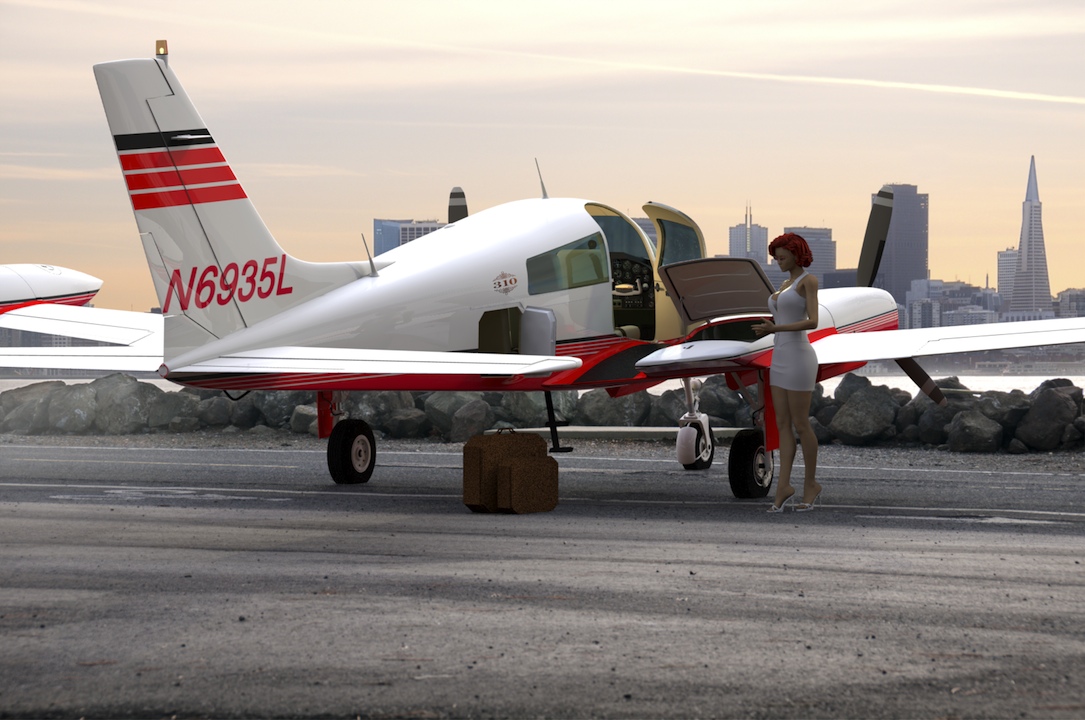
Paint Schene Change:
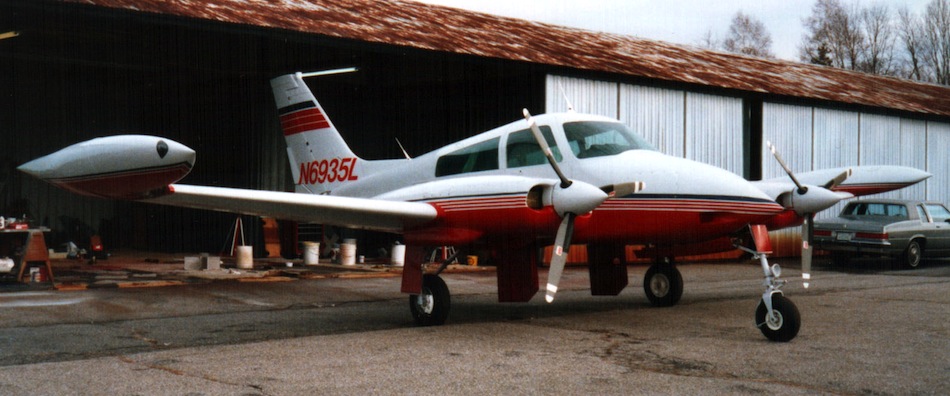
The pilot/owner who's helping me document this project originaly restored this aircraft, and painted it in a different color scheme than the present owners are using. For sentimental reasons, I decided to pay a tribute to both aircraft, by using the paint scheme and N number of the original aircraft he restored.
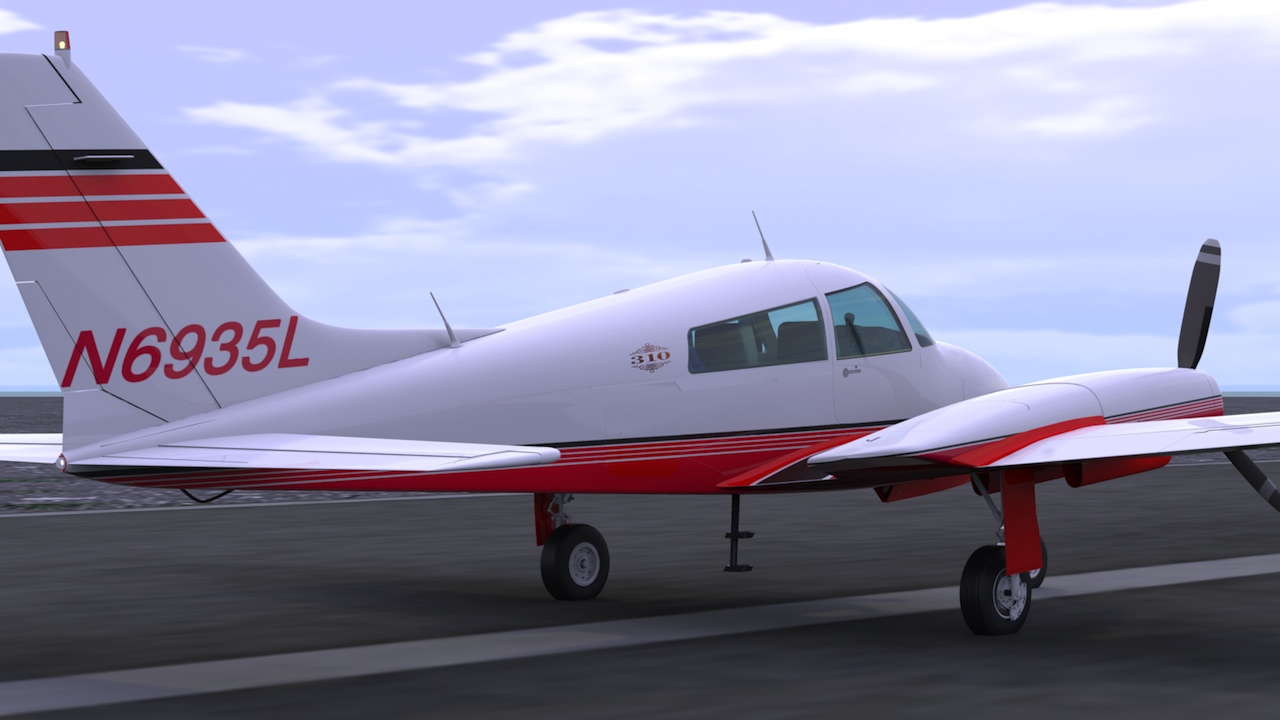
Here it is! First, the original aircraft, for comparison...
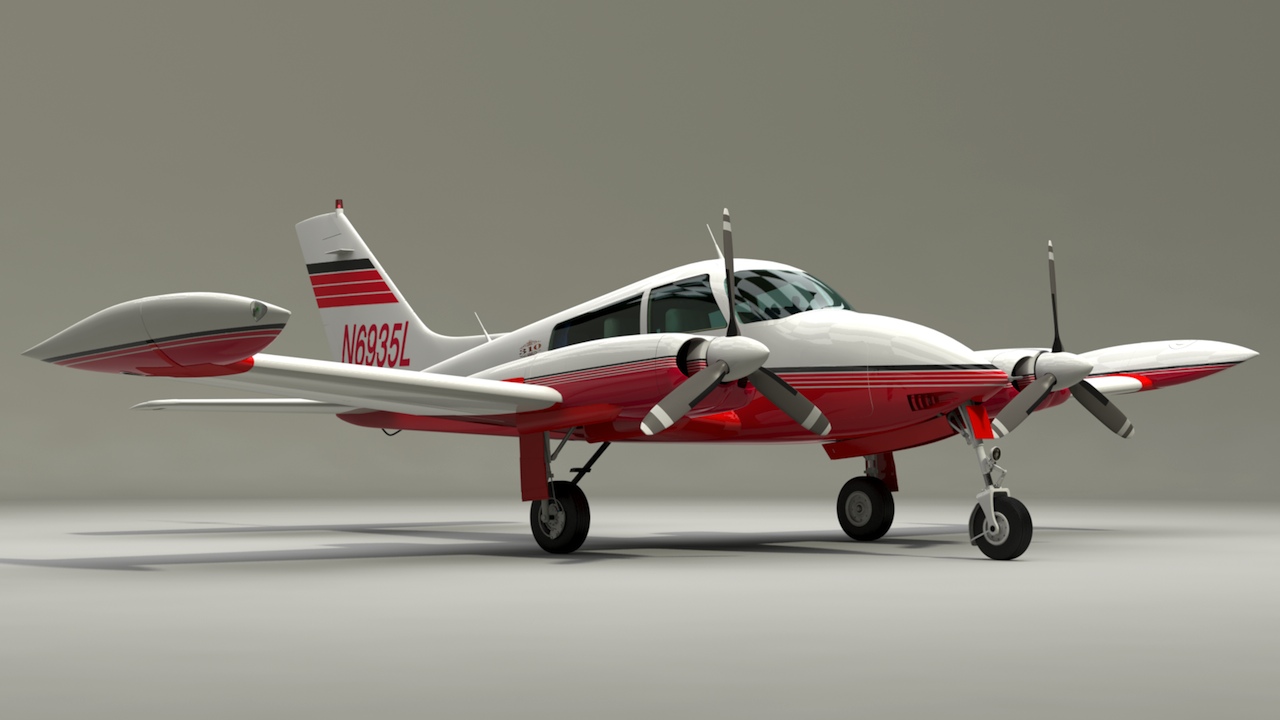
Now, the model...

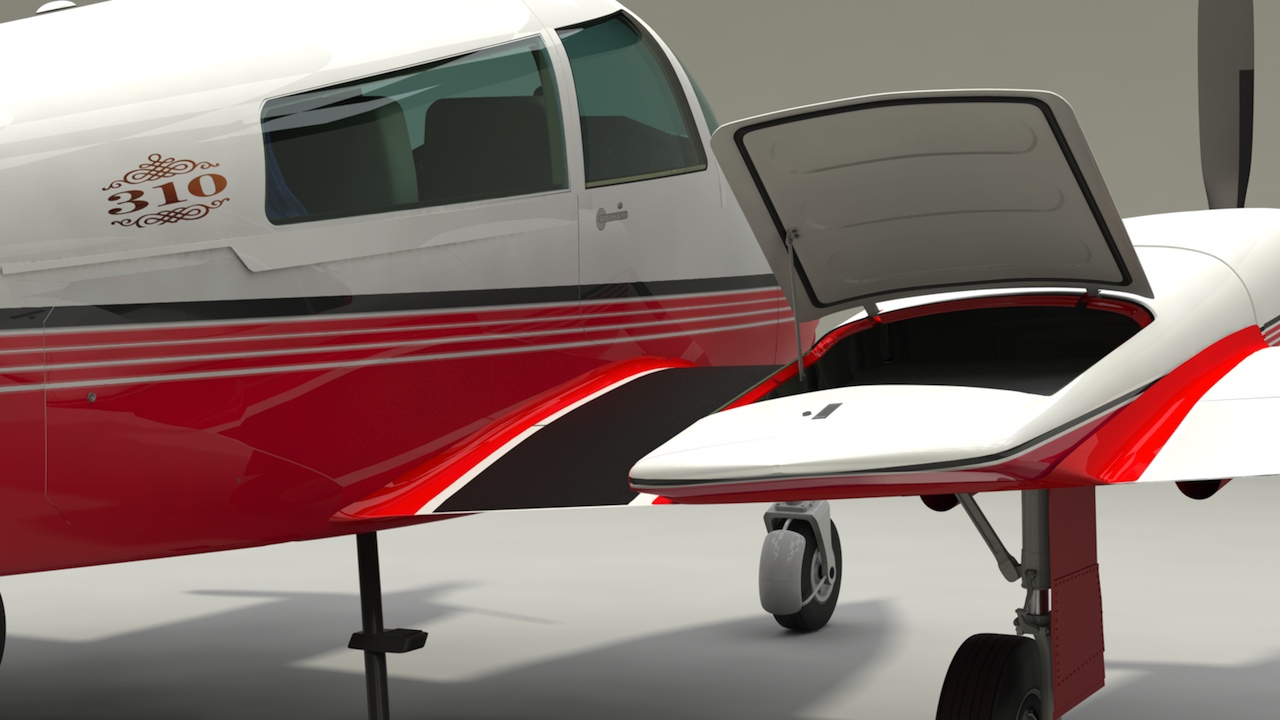
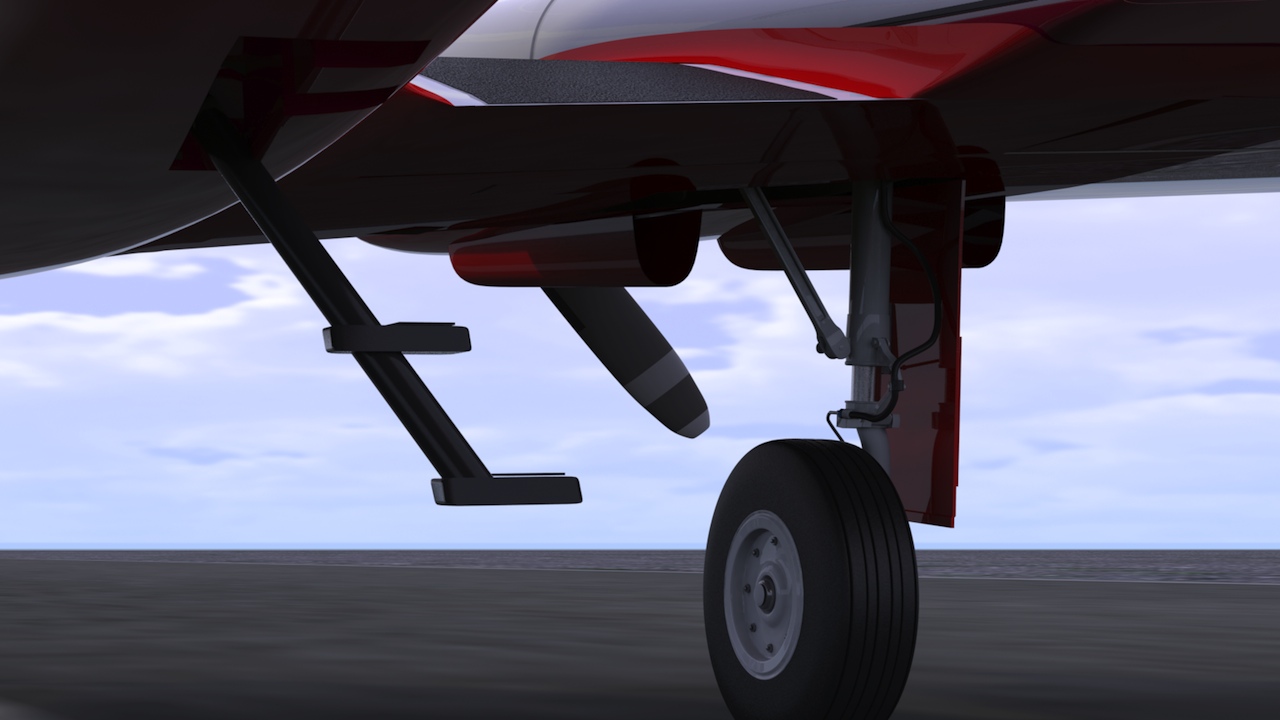
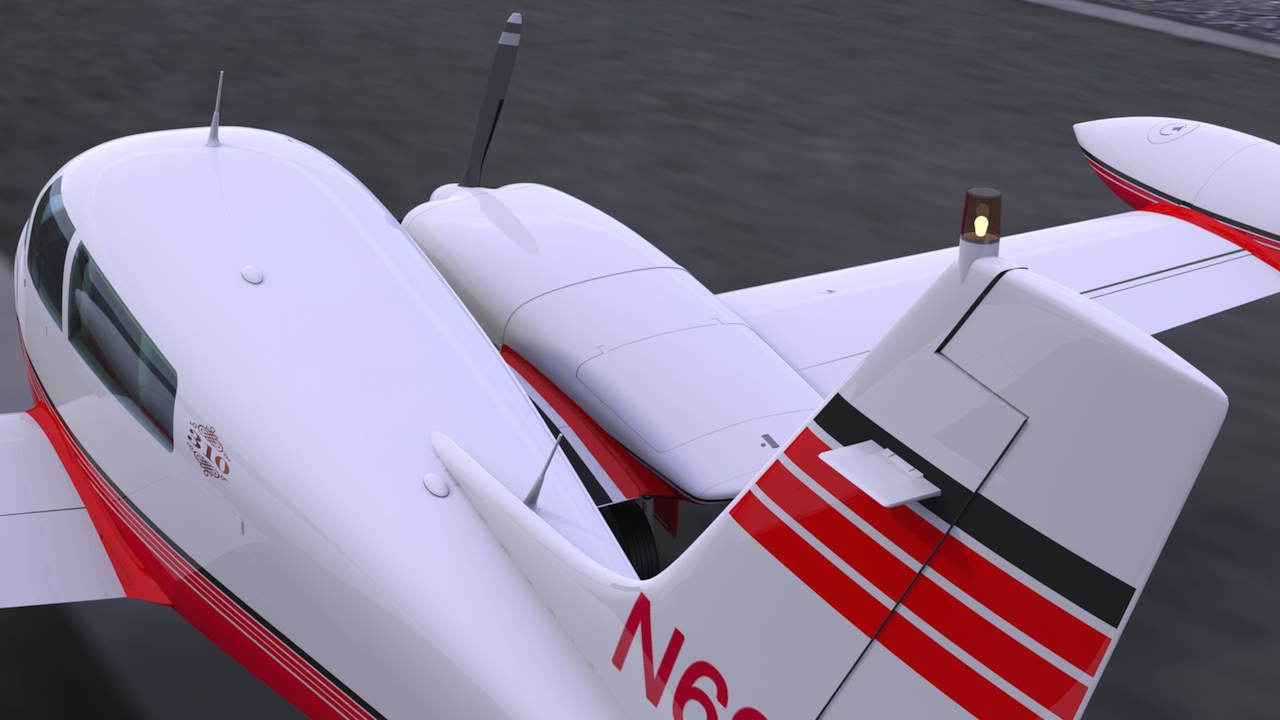
Below... Added the nacelle locker lid details, and support.
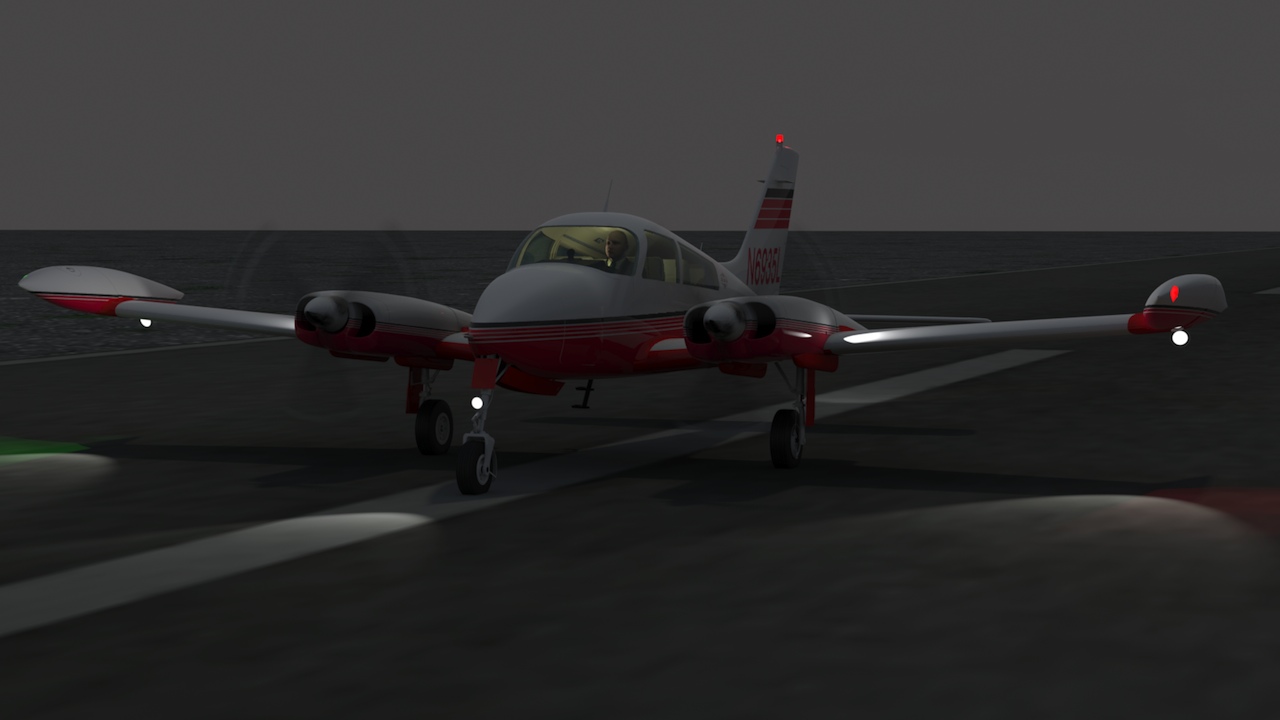
All the night lighting is functional now. There are interior lights, the red beacon on top of the vertical stabilizer, a red position light on the left wingtip, green position light on the right wingtip, two nacelle-mounted lights used for checking for wing ice, a nose gear-mounted taxi light, and two retractable landing lights, one in each tip tank. Not visible here, but there's also a white position light in the tail of the fuselage.
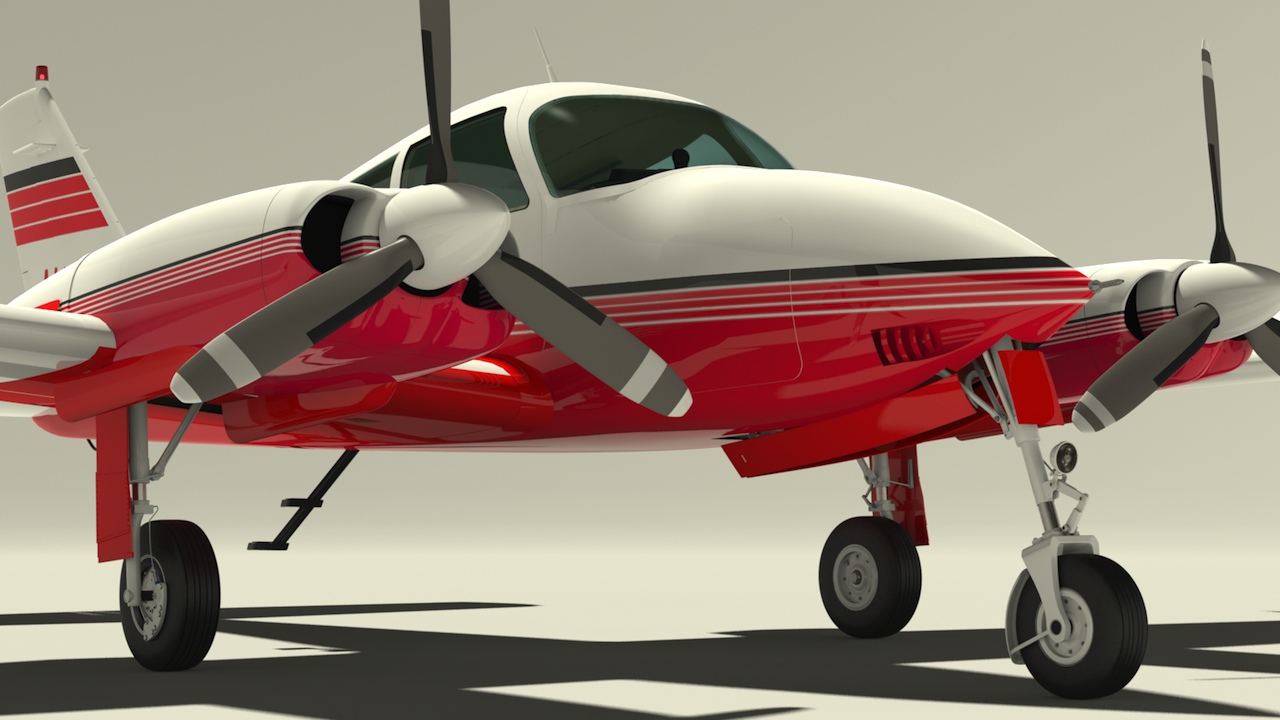
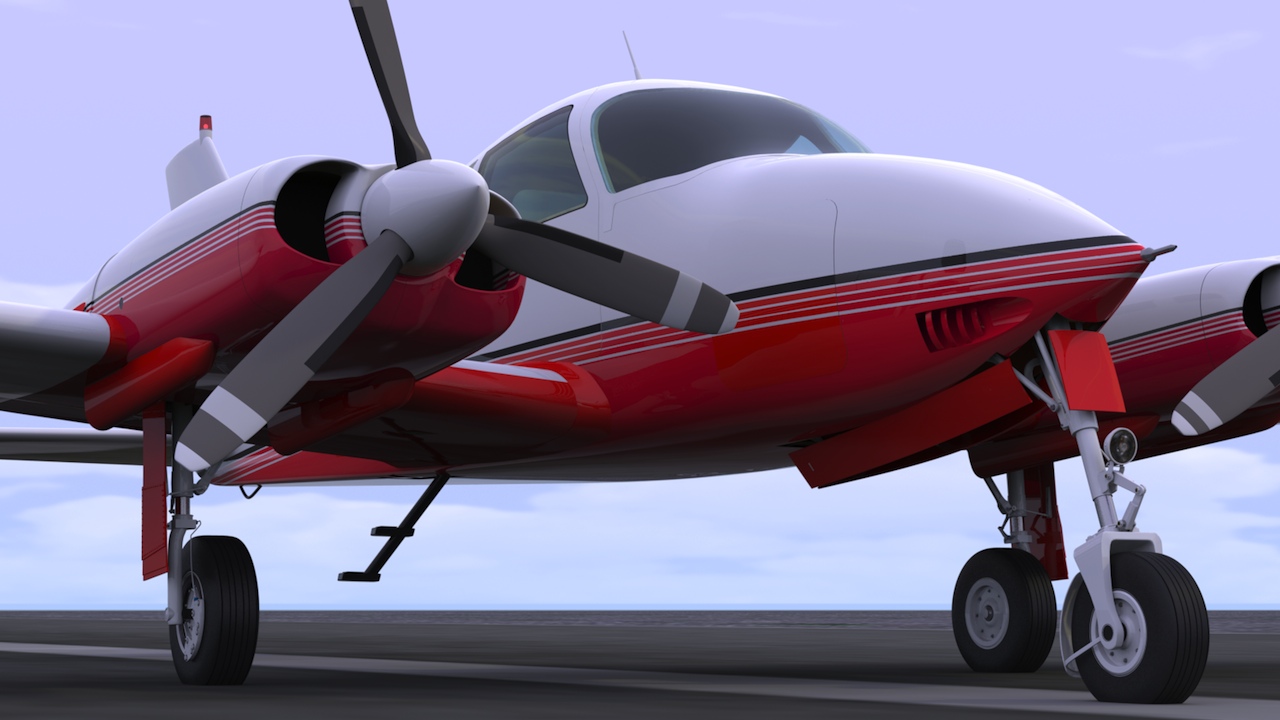
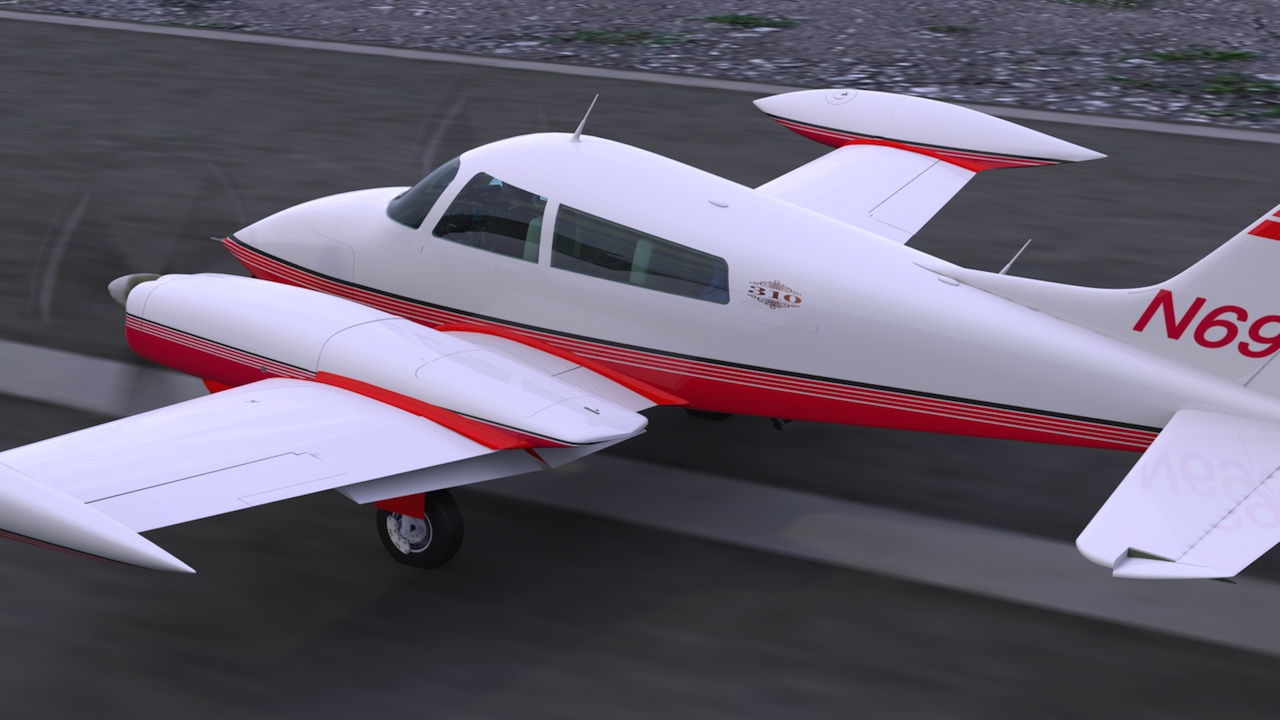
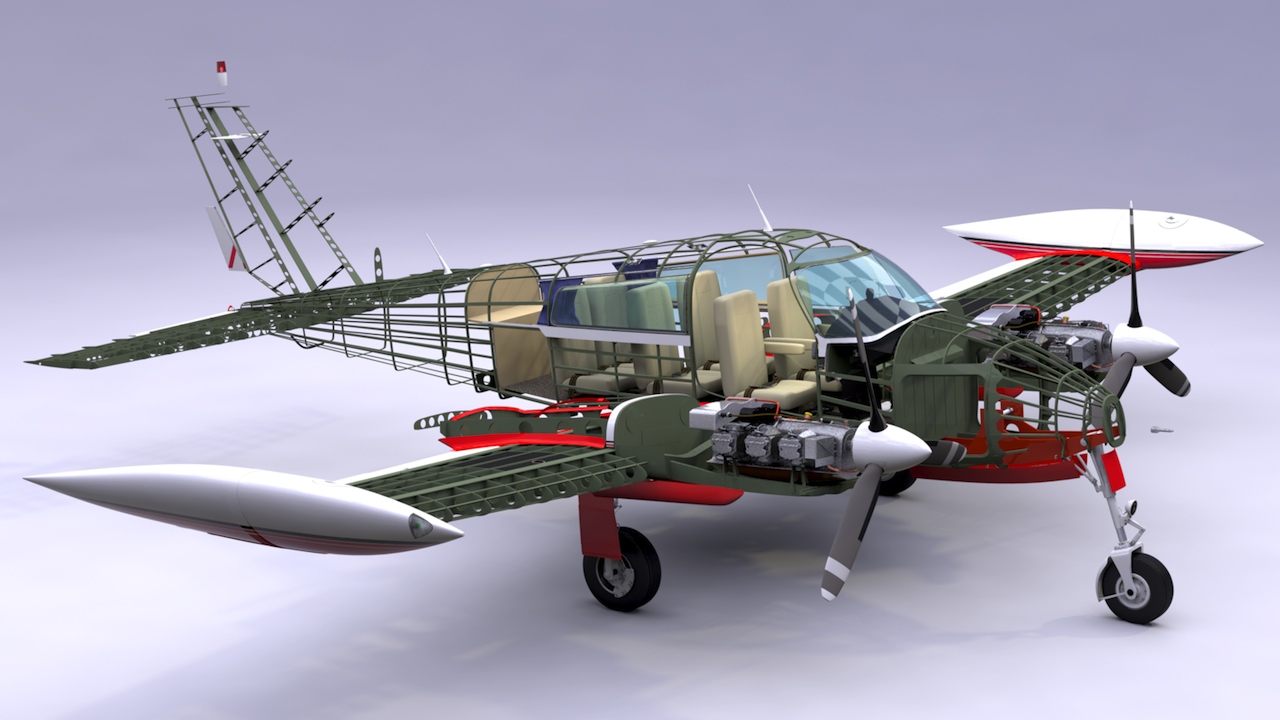
Beauty Shots
In this round of editing, I've separated all the UV maps, so the control surfaces could remain animatable, added some missing landing gear detail, and adjusted the paint scheme to be more accurate to the actual aircraft. Here are some "beauty shots".

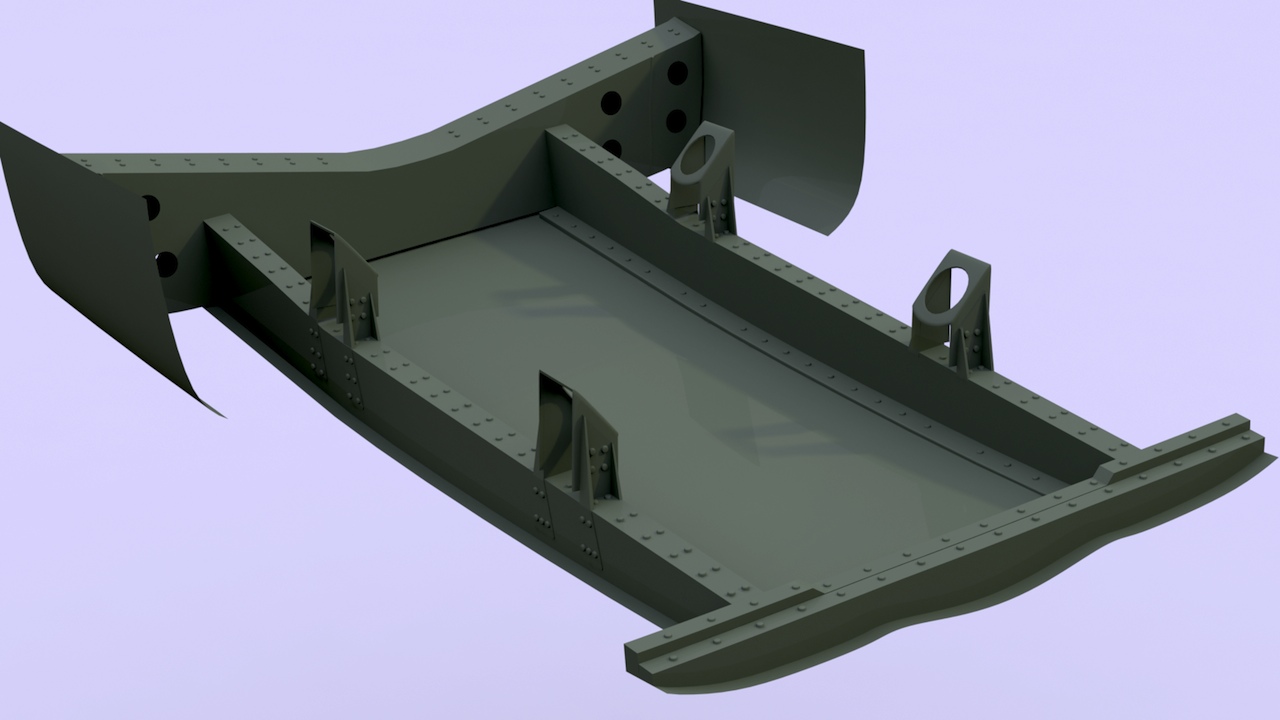
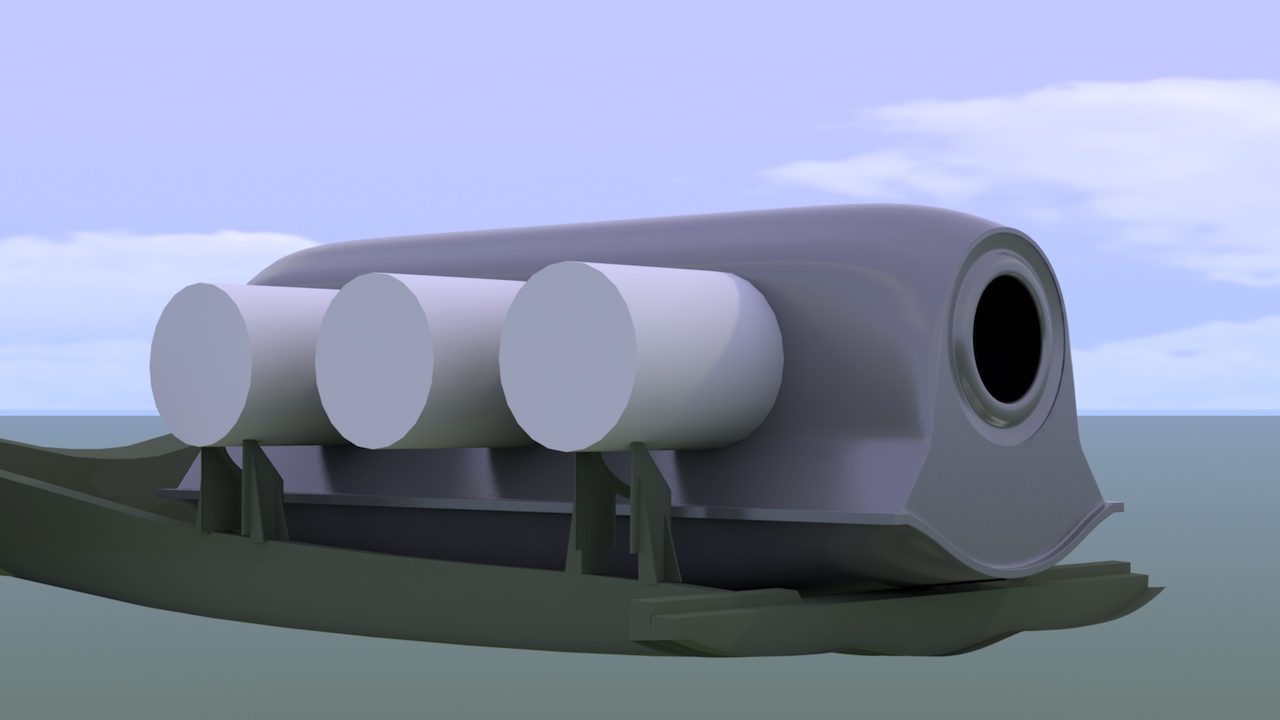
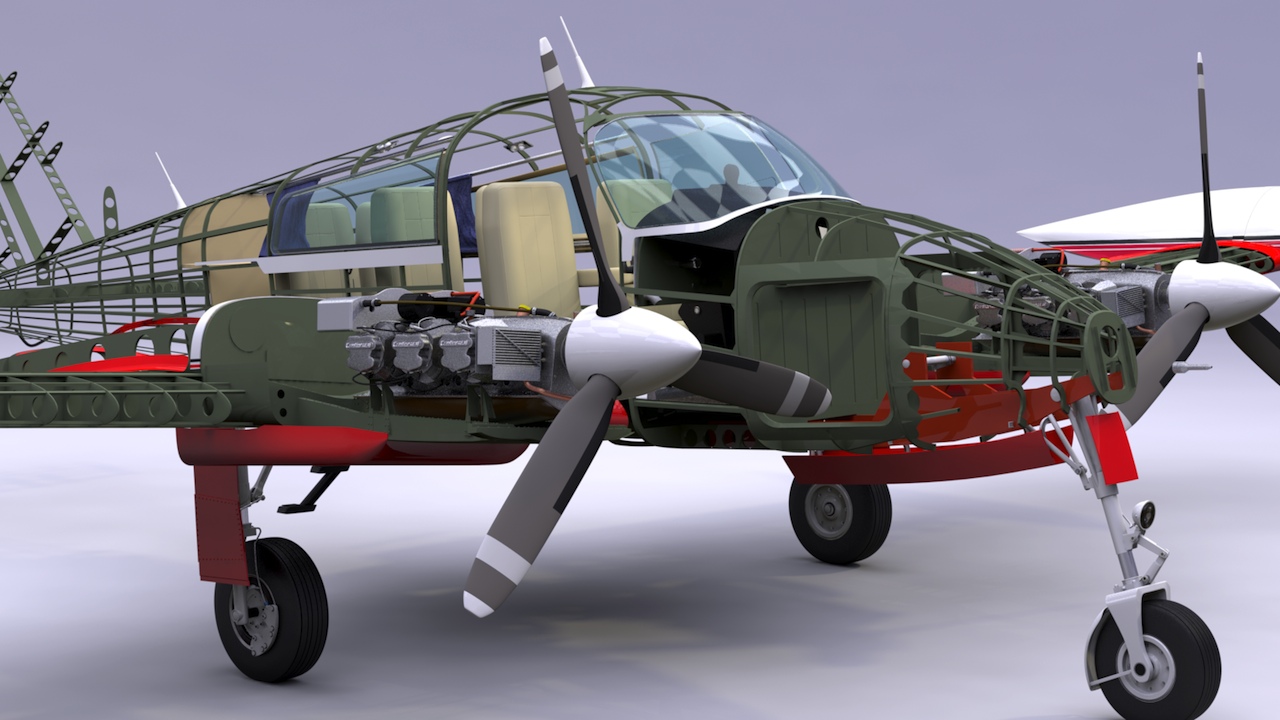
Back to the engine...
The exterior is essentially finished, aside from some more seams and rivets that will be added. So, while I'm waiting on some photos, I've gone back to another feature I'd like to add, as a finishing touch... the engines. Here, I've added some structure and rivets to the mount, and started modifying my proxy parts, to create a scale engine.
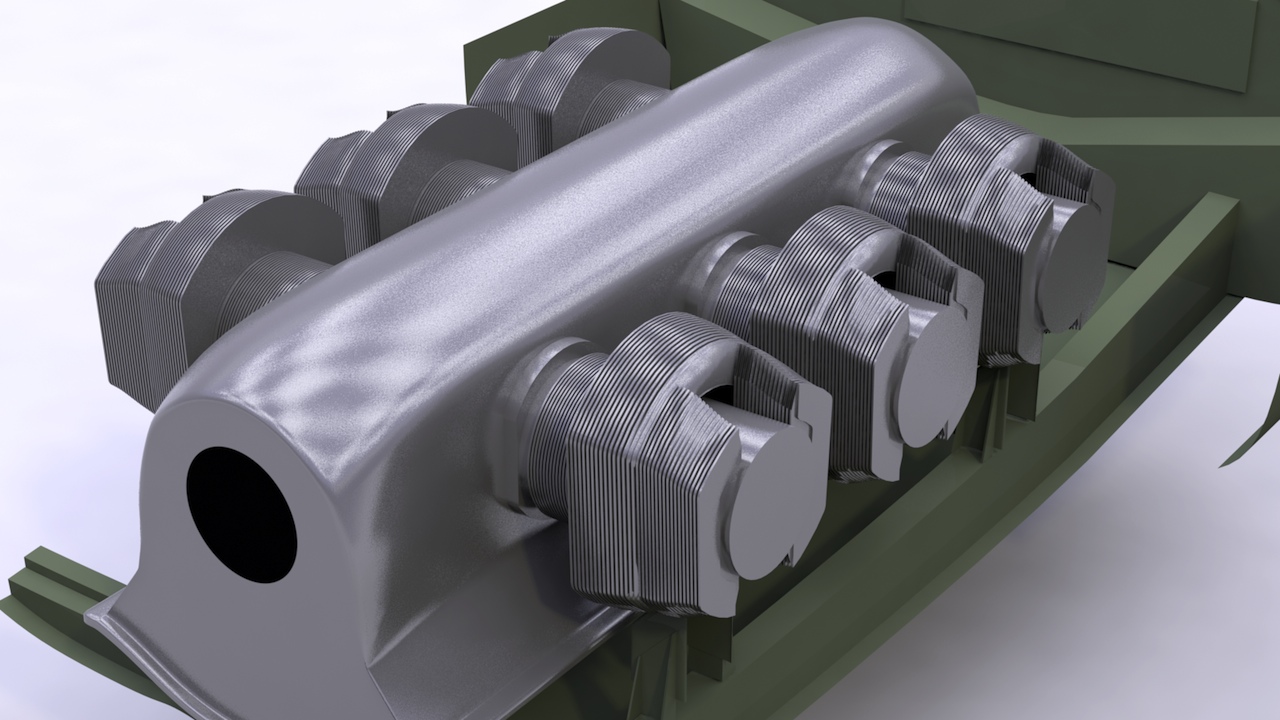
Created the cylinder-mounting flanges and the cylinder cooling fins, and refined the block shape a little.
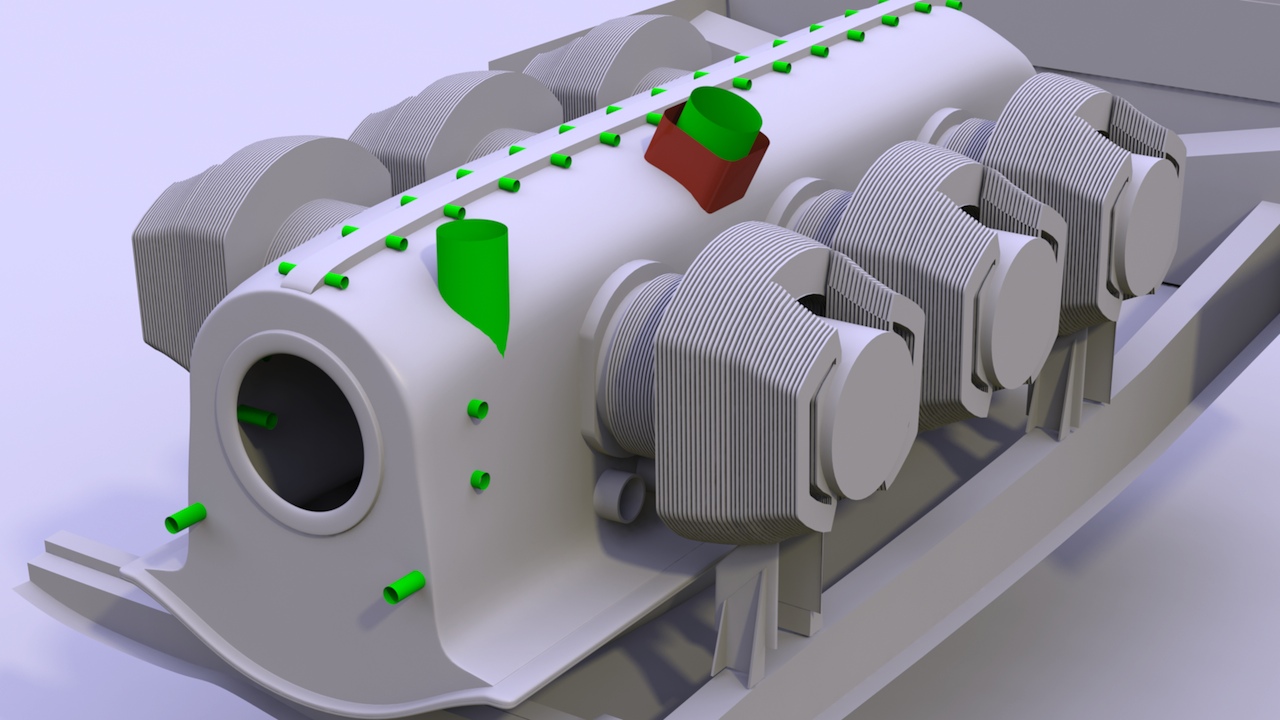
Here, I've done several things. First, although it's not obvious in this image, I've separated the oil pan on the bottom of the engine. Then, I've placed all the (red and green) cutters in position, to create some of the minor shapes on the engine exterior. Some of the cutters will create shallow grooves for bolts, and others will mark positions from which I'll extrude some of those bumps.
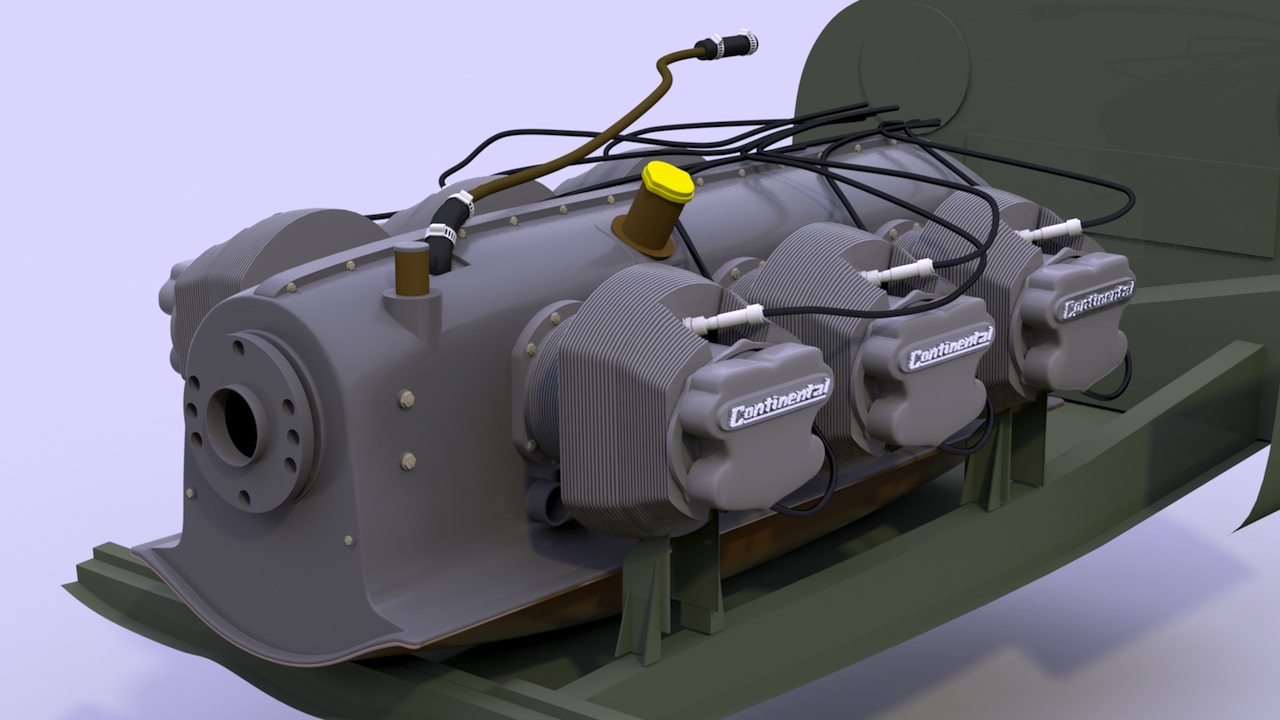
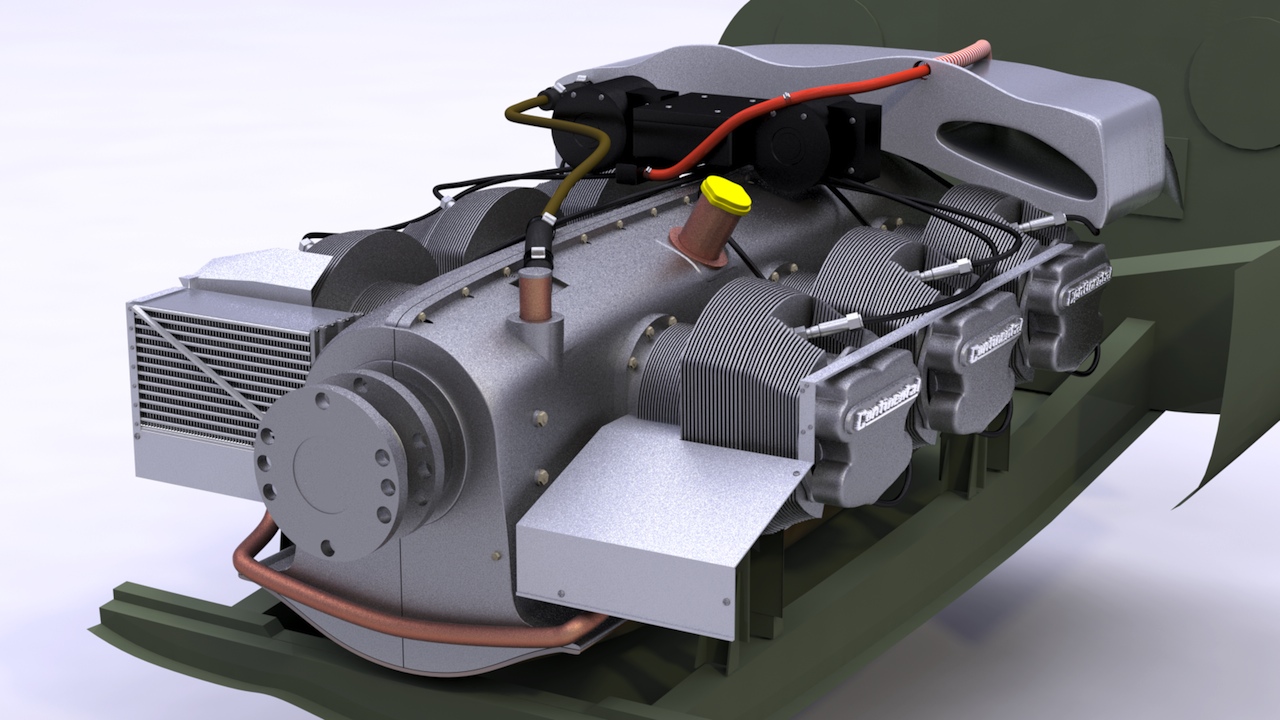
Engine Details...
Like any engine, this one could be a whole project of it's own. But, since I want to include it in the model, and would run out of system resources if I fully detailed it, I'm trying to choose the most important things to include, which will stand up from moderate rendering distances. Here's what I've got so far.
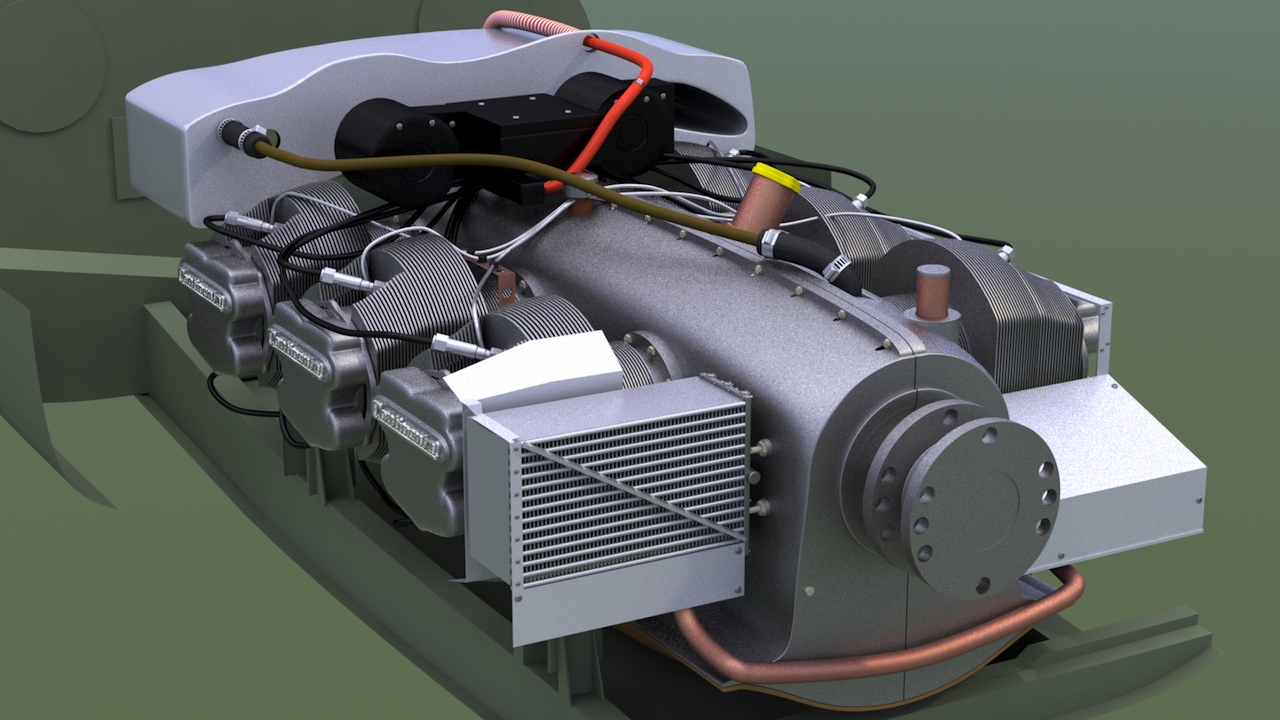
More details...
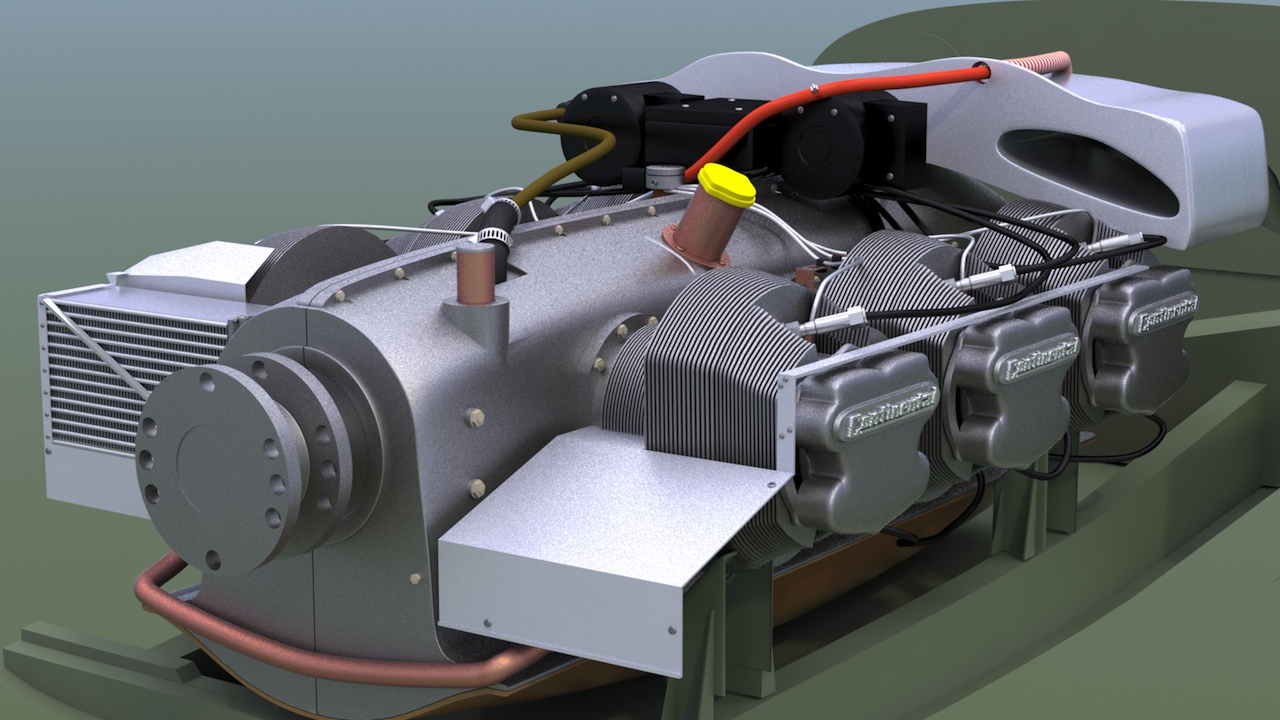
Finished!
For now, I'm calling this project finished. I may come back to it in the future to add further details, but I've accomplished what I set out to do with it, so all that's left is to work on some animations.... It will take a while.
Finished, for now. I'll return to this project later, to create animations, etc..