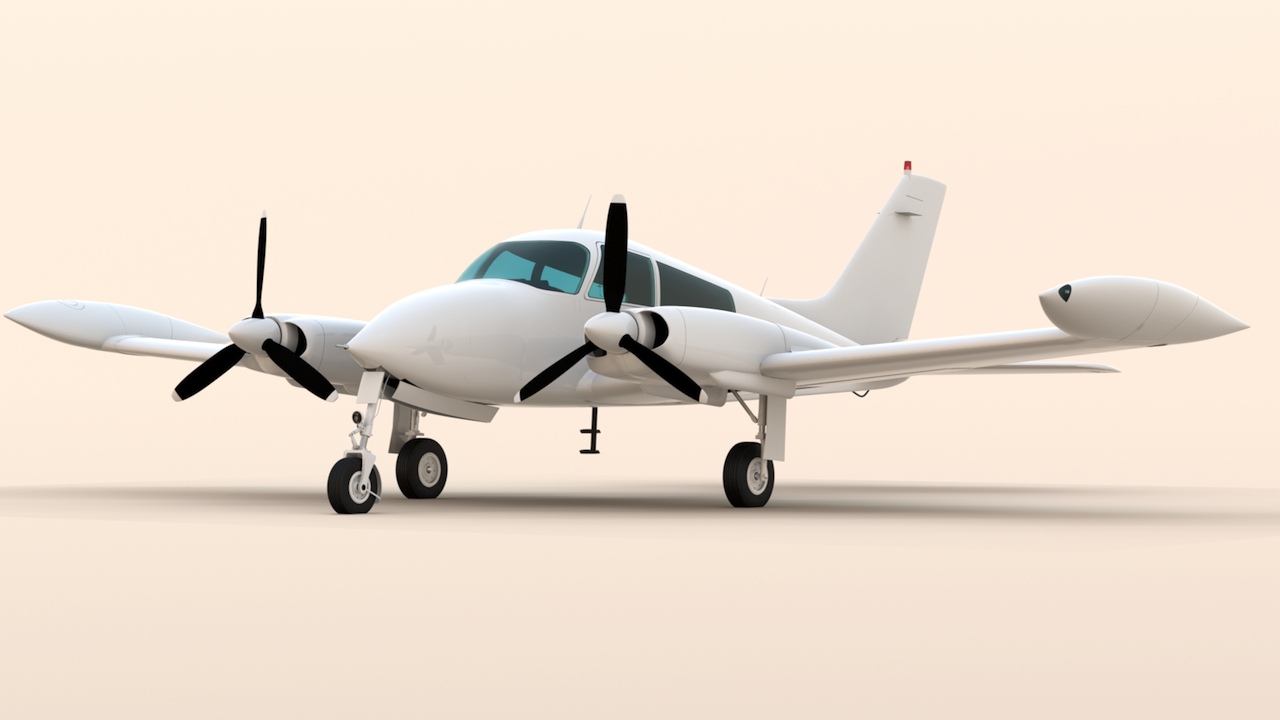
Cessna 310K Fairings and Lights:
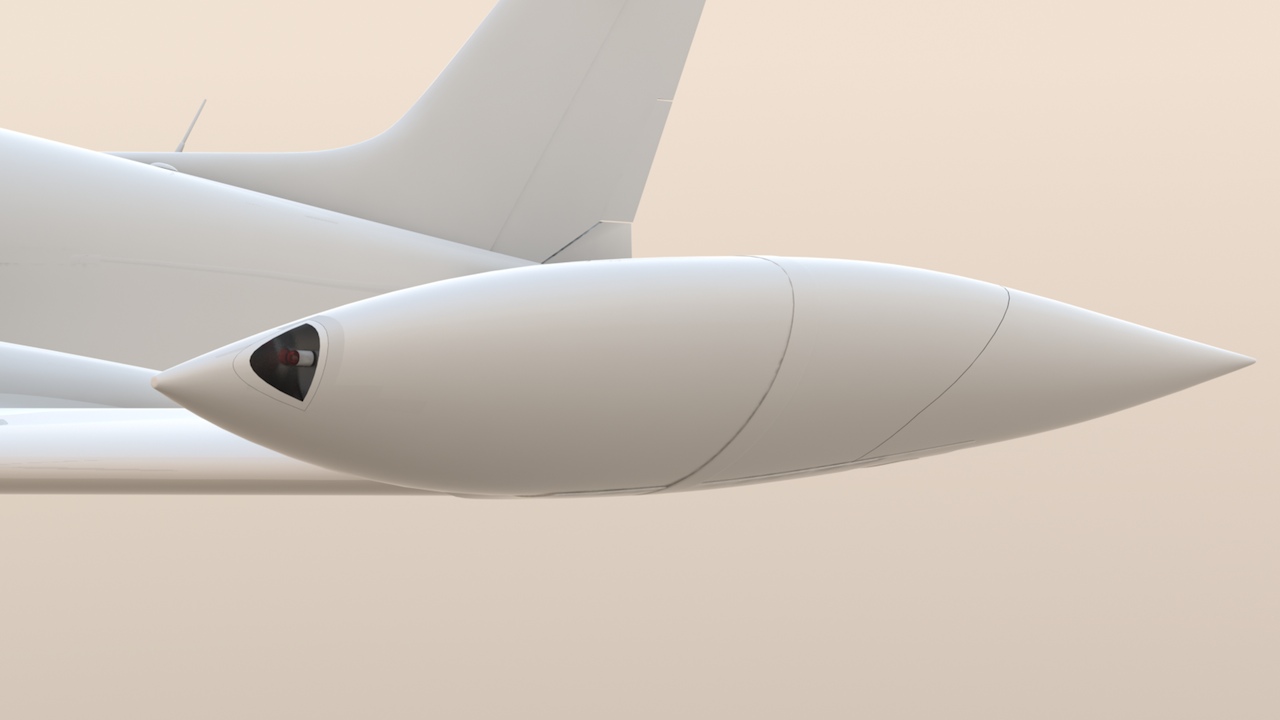
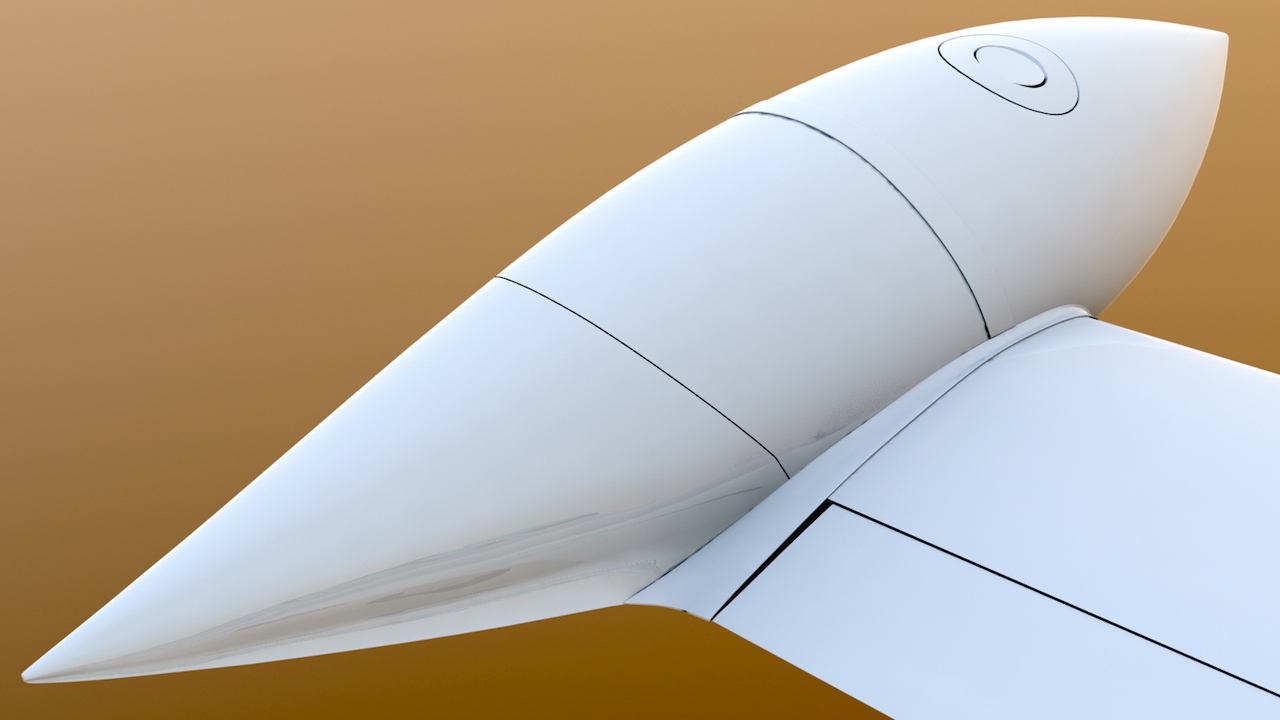
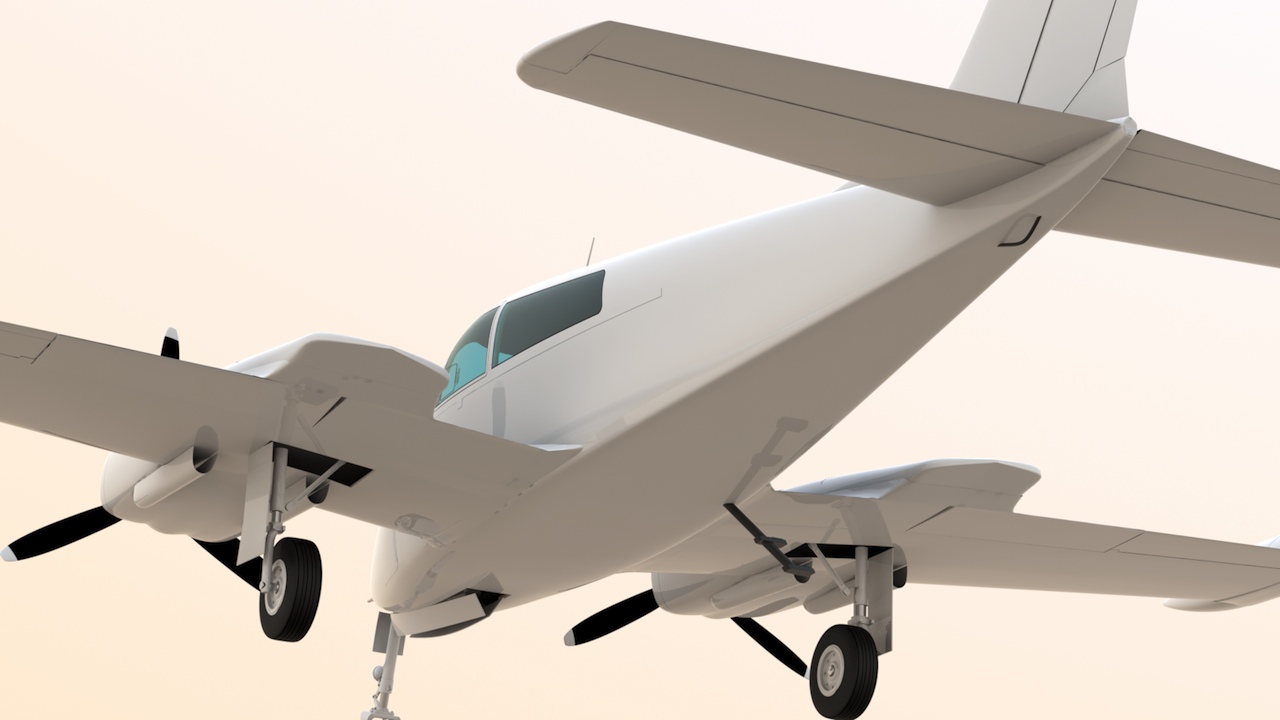
Fairings that have been added to the engine nacelles and tip tanks. I still have to add some detail to the fuel cap, on the top of the tip tank

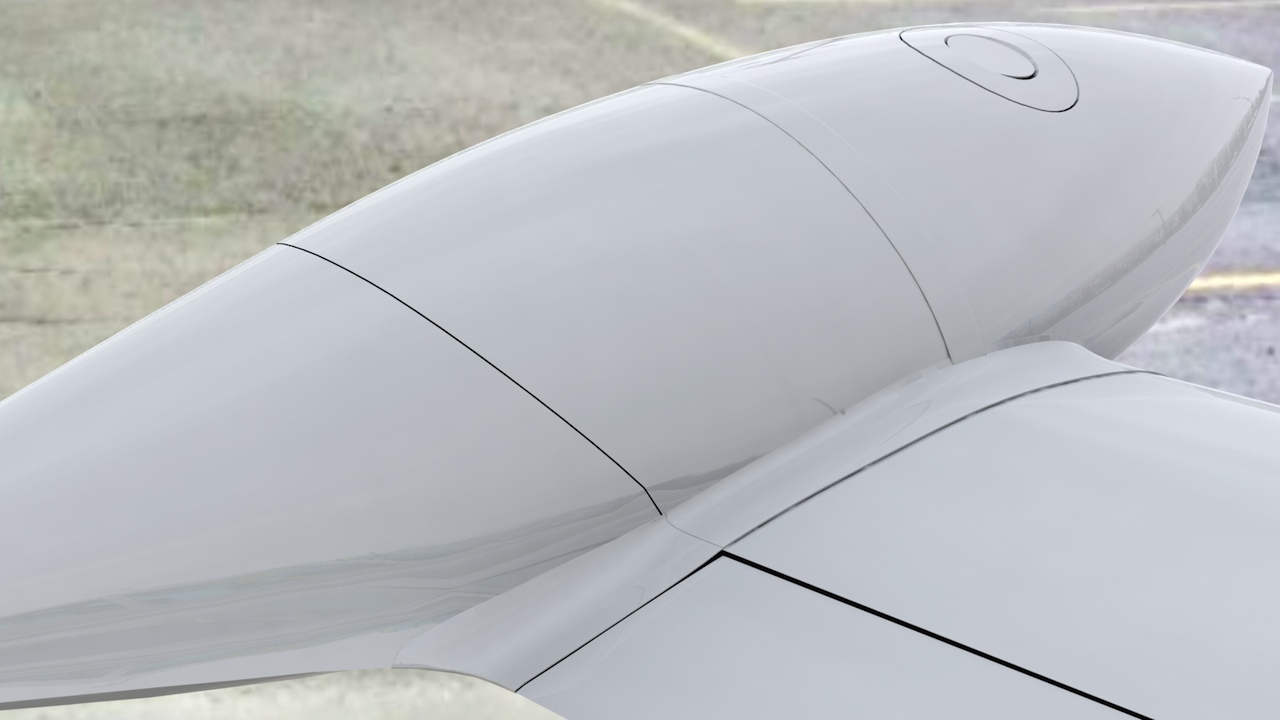
After adding the fairings, I then cut the opening for the landing lights in the bottom of the tip tanks, and added the lights. (Rivet and screw details for all these parts will come later in the project.)

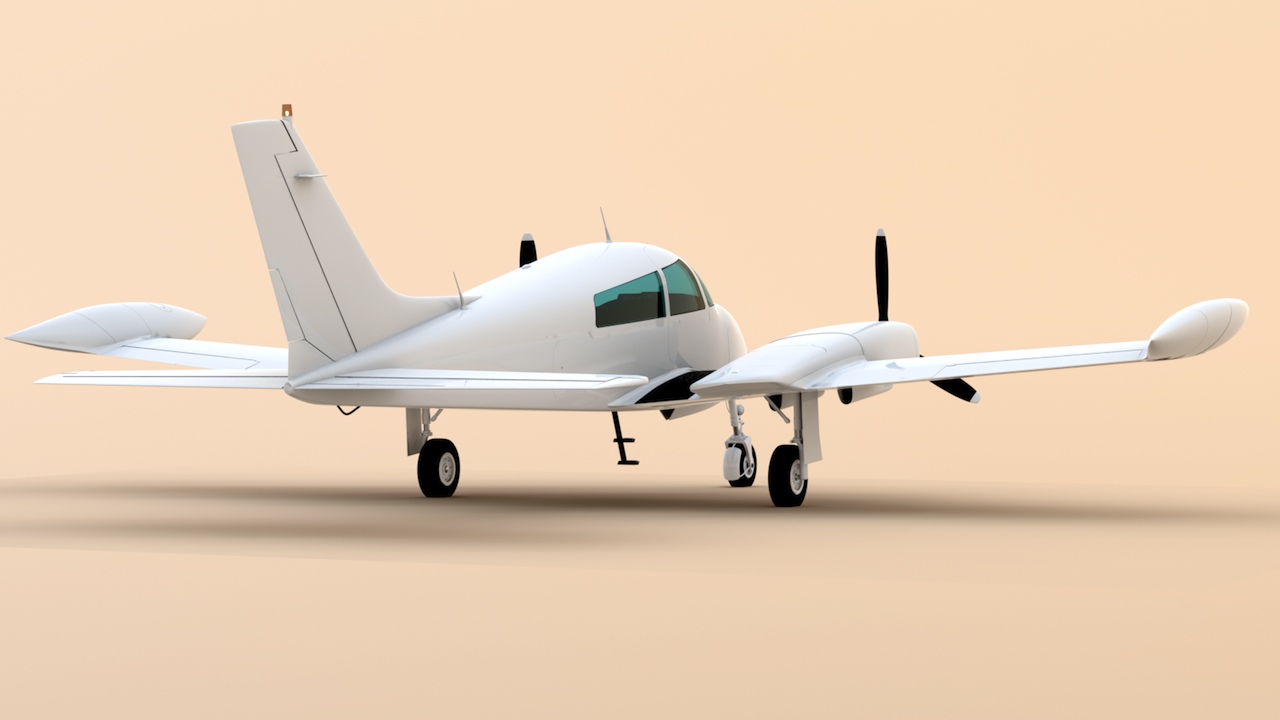
Final exterior adjustments
Later in this project, various other panel, rivet, and screw details will be added. But for now, all the exterior volumes are very close to their final versions, so I'm nearly ready to start on the structural parts and cabin interior. Here are the latest updates.
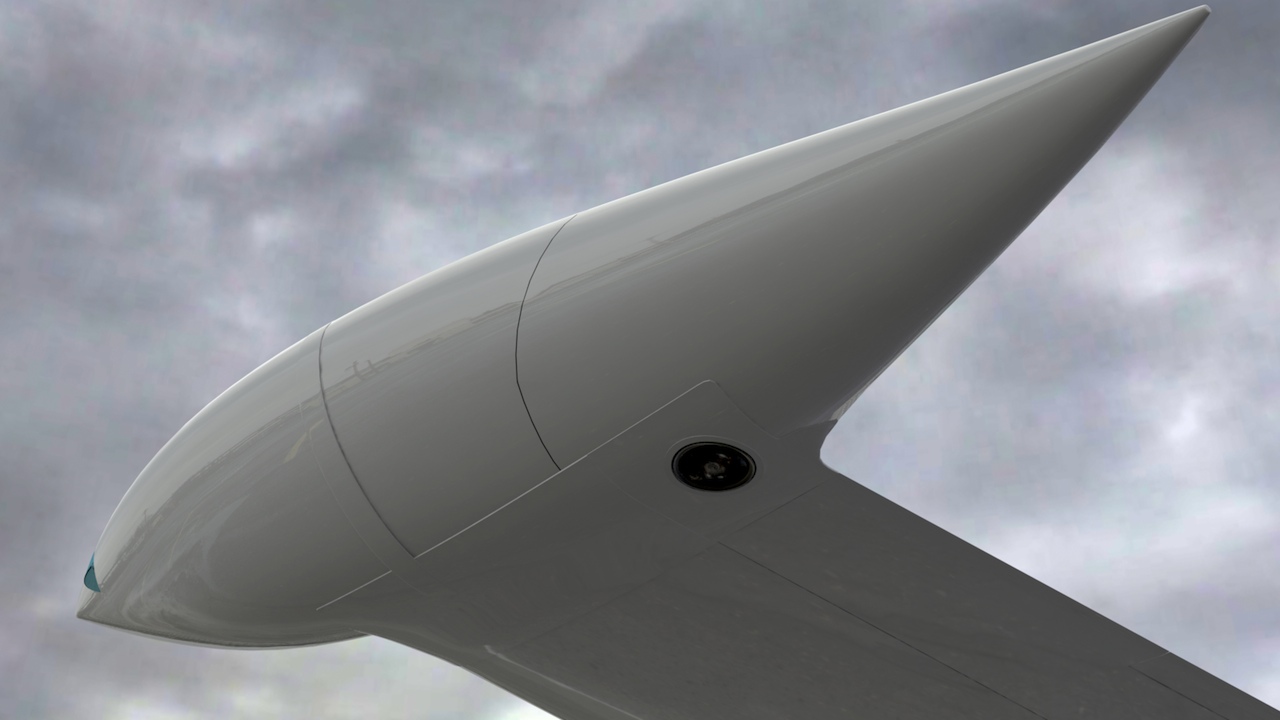
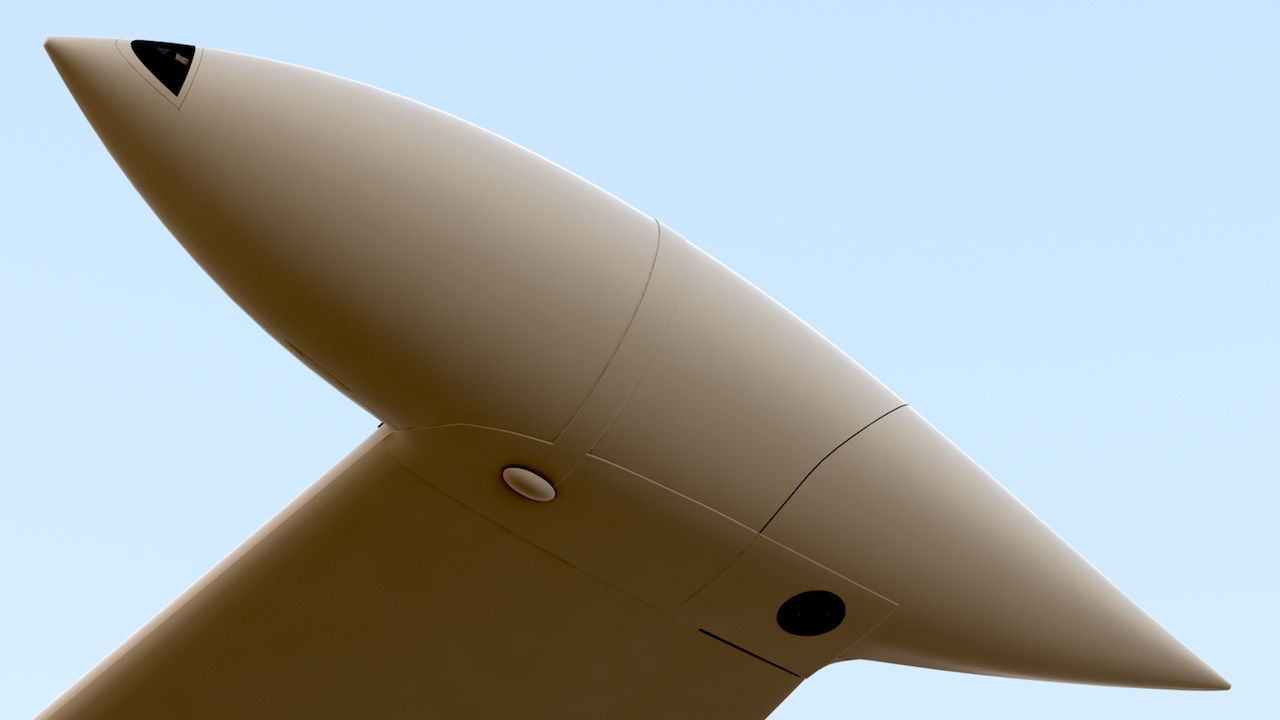
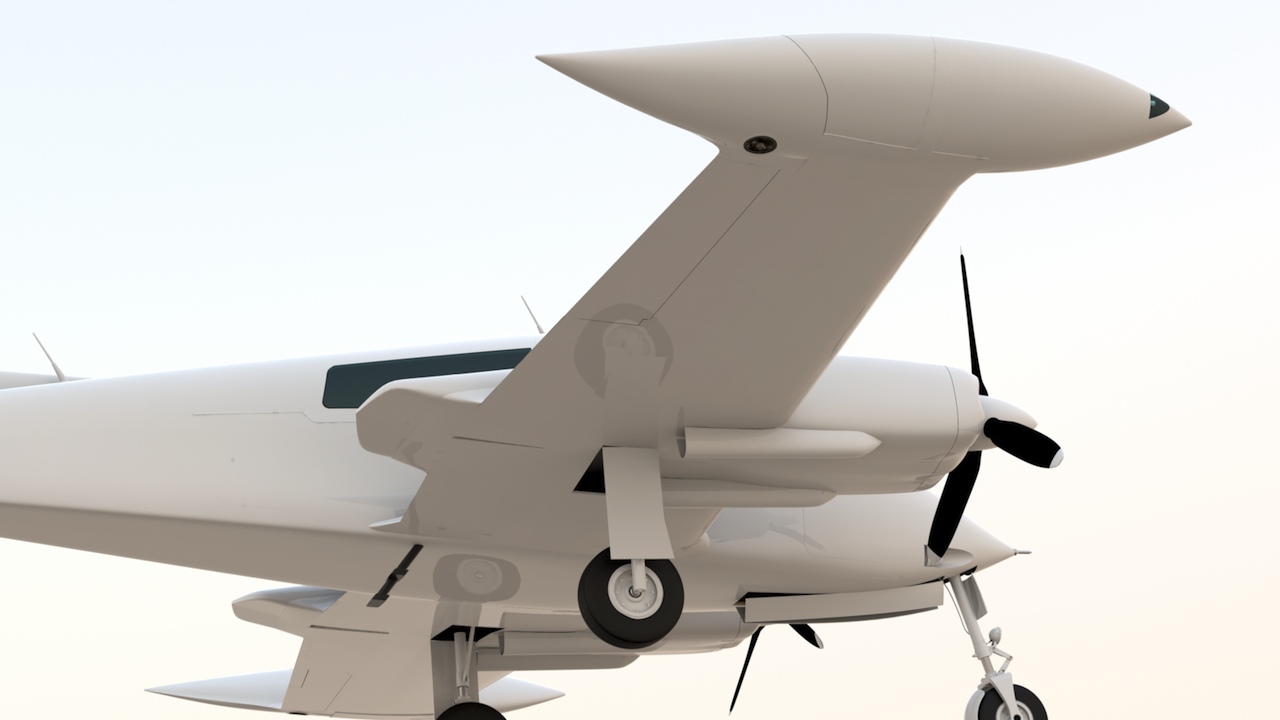
Below, I've added more detail to the position lights on the tip tanks.
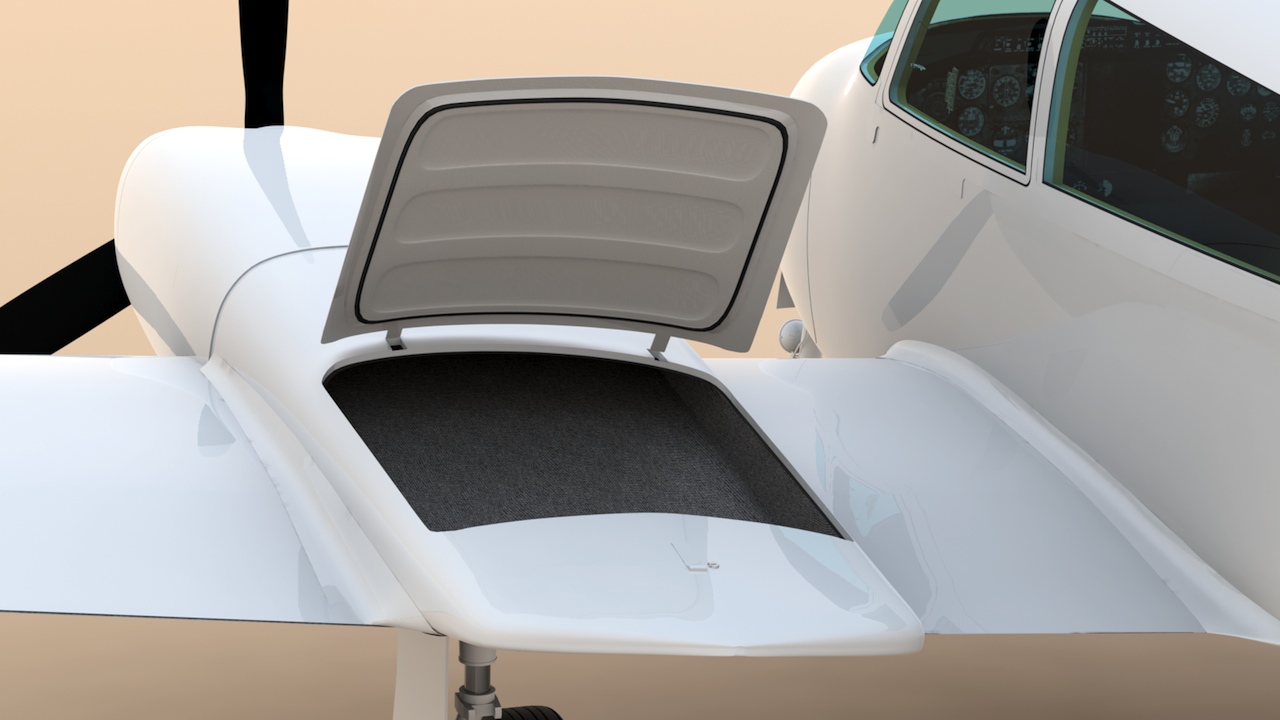
Next, I've added the liner to the inside of the nacelle locker door, as well as the compartment itself, and it's carpet.
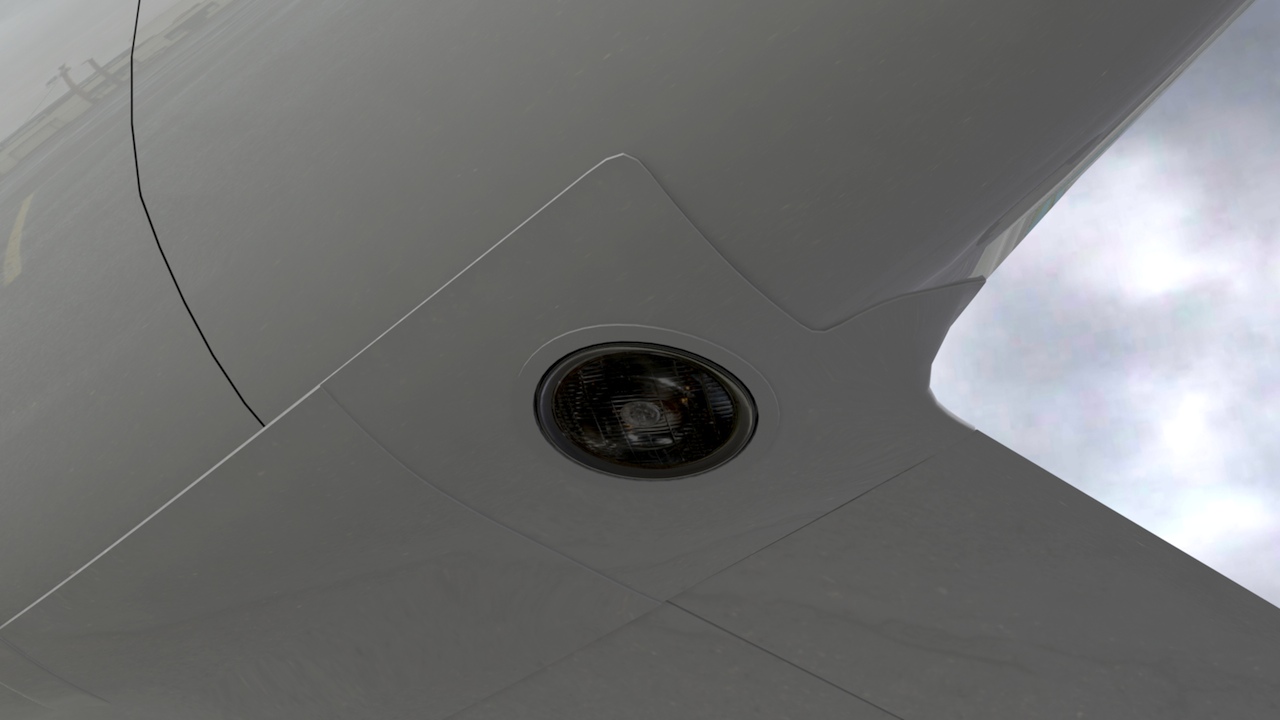
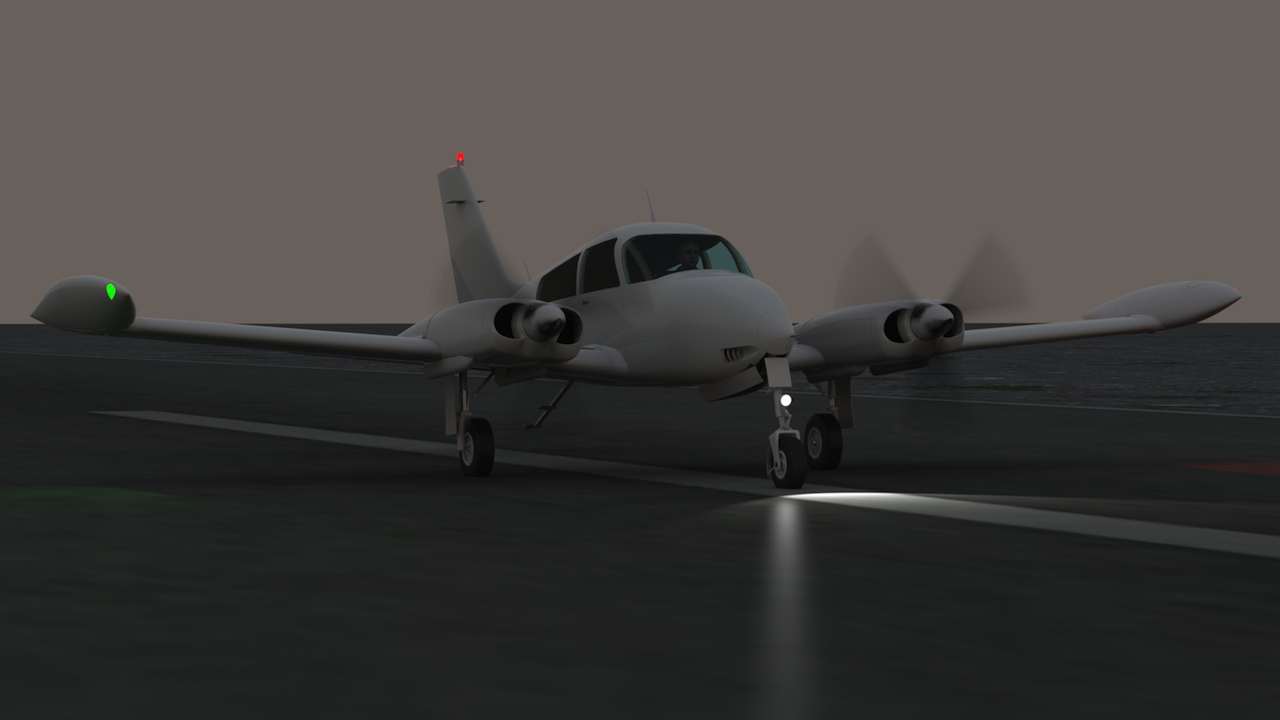
Using a combination of point lights, luminous polygons, and a small spotlight (for the taxi light) I've added the primary exterior lighting.
A few corrections on the tip tank fairings...
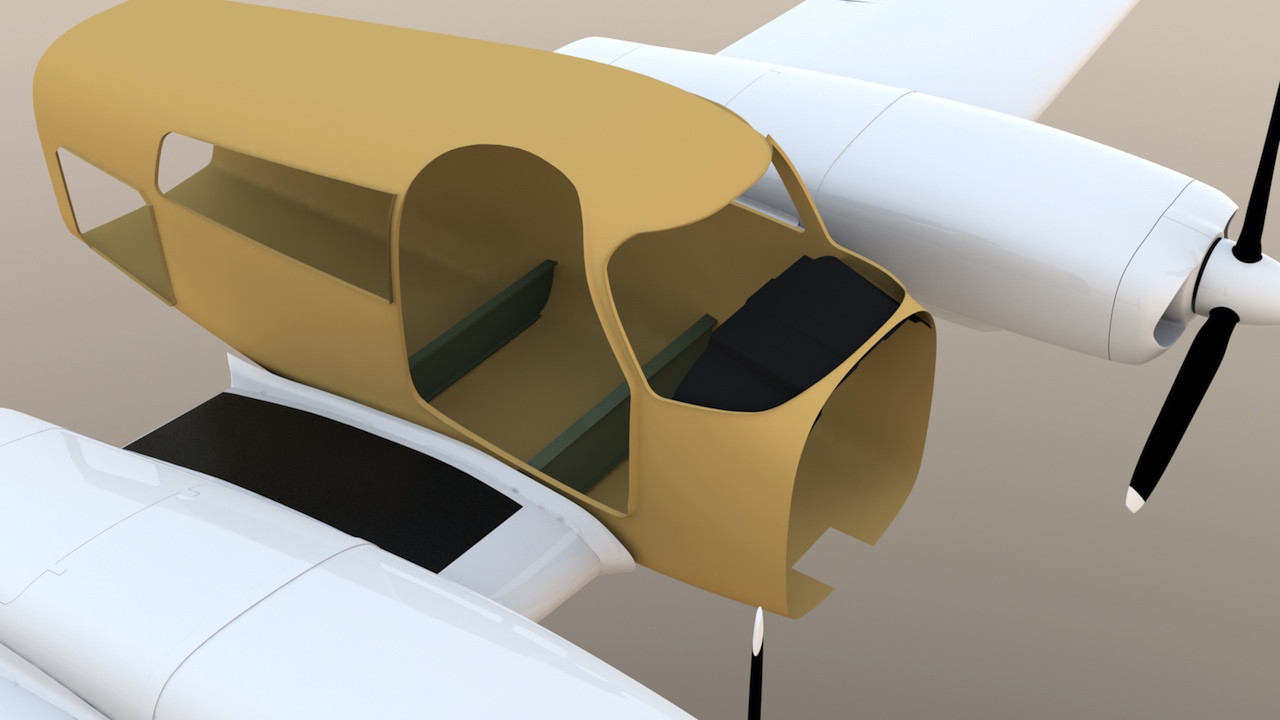
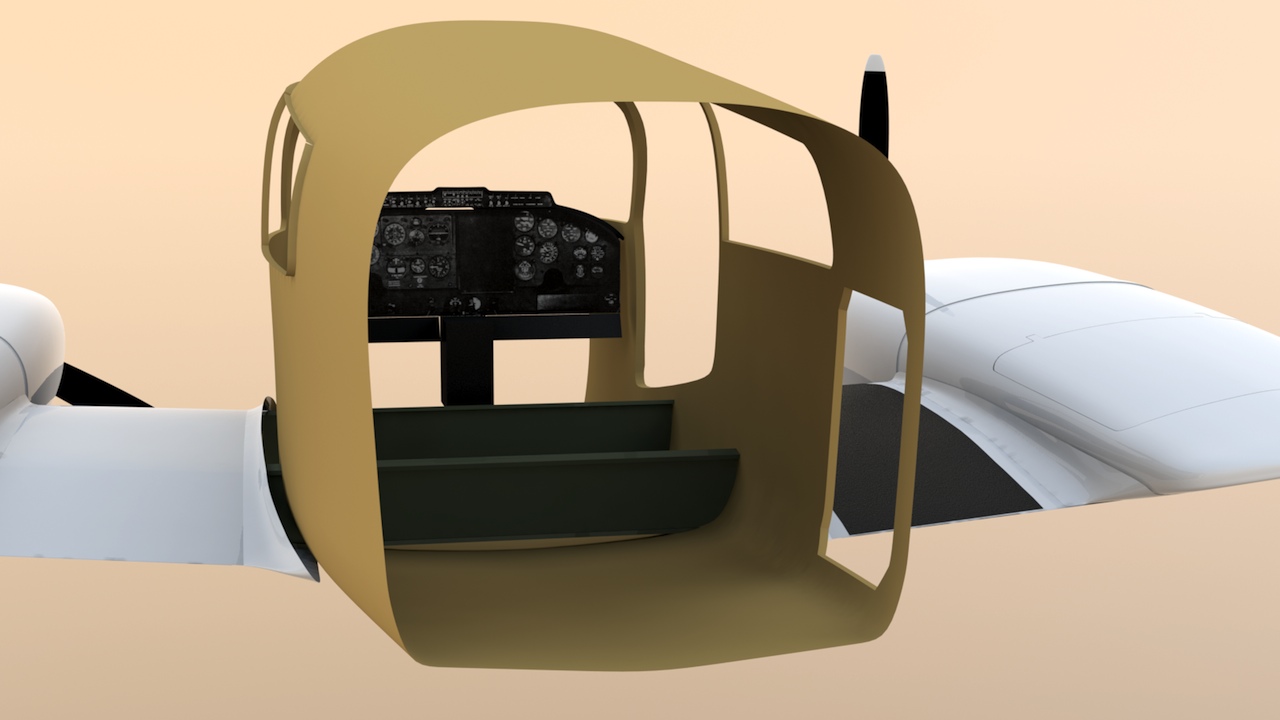
Structural start:
It's easy to locate some of the major parts, such as the two main wing spars, and these can serve as references as to the placement of parts in the fuselage. So, with the cabin liner shown here in place, and the two spars located, I'll begin with the fuselage structure.
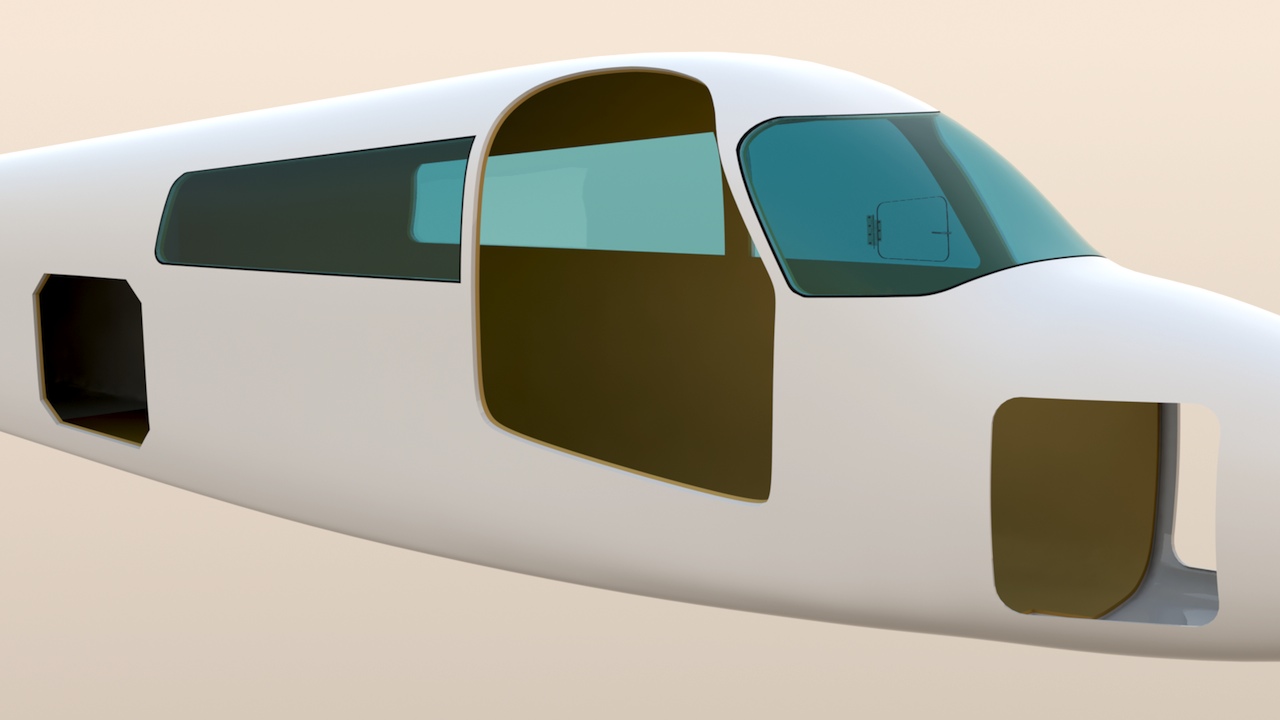
Major rebuild and update:
After some very helpful feedback, new info, and new photos, from my pilot/advisor friend on this project, I went back a few steps, and made the necessary changes. First, I went back to the original fuselage sub-d model, and reshaped it, for accuracy. Then. I adjusted some of the boolean cutters, and re-cut all the openings. I've also thickened the glass, for realism.
Part of the rebuilding process included the cabin door and baggage door, shown here open, then closed.
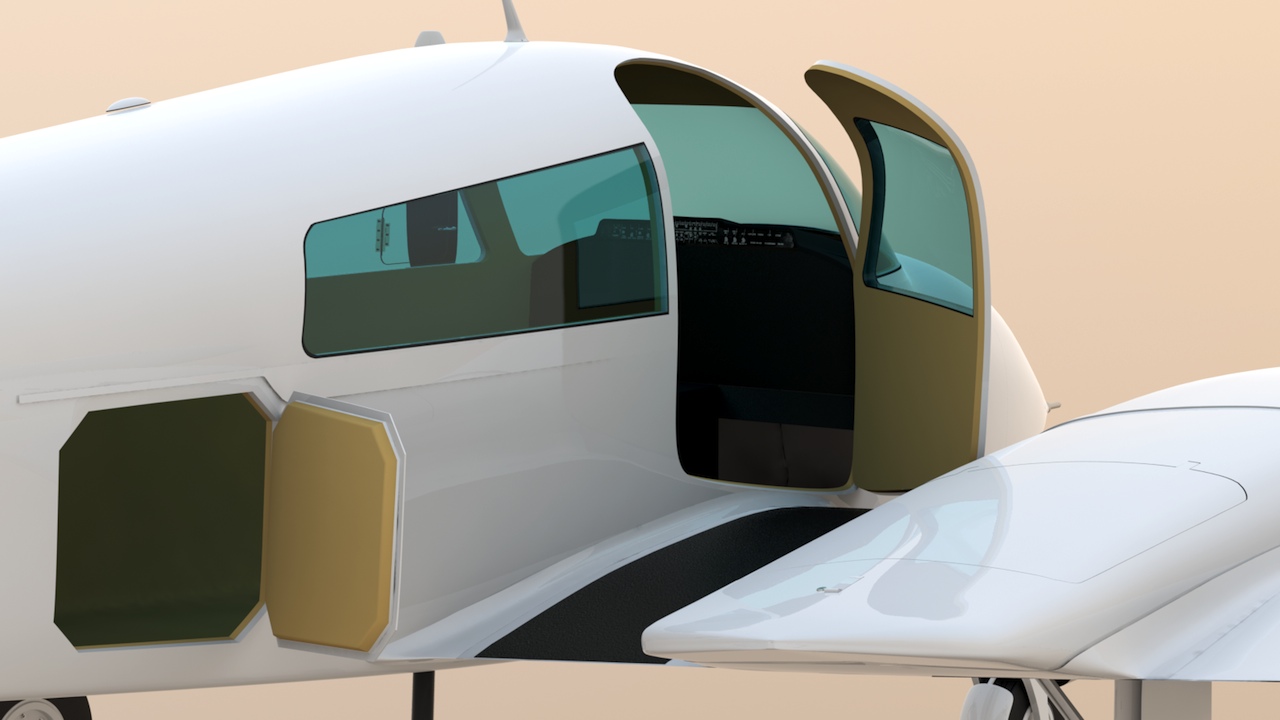
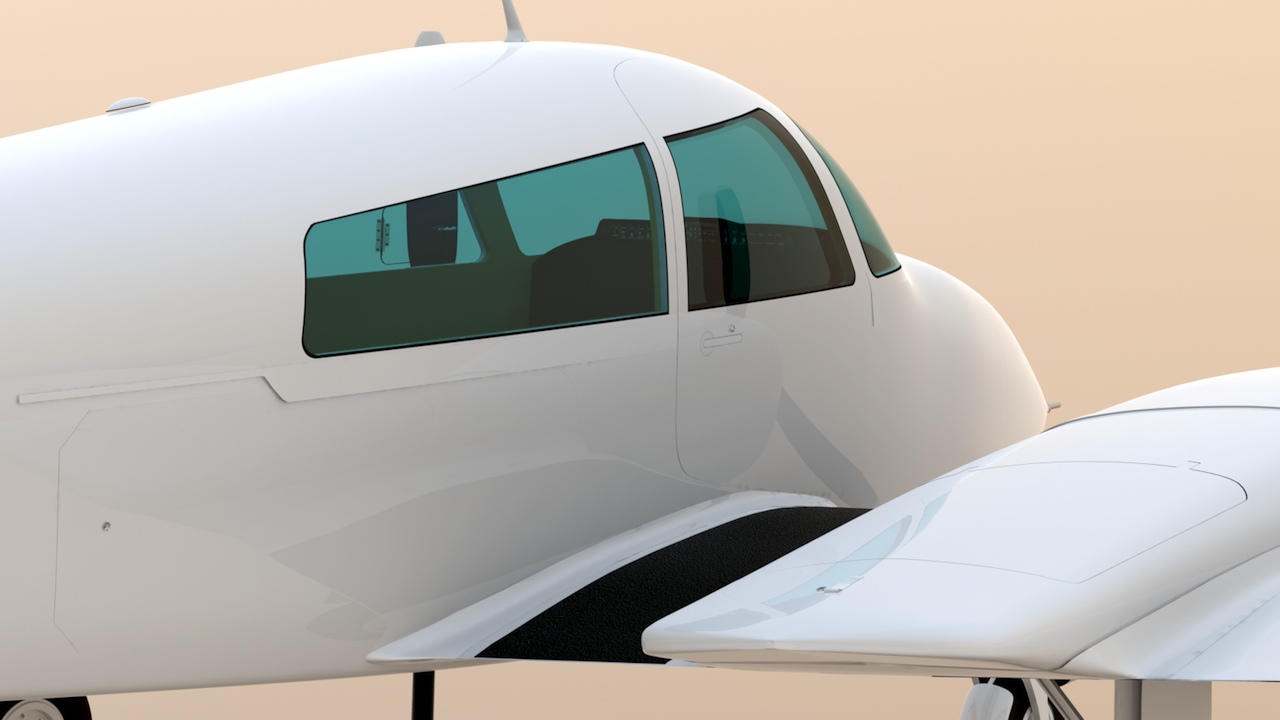
While not obvious from a distance, the details do add to the overall look. Later, more panel lines and rivets will complete the look.
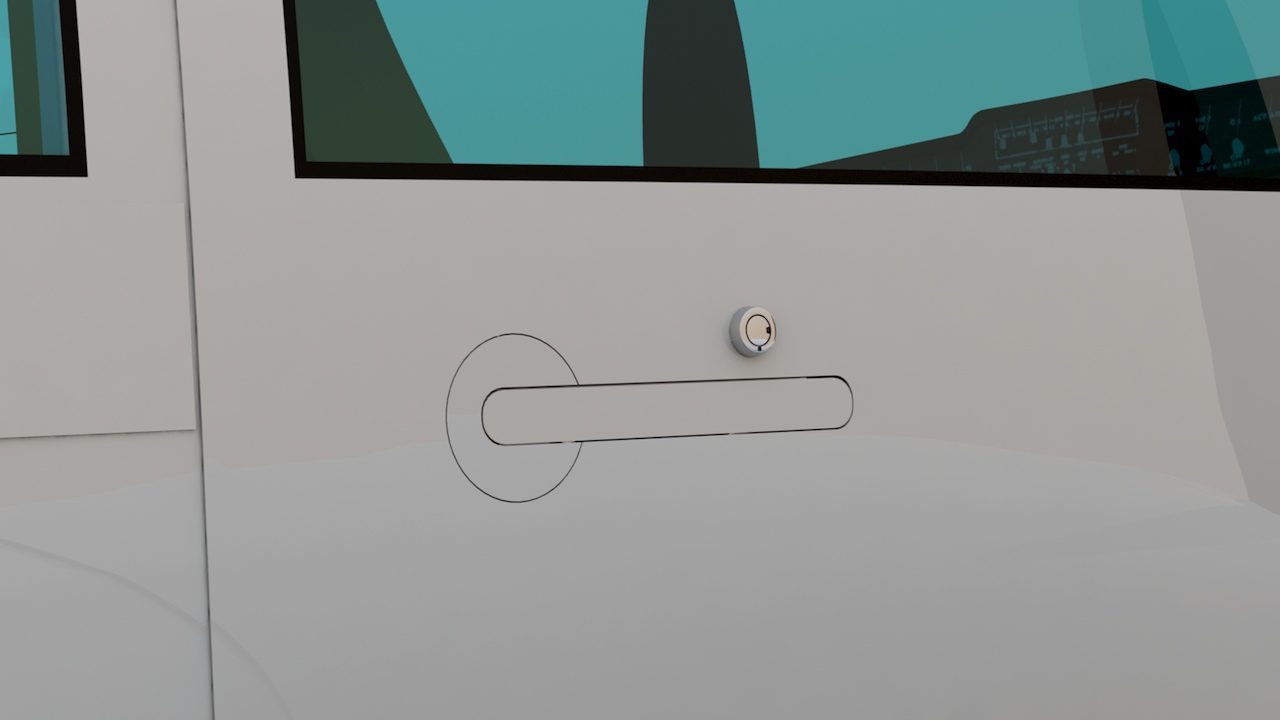
I'be been adding some of the smaller details too, like this cabin door handle and key lock.
I'll be returning to work on the internal structure now.
Click the "Page 07" link below, to continue.