- Page 01
- Page 02
- Page 03
- Page 04
- Page 05
- Page 06
- Page 07
- Page 08
- Page 09
- Page 10
- Page 11
- Page 12
- Page 13
- Page 14
- Page 15
Cessna T-50 "Bobcat" - The skin...
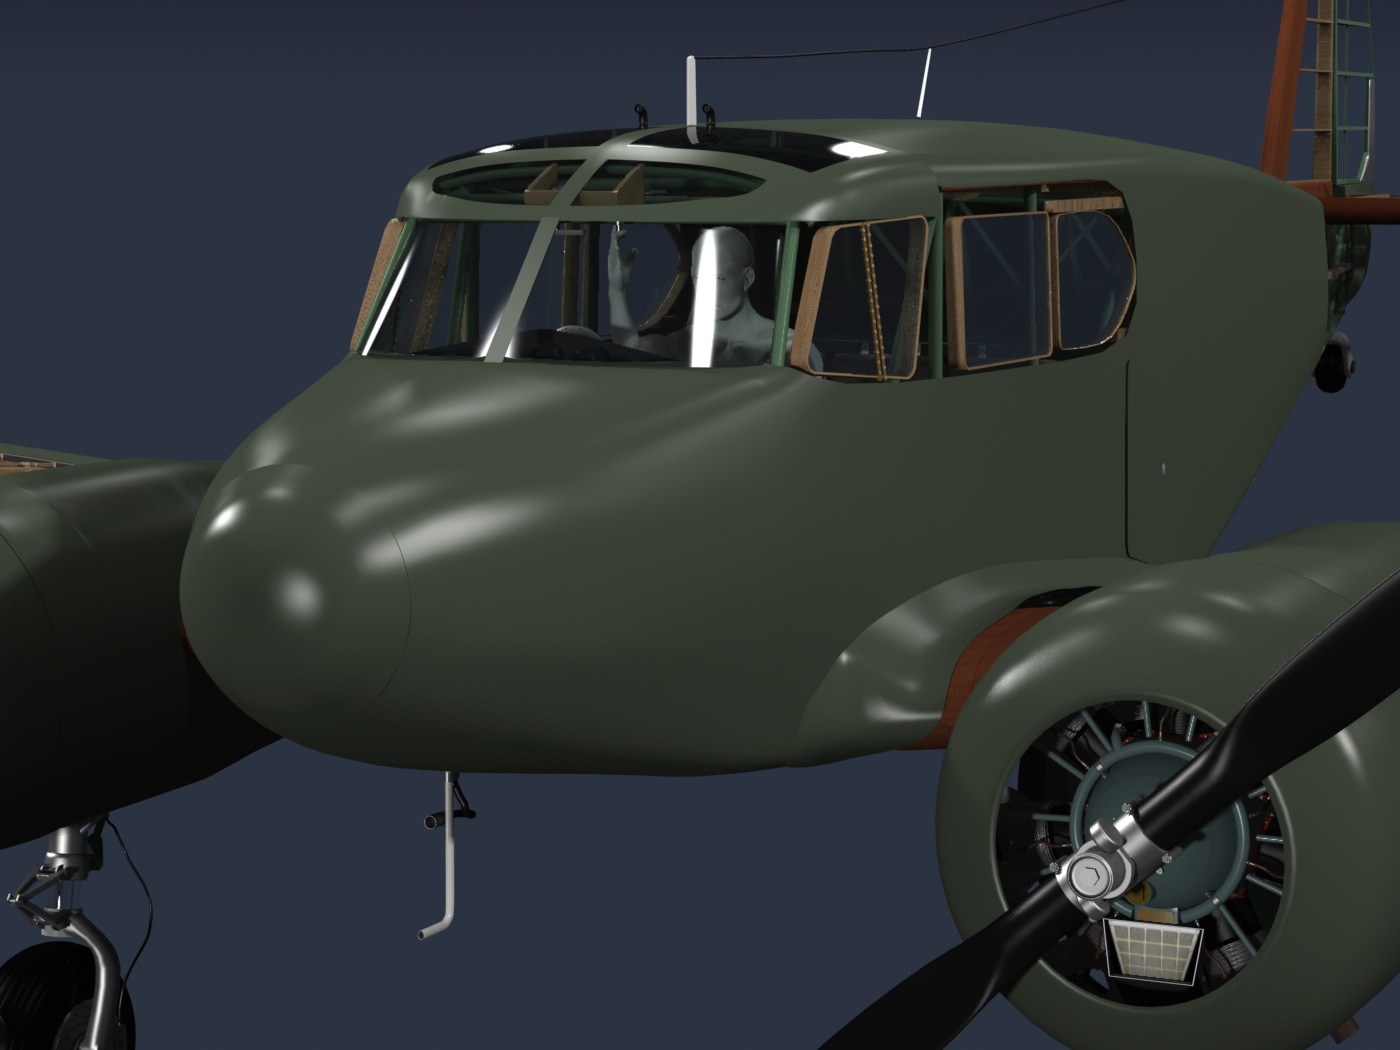
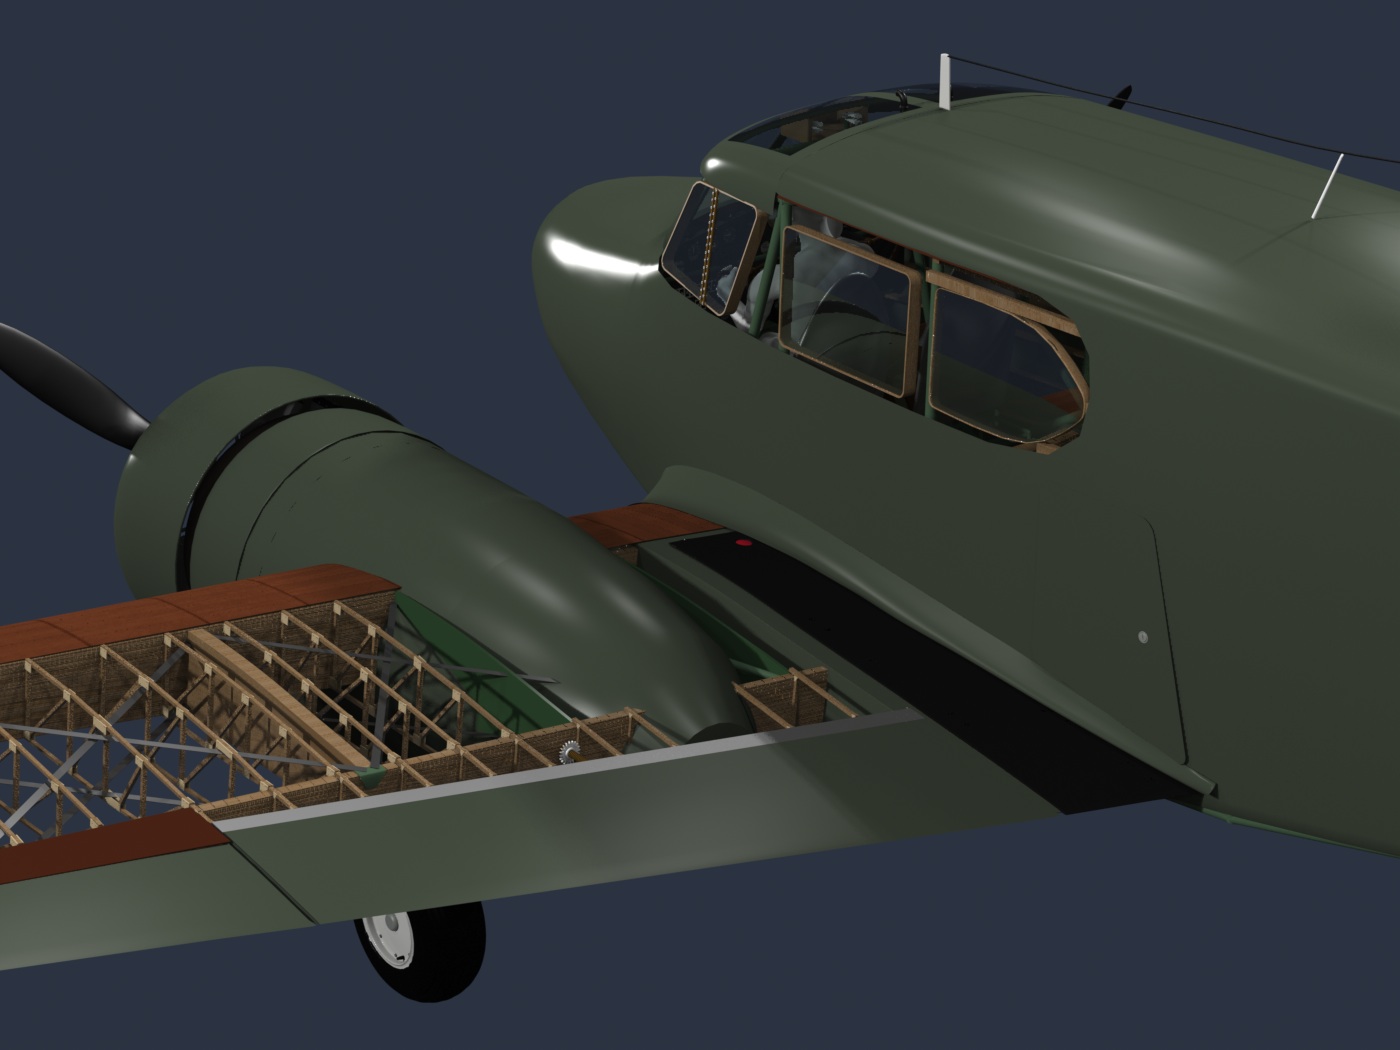
I discarded the original exterior skin I made for this aircraft, long ago. The reason is that I hadn't done the interior structure yet, and found that the exterior I started with, although generally "acceptable", was far from scale. So, now that the internal parts are very close to correct, it seems like a good time to begin on the skin. I used existing vertices in the wood structure to create edges for "patches" of skin, then connected them as I worked, resulting in what you see here, which is nearly a one-piece skin. For now, my concern is the overall shape and fit. Later, I'll definitely add the fabric "sag" to simulate the actual aircraft. There are still some gaps around the cabin windows, and I have not cut out the separate area for the cabin door.
Here are the latest renderings, which now include the overhead cockpit windows.
The elevator control system:
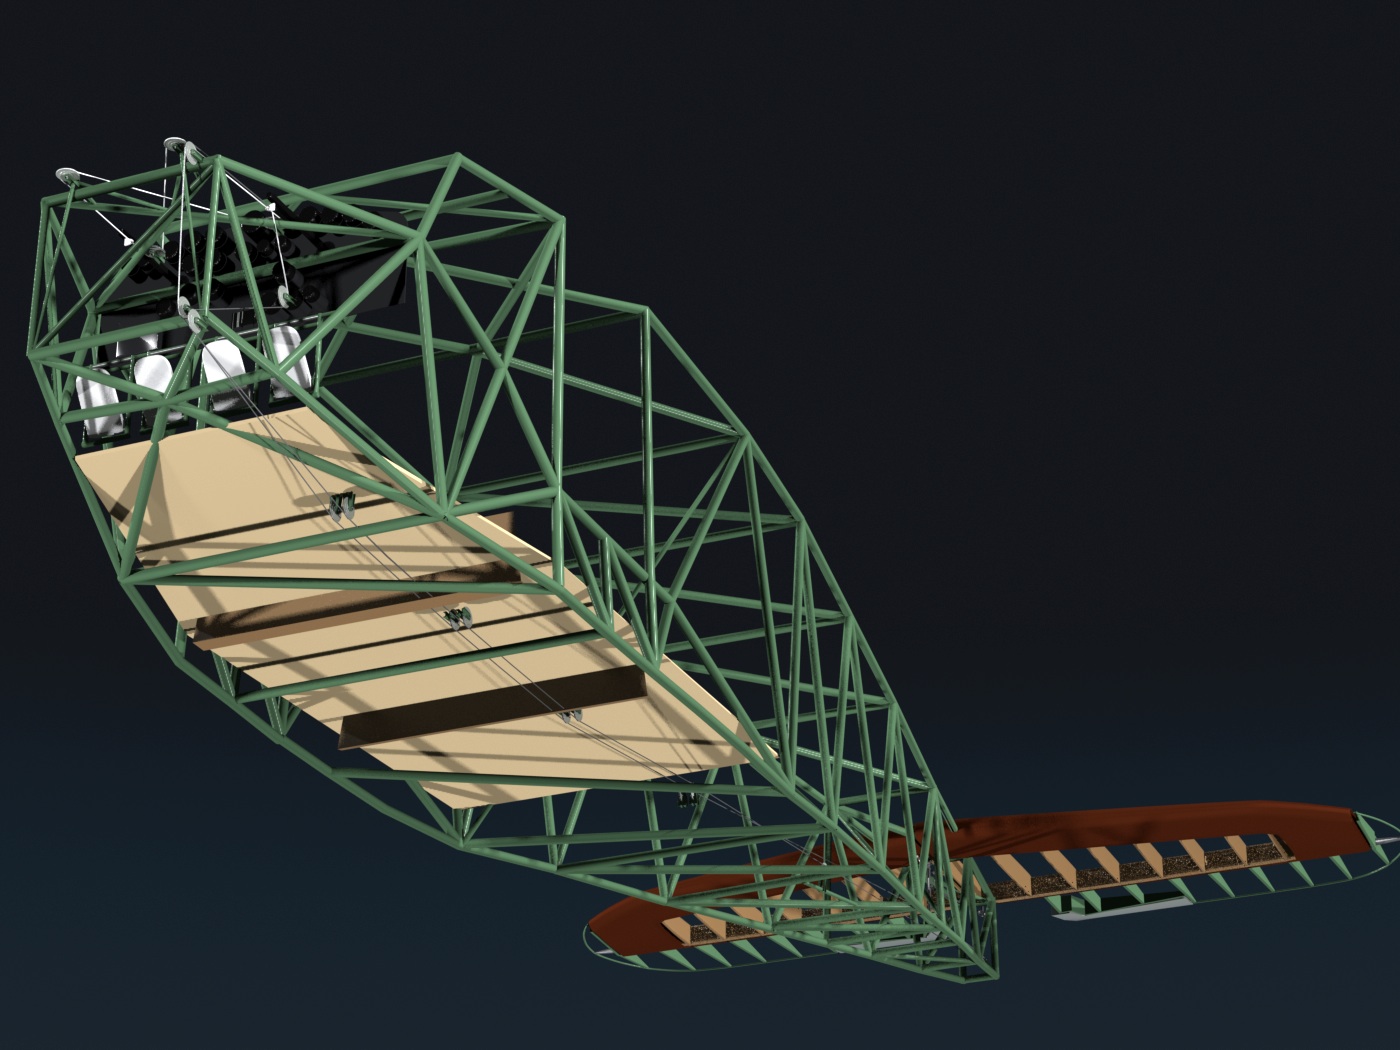
For 3D fans who aren't familar with aircraft, there are 5 items that can be considered "control systems". They are the "elevator", (pitch, up and down) "rudder", (yaw, left and right) "ailerons", (roll left and right) "Flaps" (for takeoff and landing stall speed reduction) and the retractable main landing gear. All of the controls are moved via human-powered cable and pulley systems, connected to the control yokes and rudder pedals in the cockpit, except for the flaps and landing gear, which are electric, and driven by bicycle-like chains and sprockets. So, since each one is a "system" by itself, I've begun with the elevator controls, and will do each system one at a time.
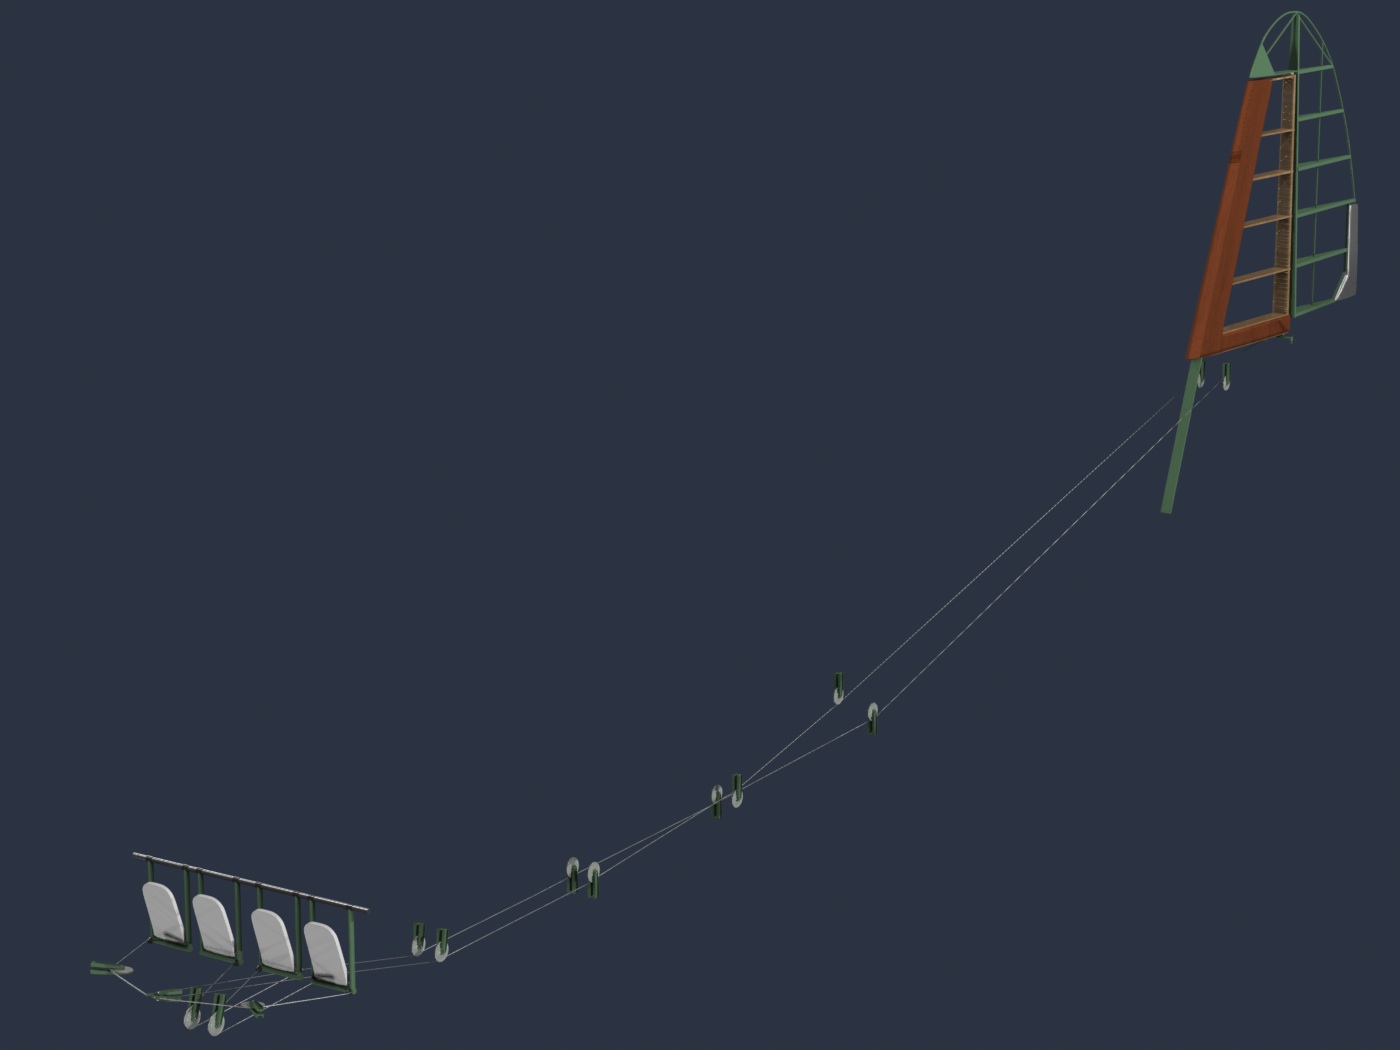
The first image shows the whole elevator system, with the other fuselage parts removed, for clarity. You may notice two things... First, it's a continuous loop, and second, the pilot and co-pilot's controls are interconnected to match. (That's the "X"-shaped cable crossing at the top front of the plane.)
There are a couple of "quirks" in these images... First, ignore the green-colored rod and pulley near the tail. That's part of the RUDDER control system, which I forgot to hide. The other thing is that I was concerned first with the placement of the parts, to avoid interference issues, and some of the pulley brackets haven't been built yet. (So, some are "floating".) I'll fix these things shortly.
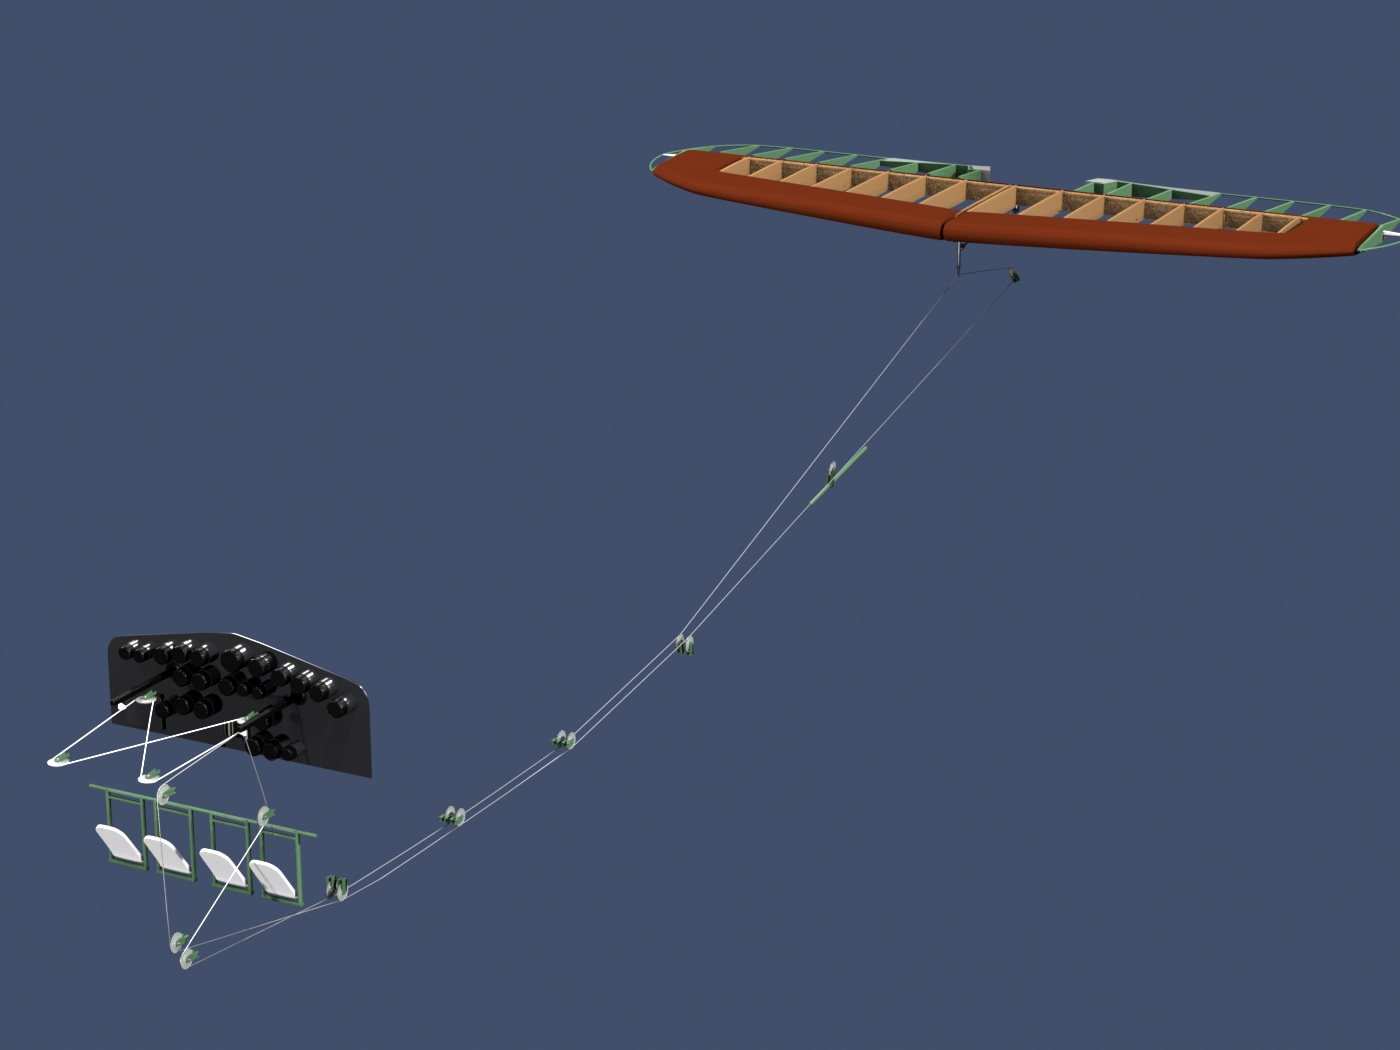
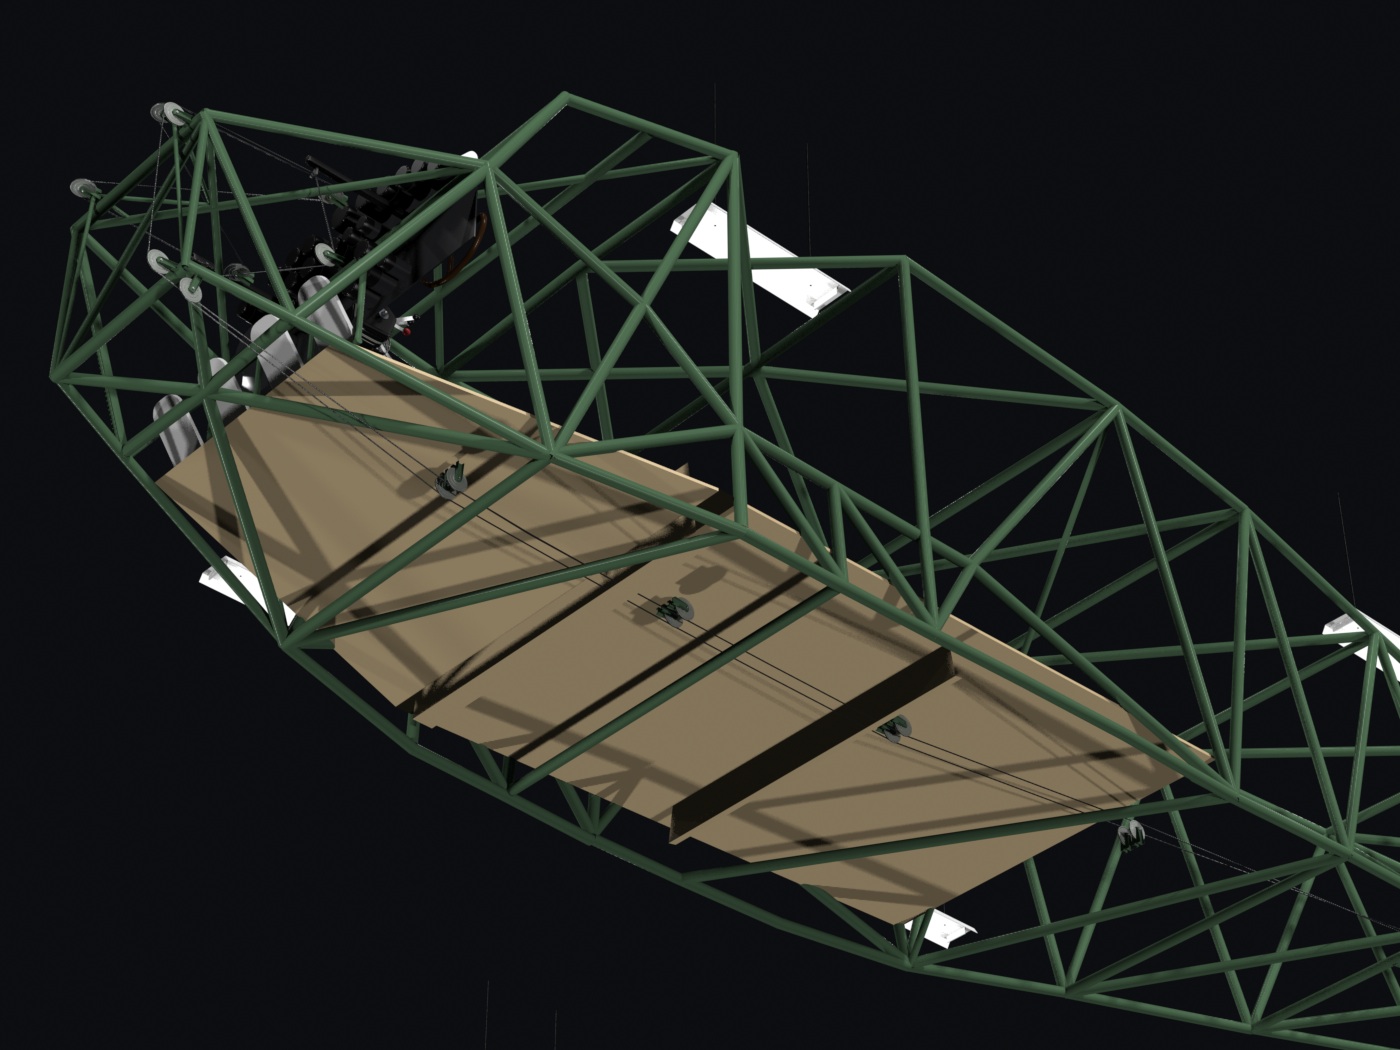
Cables run to and from the tail along mostly-parallel pulleys.
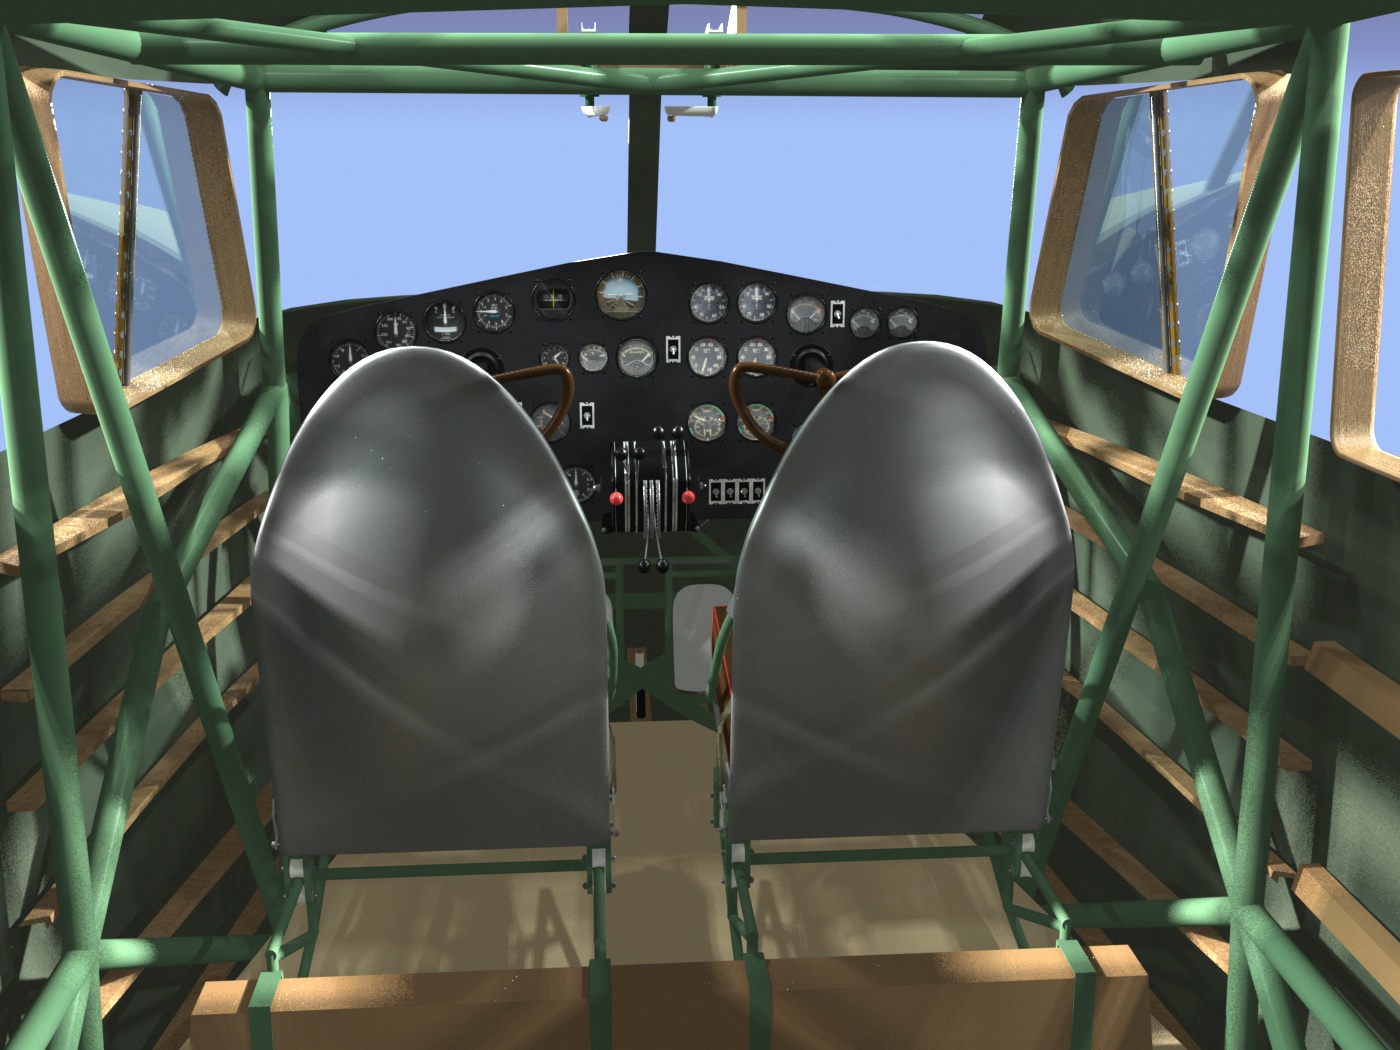
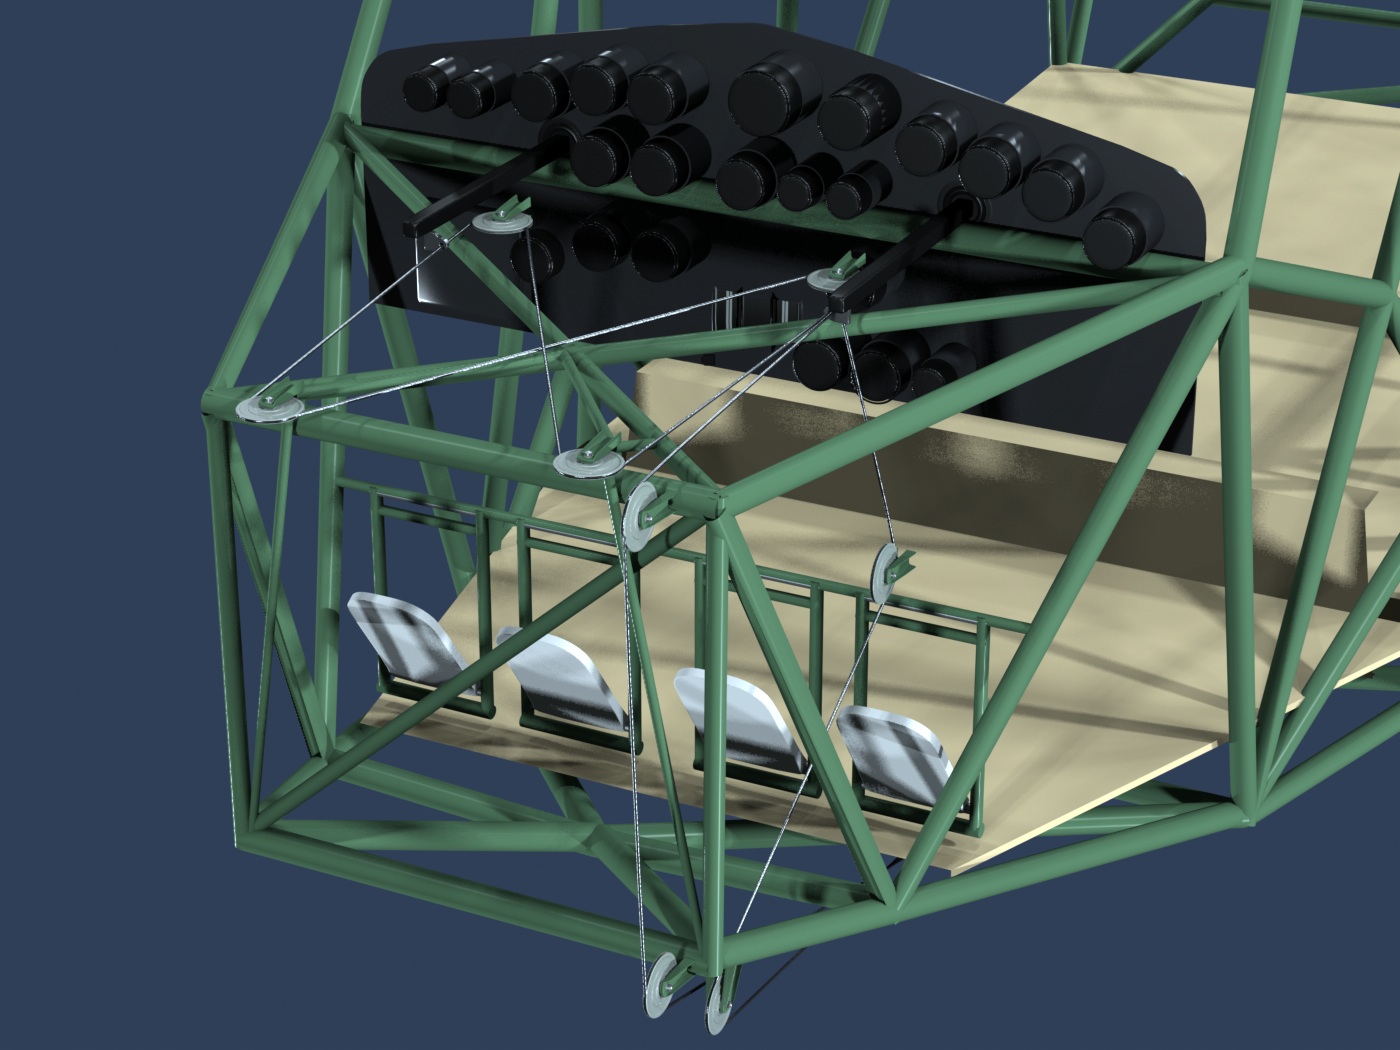
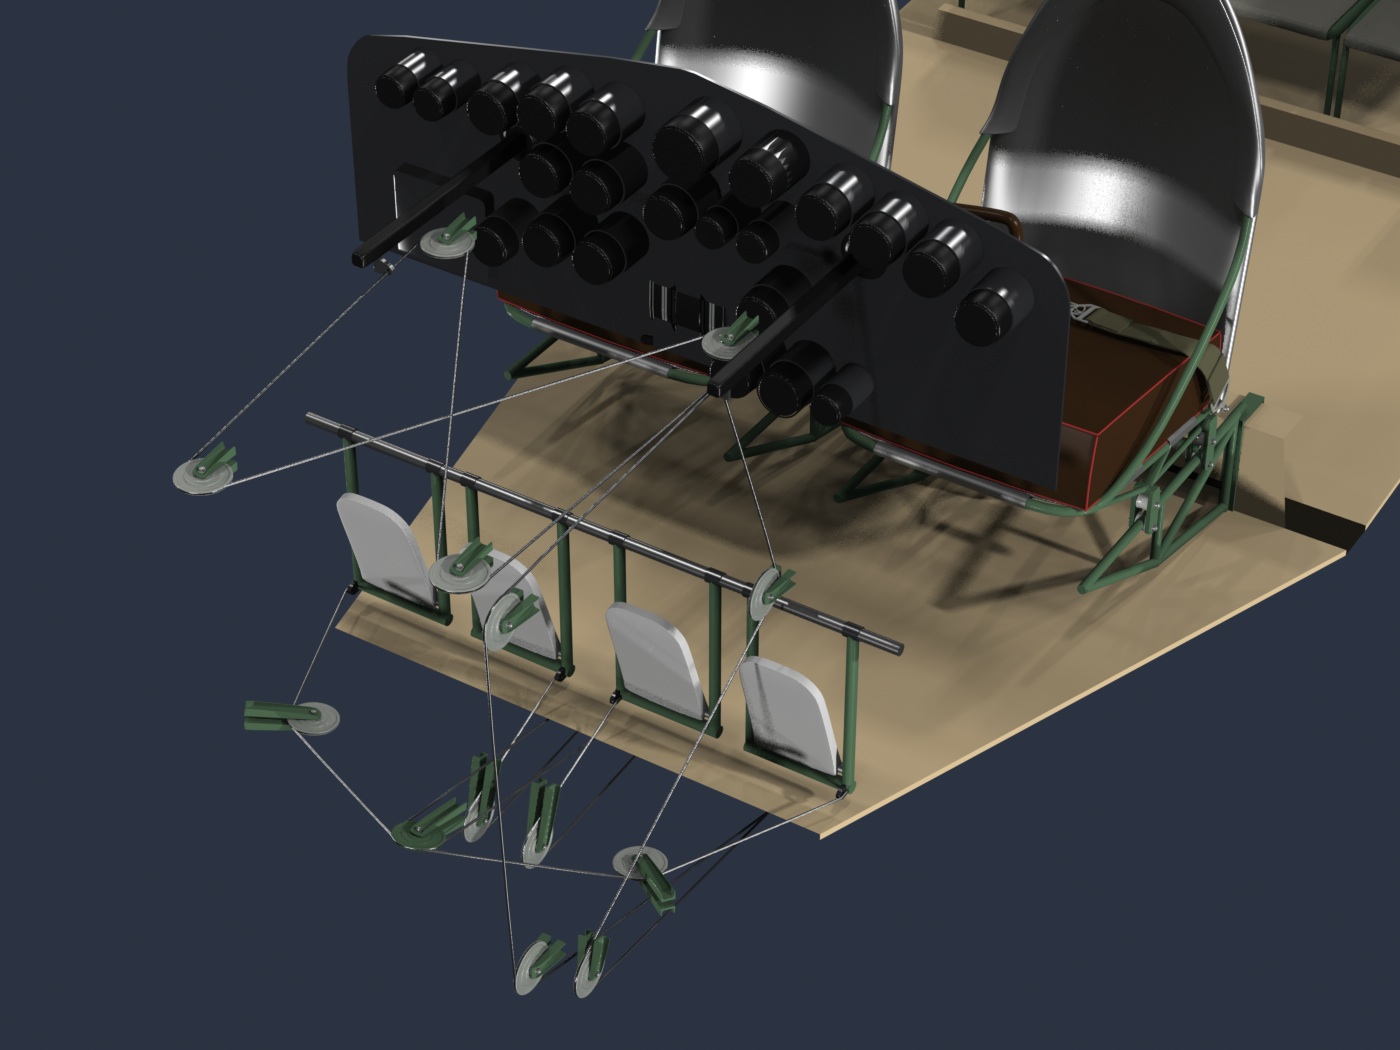
Below, a close-up of the cables connections to the cockpit "yokes", as well as the interconnection between them.
At the tail, where the cable connects to the elevator linkage, and starts the loop back to the cockpit.
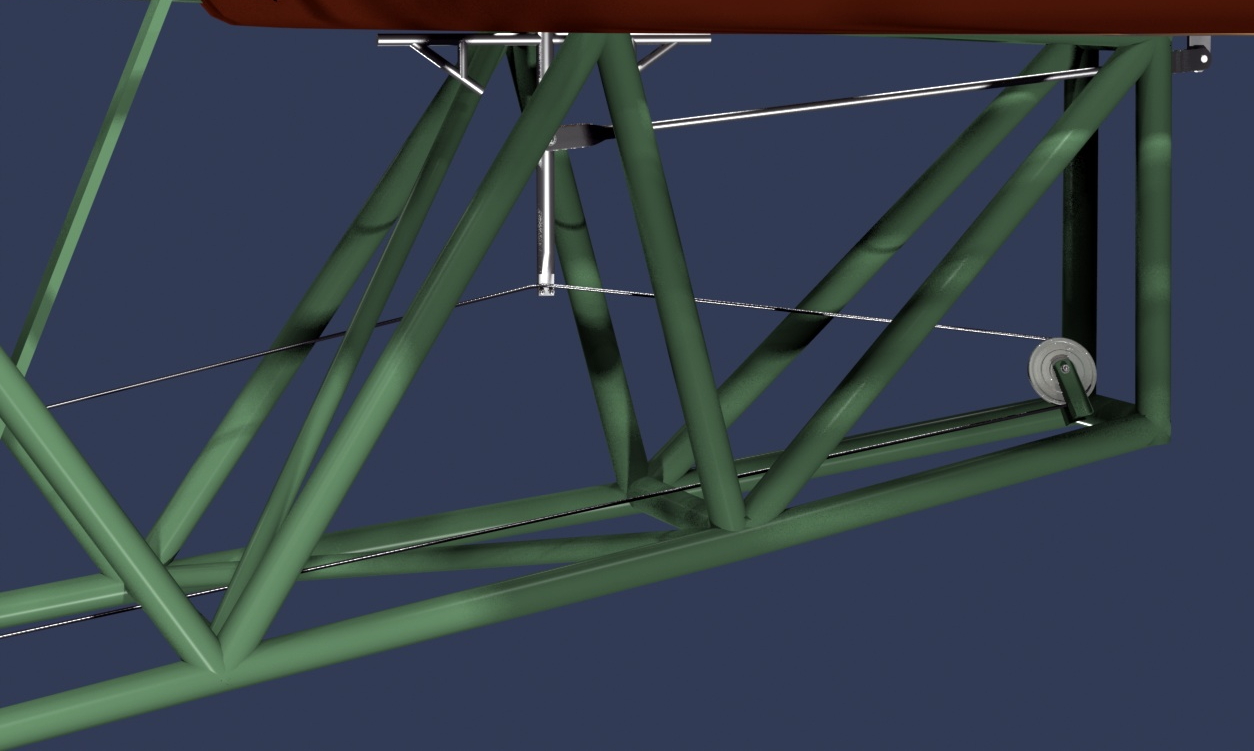
A little better view of the parts under the cabin floor.
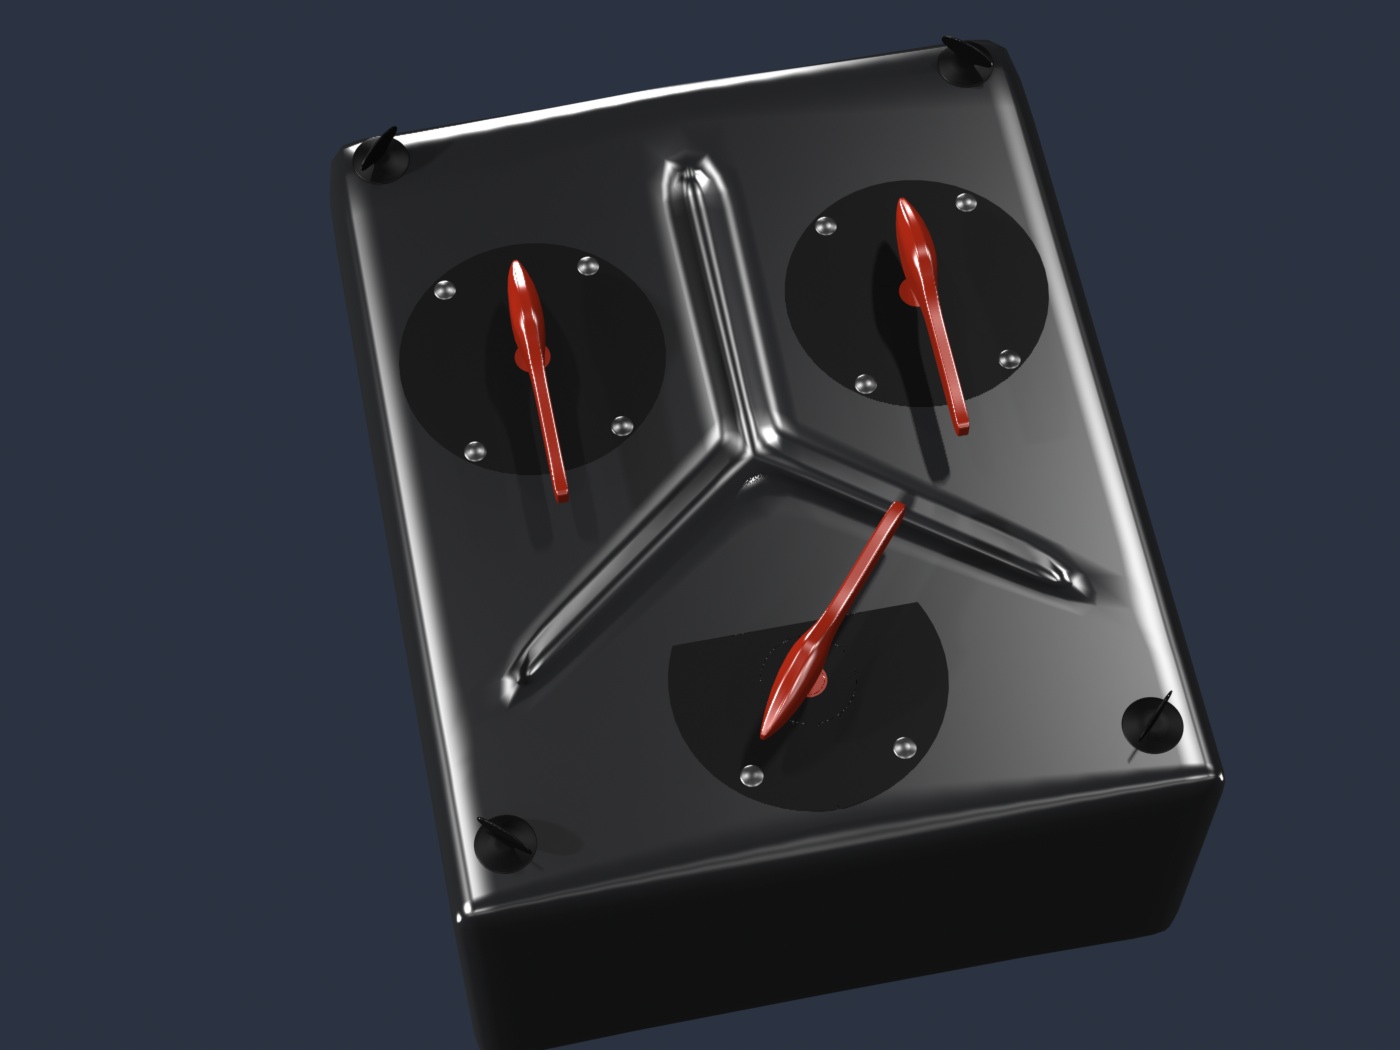
The Fuel Selector box
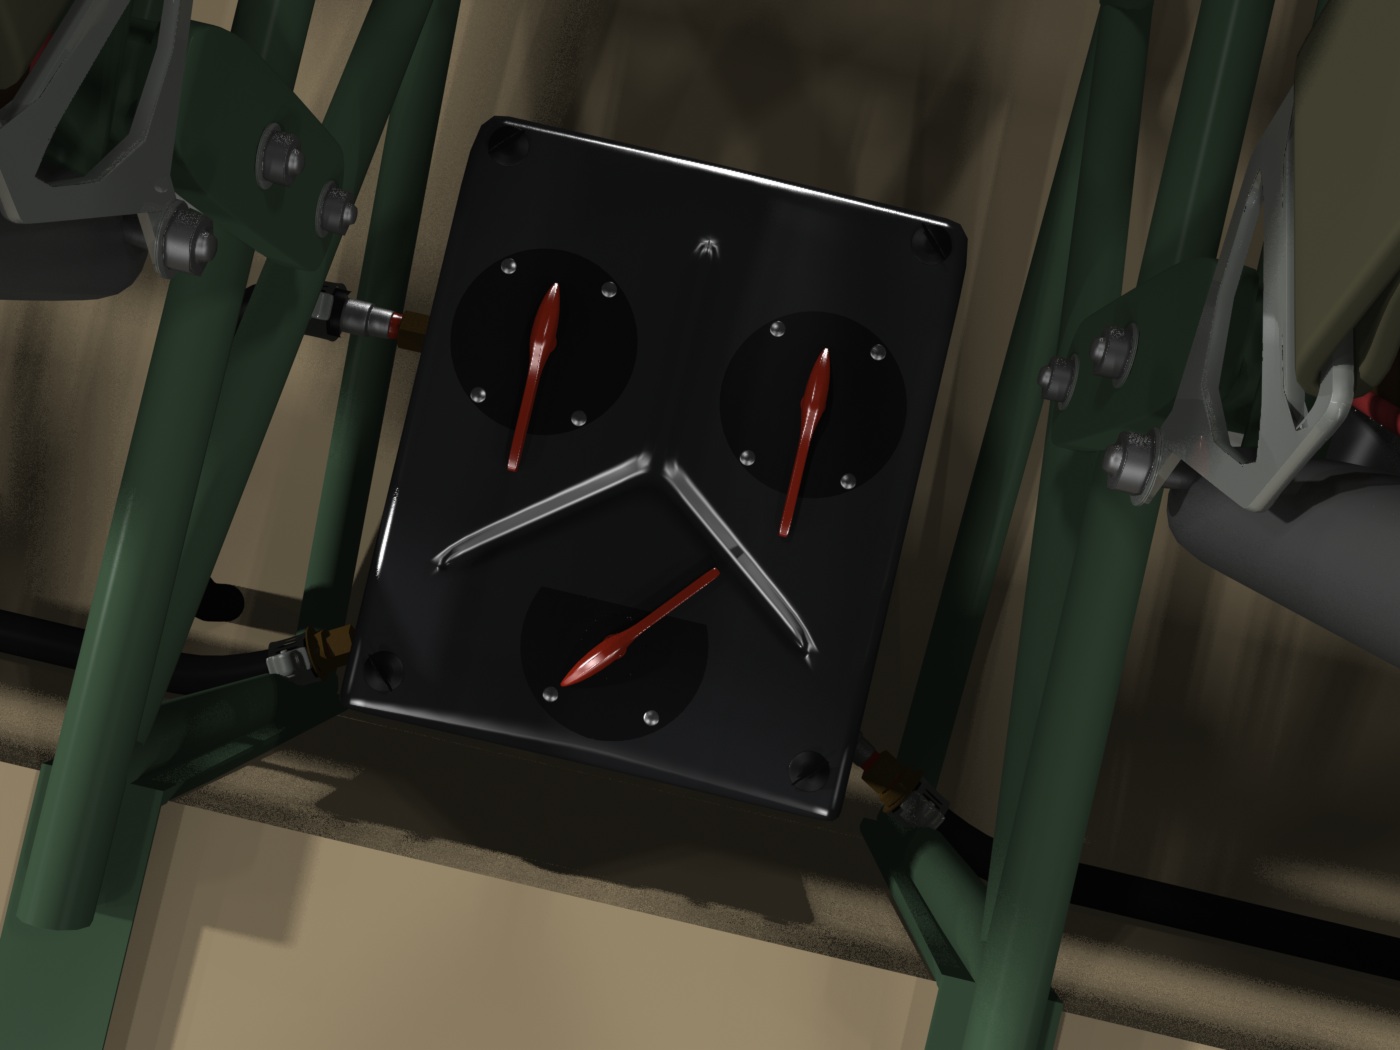
I re-modeled the fuel selector box, (new knobs and plates) to resemble the vintage version. Here it is alone, and (below) installed, with the fuel lines attached.
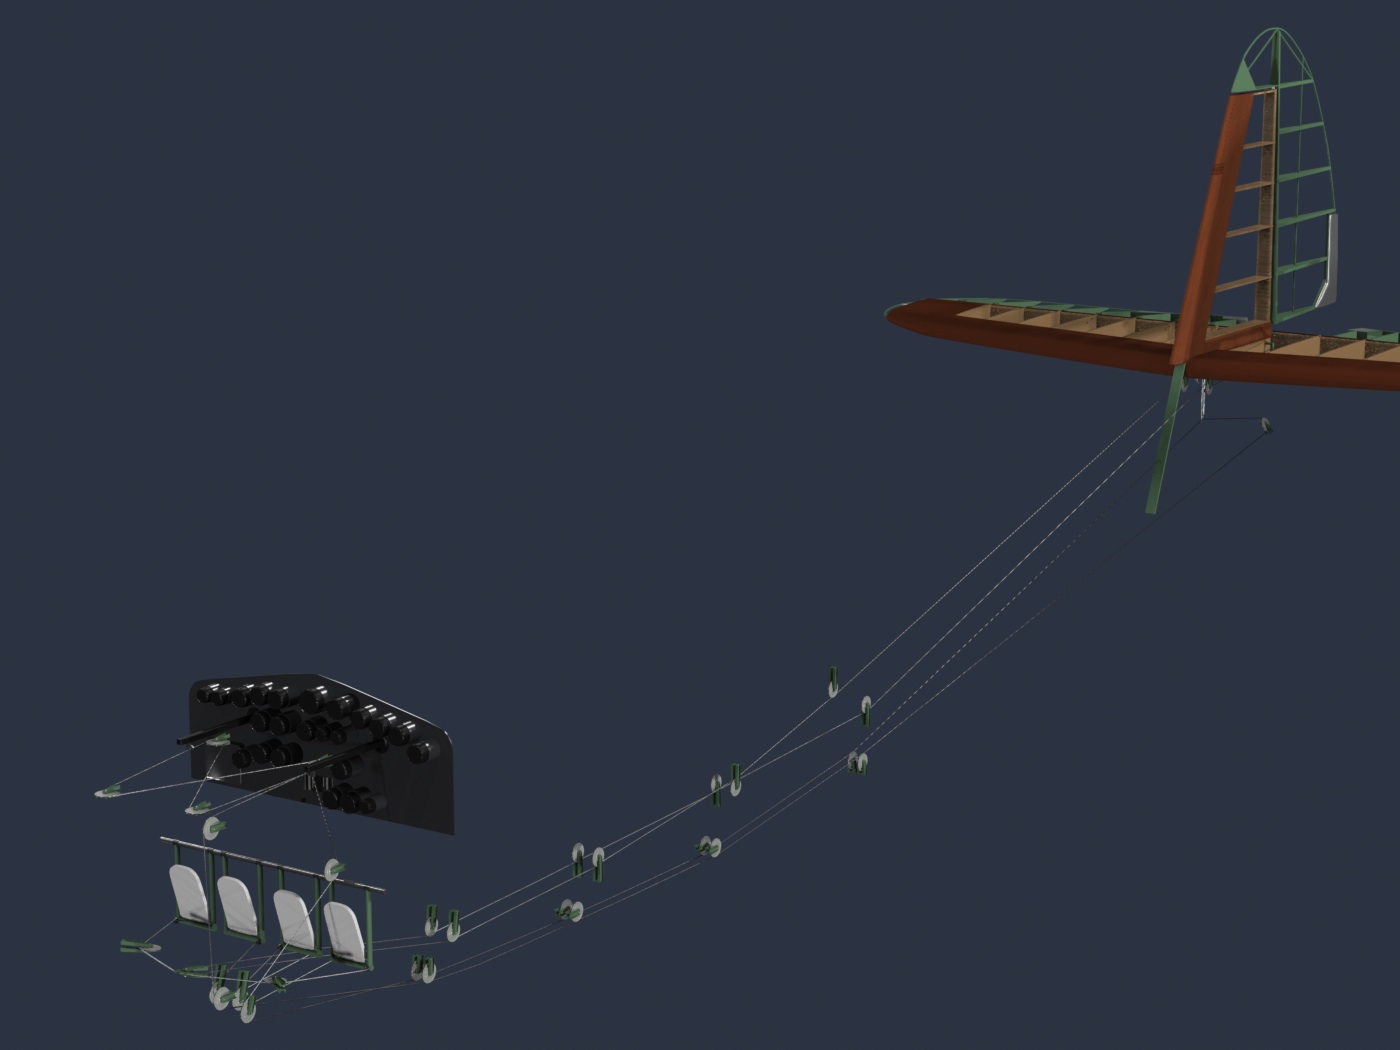
The Rudder control system:
The first image shows the rudder control system alone. The second image shows it combined with the elevator control system, (installed a few images ago) The final images lets you see some of the detail where all these cables connect to the cockpit controls.
Click the "Page 13" link below, to continue...
- Page 01
- Page 02
- Page 03
- Page 04
- Page 05
- Page 06
- Page 07
- Page 08
- Page 09
- Page 10
- Page 11
- Page 12
- Page 13
- Page 14
- Page 15