- Page 01
- Page 02
- Page 03
- Page 04
- Page 05
- Page 06
- Page 07
- Page 08
- Page 09
- Page 10
- Page 11
- Page 12
- Page 13
- Page 14
- Page 15
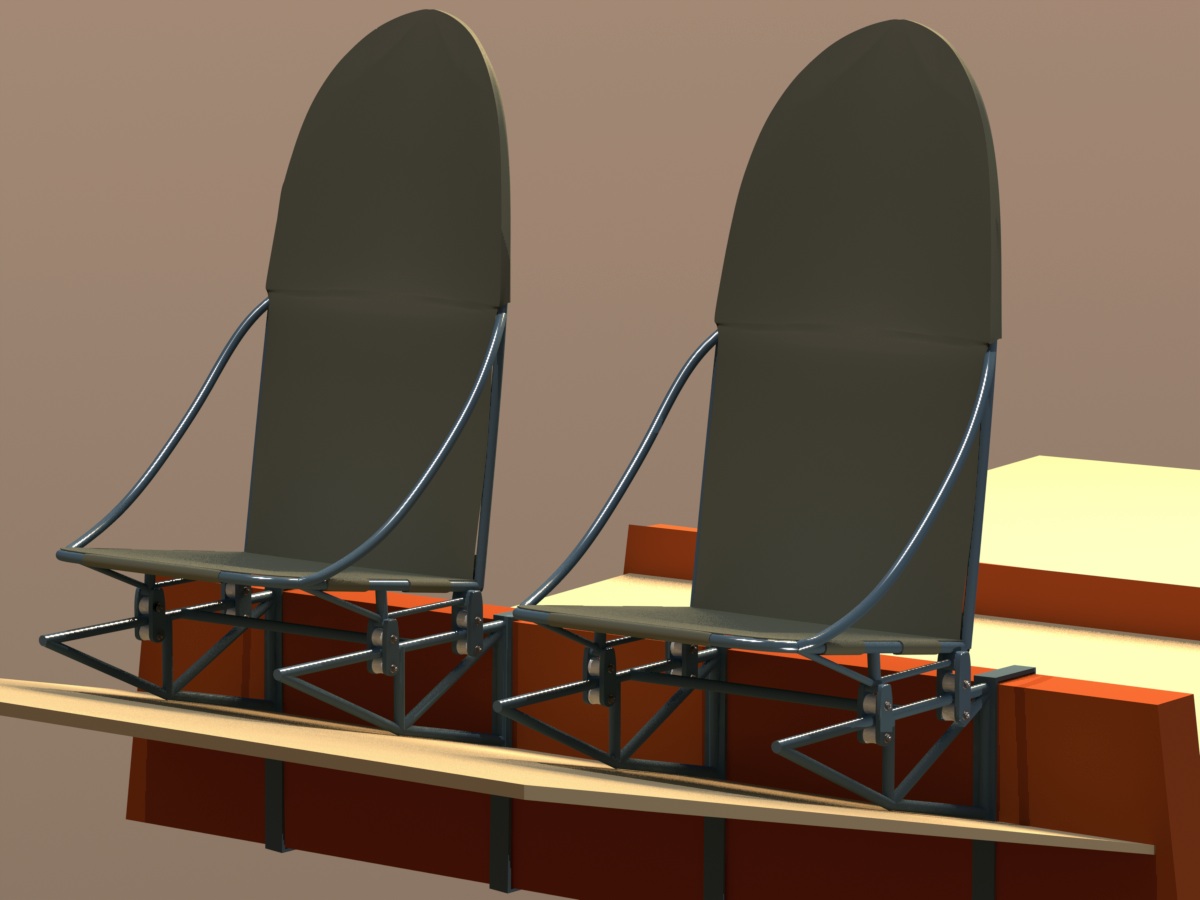
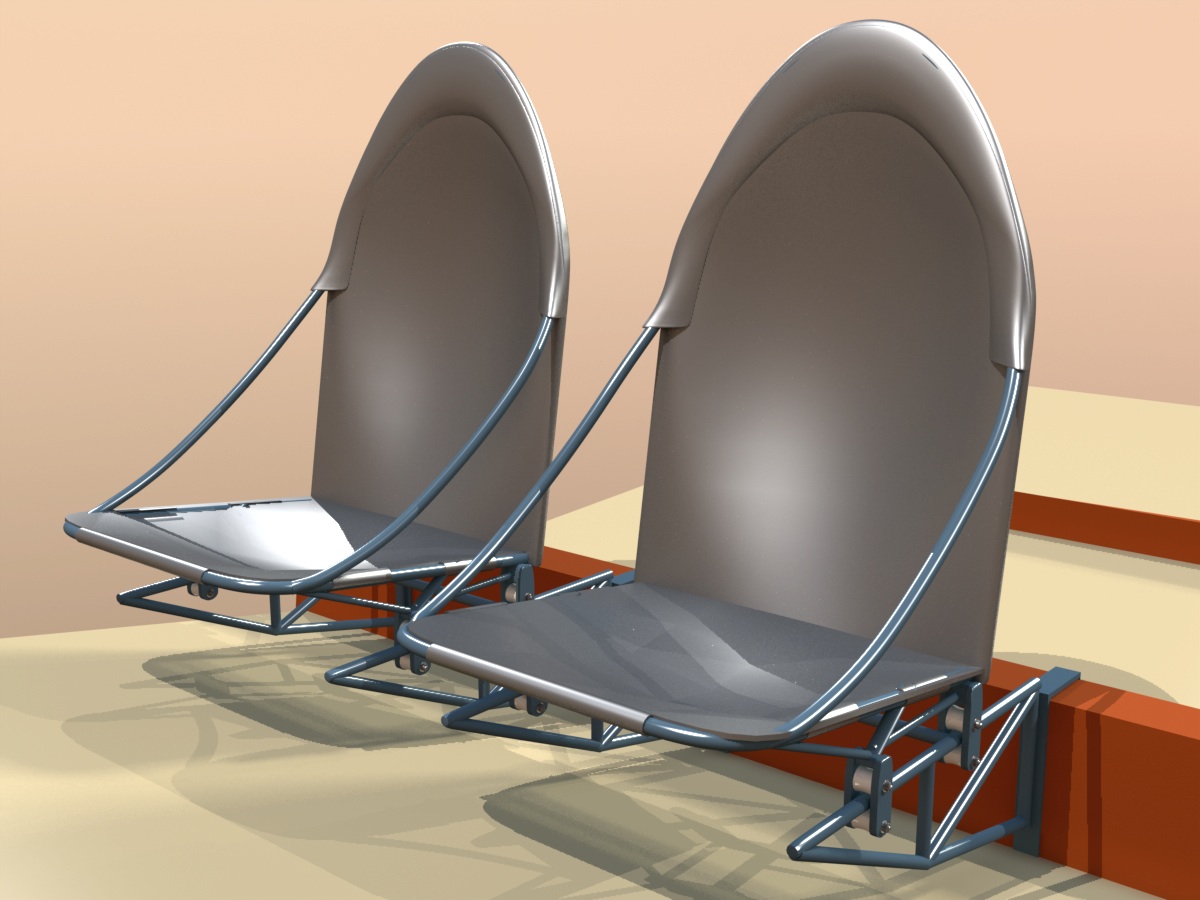
Cessna T-50 "Bobcat" Cockpit Seats...
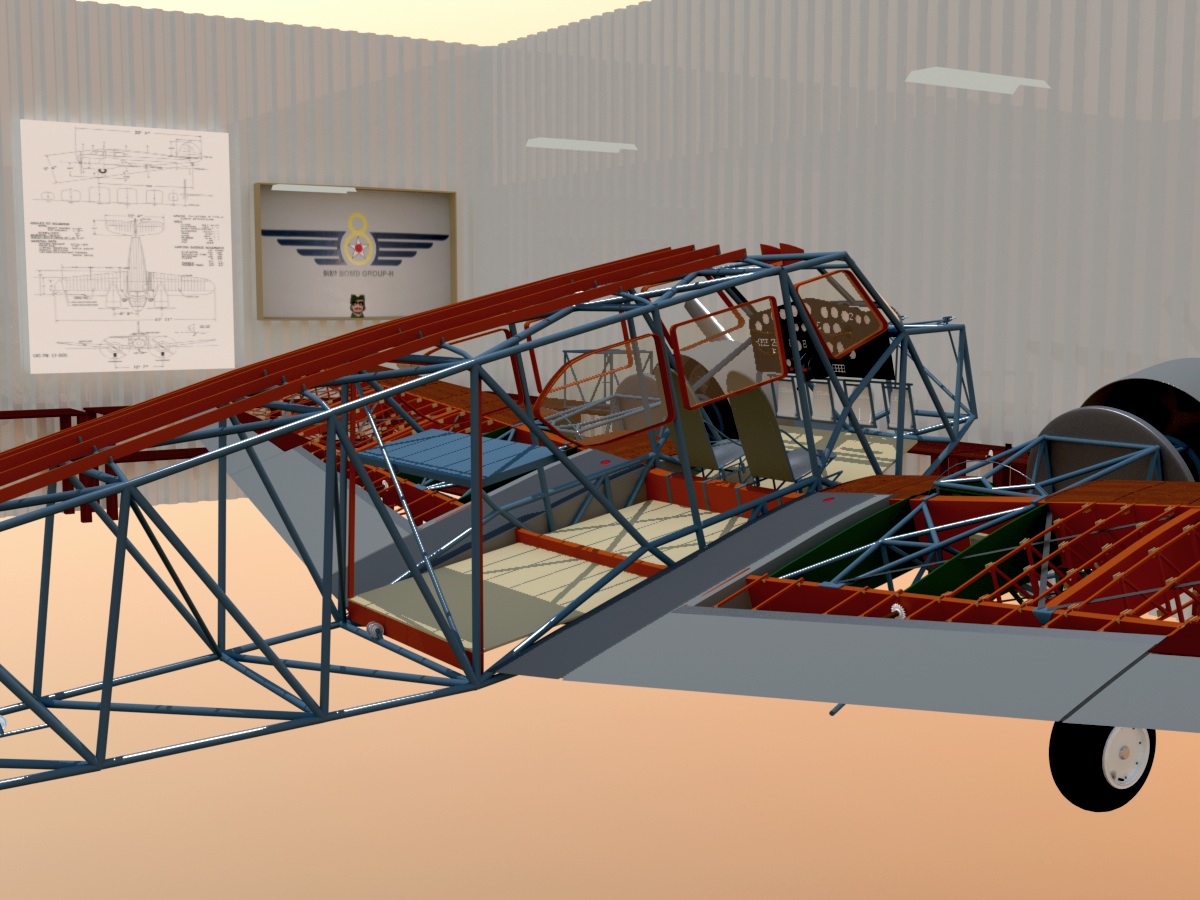
Terry Sullivan pointed out that the arm rests I had shown in the previous images were not standard, so I've removed them, and replaced the seats with more authentic ones. Military personnel wore parachutes that they sat on... hence the lack of padding in the first image. The seats (note the rollers on the bottom) are shown here in their fully-aft position. Generally, it's easier to climb into an airplane with the seats back, then adjust the seats forward as needed.
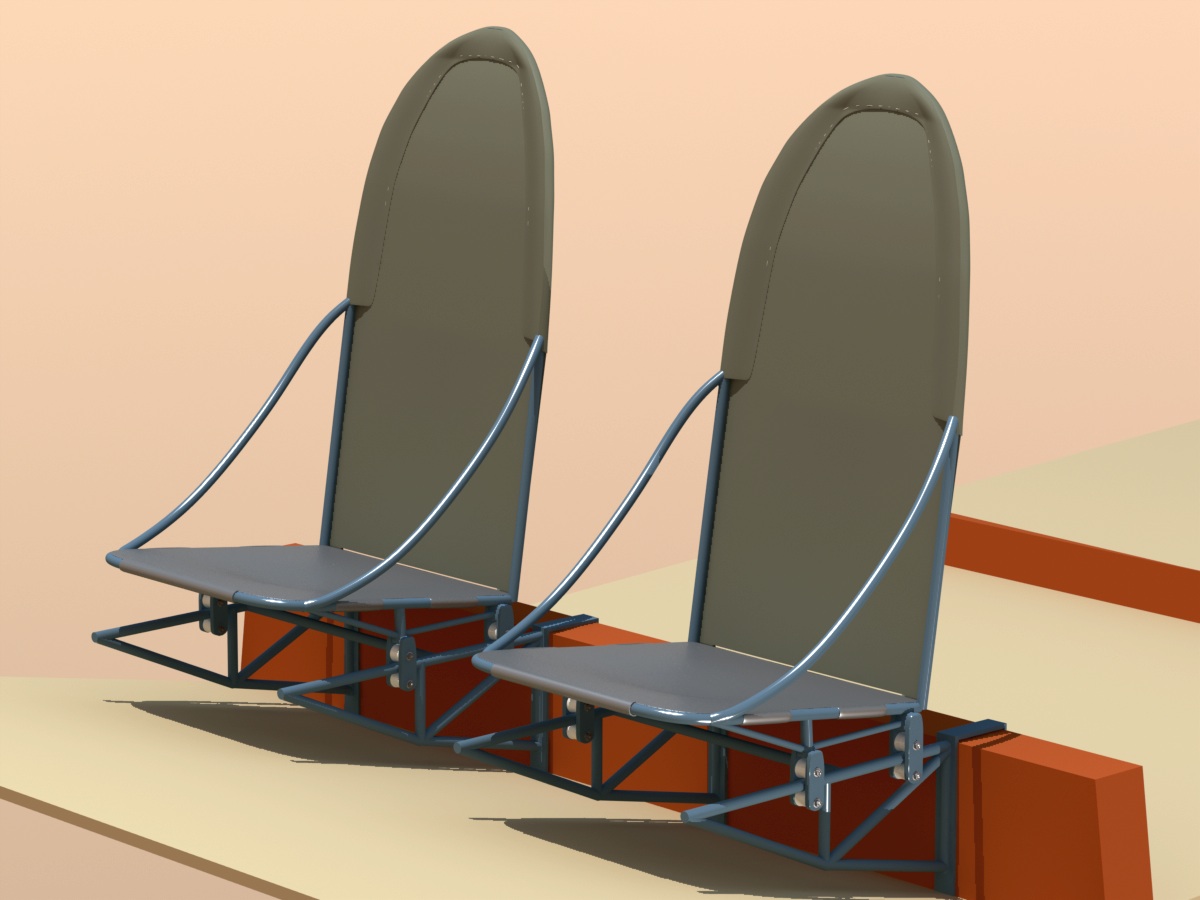
Here's a spartan civilian arrangement, with a seat cushion in place of the parachute. Many of those who've restored T-50's have added thicker backrest cushioning, and I will probably do that as an option, too.
Another view of the military version, showing how I'm trying to wrap the fabric around the tube structure. Later, I'll add the sewn stitching..
Corrections and adjustments are ongoing...
I just found out (Thanks, Terry!) that the bottom seat pans were made of metal. (not obvious in the Cessna drawings) So, I'll be fixing that, and also moving the floor board downward slightly, to allow for the variety of things that go under the seats... landing gear chains, fuel selector box, etc..
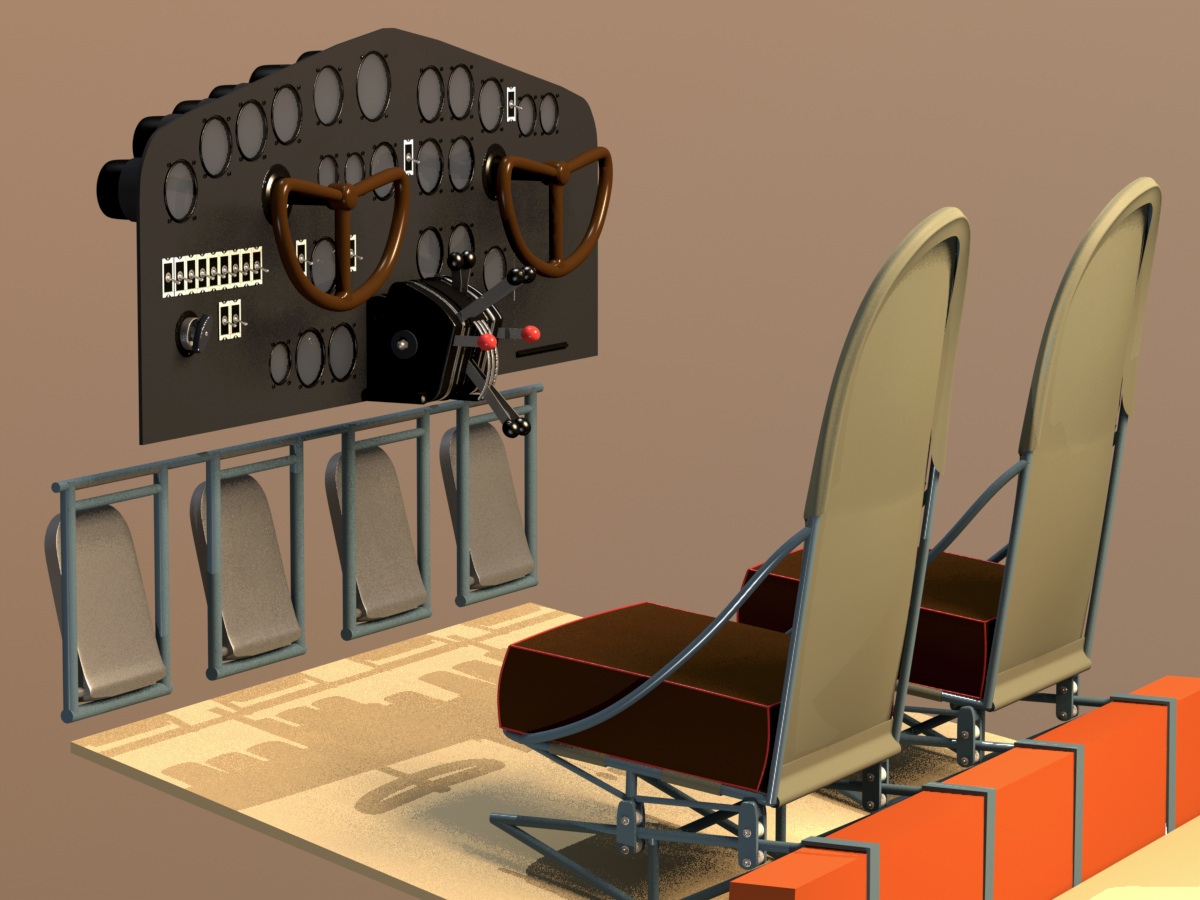
Realistic instrument faces:
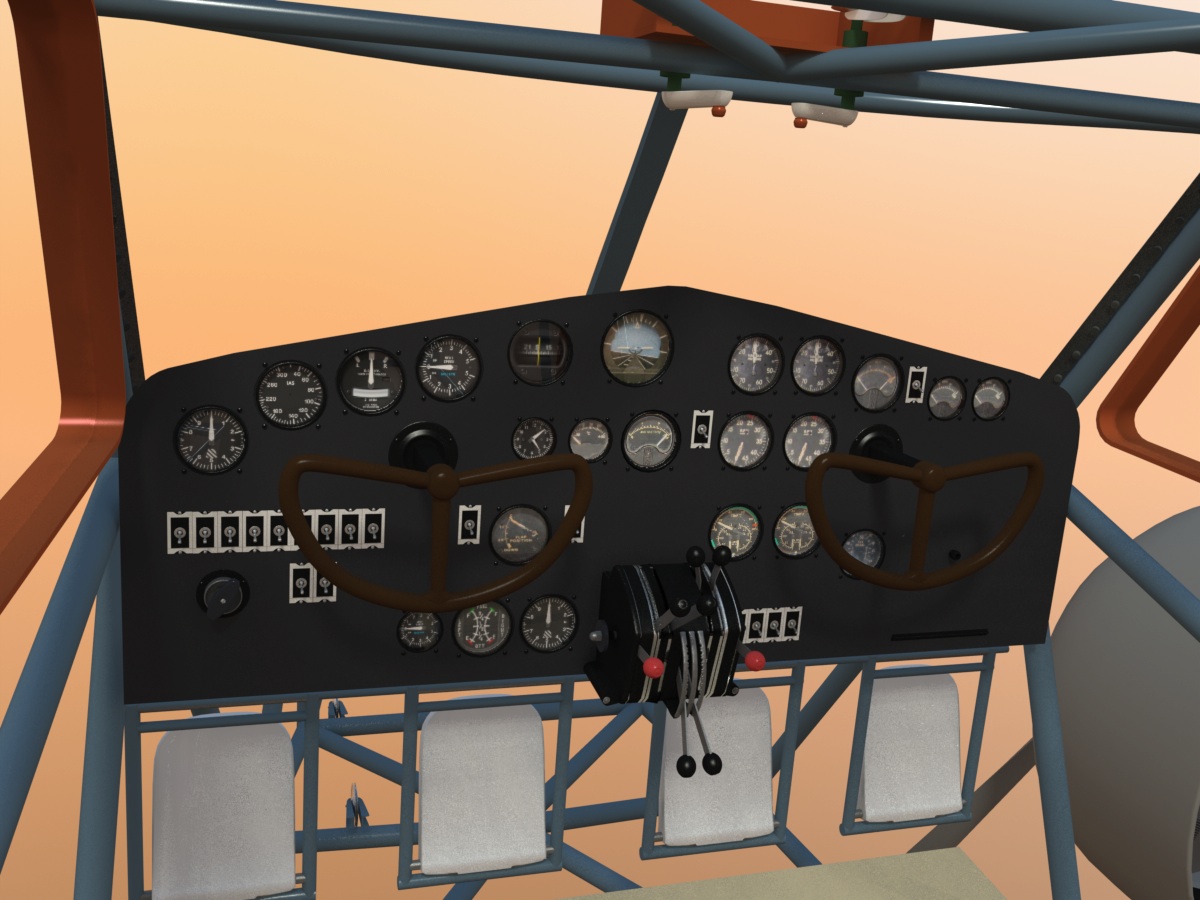
Using the original Cessna manual as a guide, I went through all the documentation I have, and picked the best (and most orthographic) T-50 instrument panel photos I have. Using PhotoShop Elements, I cut out the instruments I needed, and made individual image maps for each instrument face. When placed behind glass, they look realistic.
In this first image, you can see that I've also added the overhead crank-operated trim controls. They're connected directly to pulleys overhead, (barely visible here) which run back to the tail.
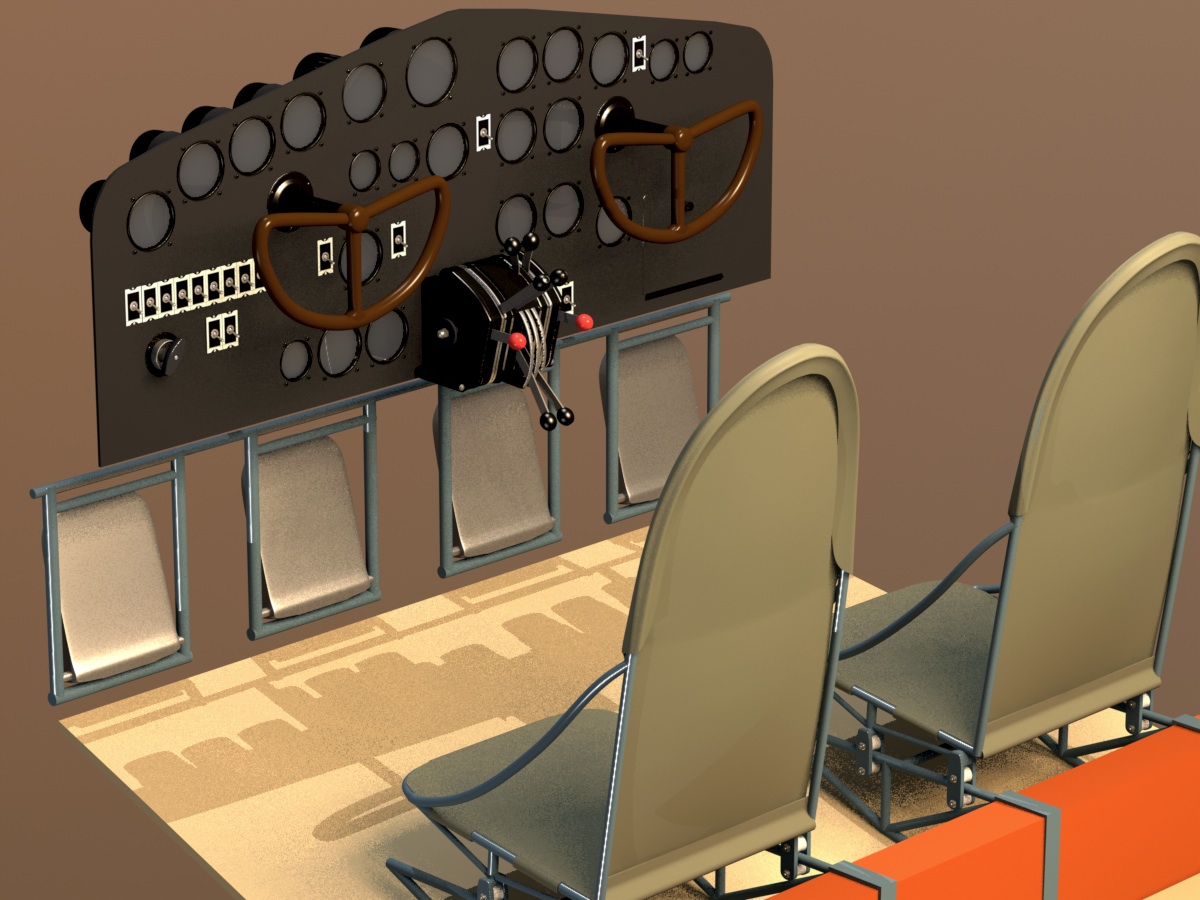
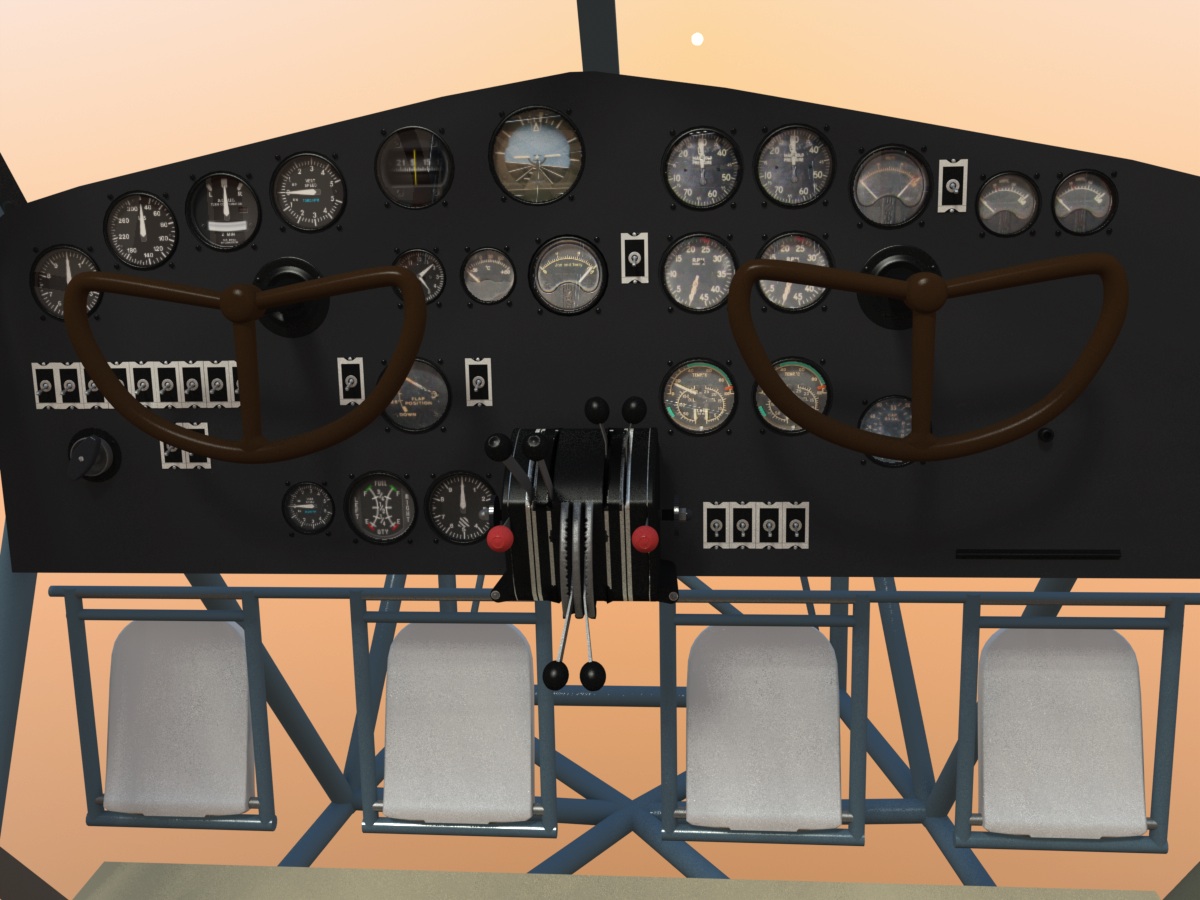
Closer in to the instrument panel...
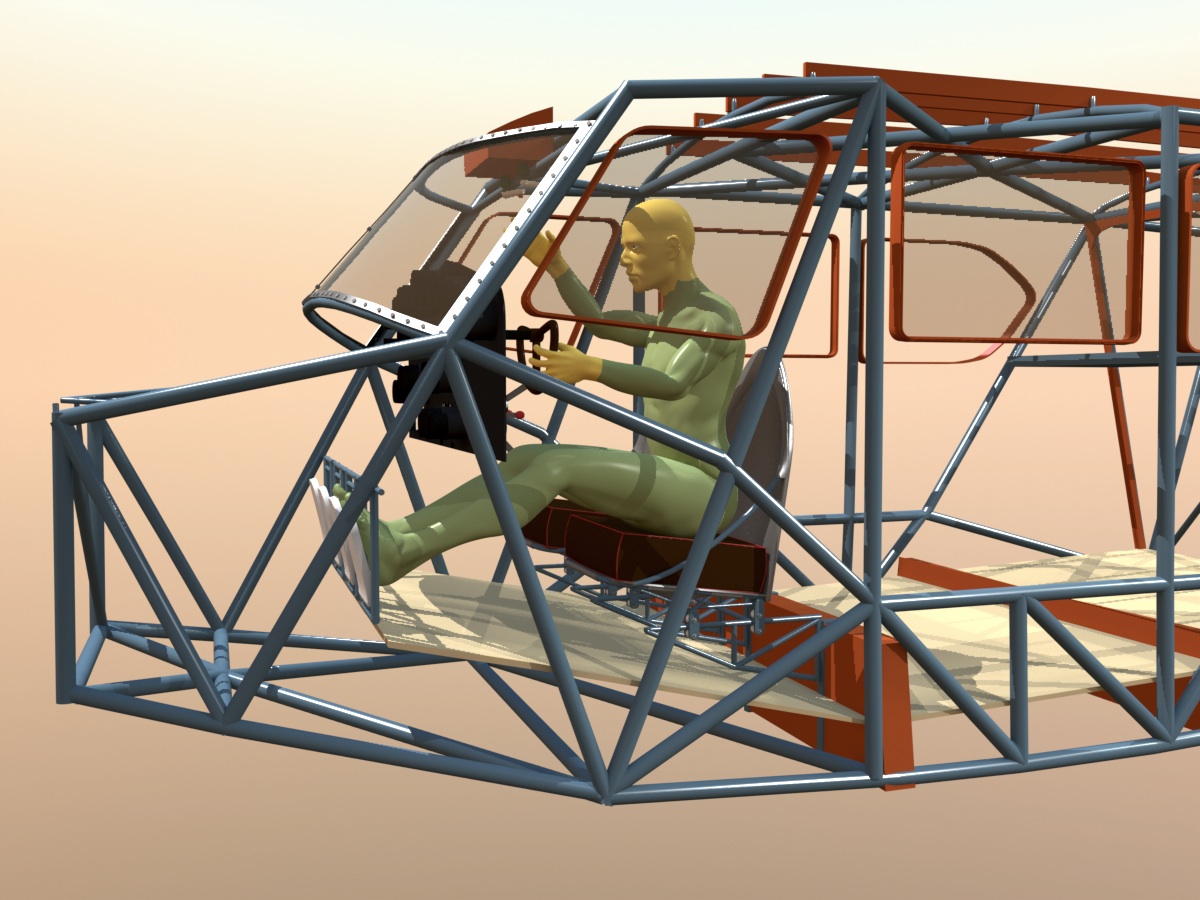
The seats. revisited...
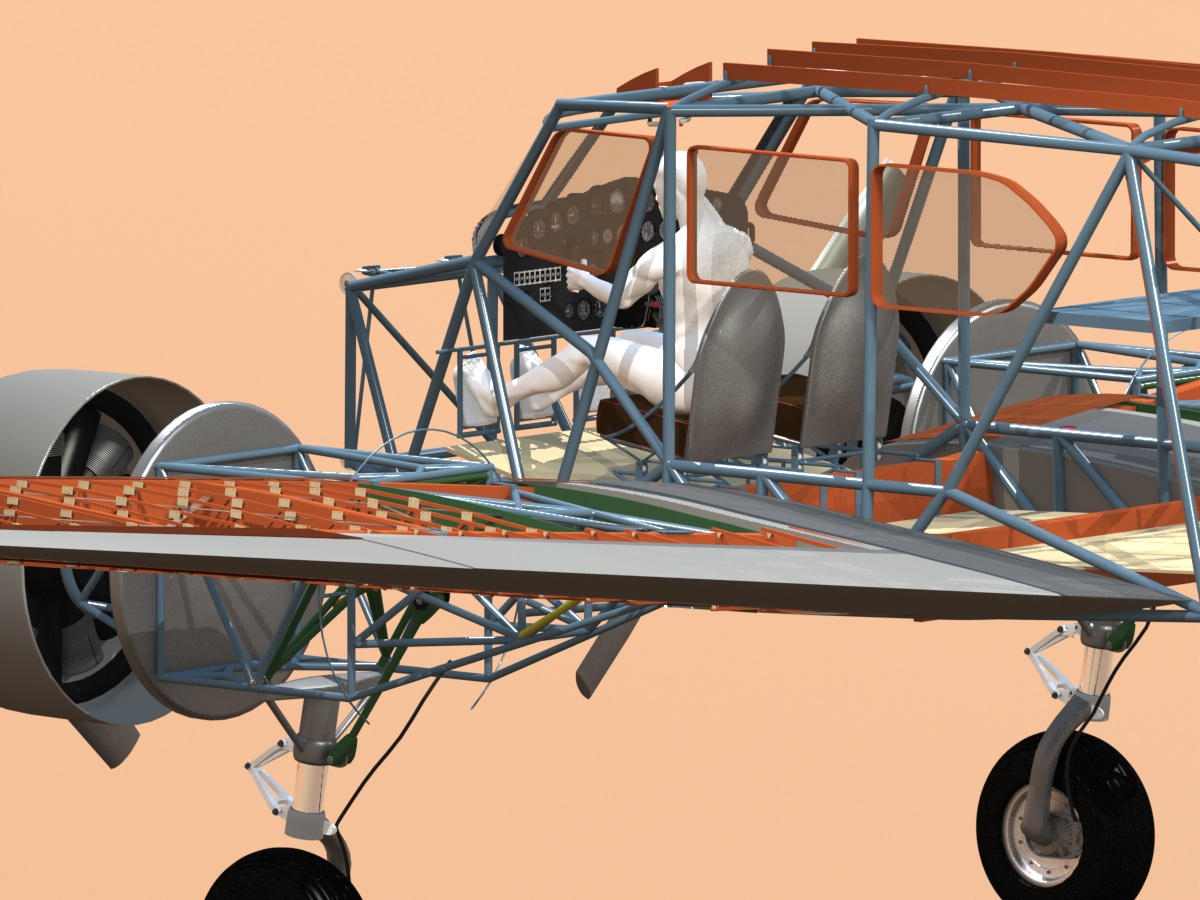
I found that I had the seats a little out of whack, due to being too small in scale. Once I fixed that, it became obvious that they were proportionally too tall, so I fixed that, too, and double-checked the position of everything by inserting a dummy pilot in the seat. It all appears to be right now.
Click the "Page 08" link below, to continue.
- Page 01
- Page 02
- Page 03
- Page 04
- Page 05
- Page 06
- Page 07
- Page 08
- Page 09
- Page 10
- Page 11
- Page 12
- Page 13
- Page 14
- Page 15