Cessna 310K External detail:
I'm still searching for some better photos of the landing gear parts, so while waiting on that, I'm getting closer to finalizing the external shape of the rest of the plane. There are a some external details that will help me position the internal parts later, so I'm doing those now.
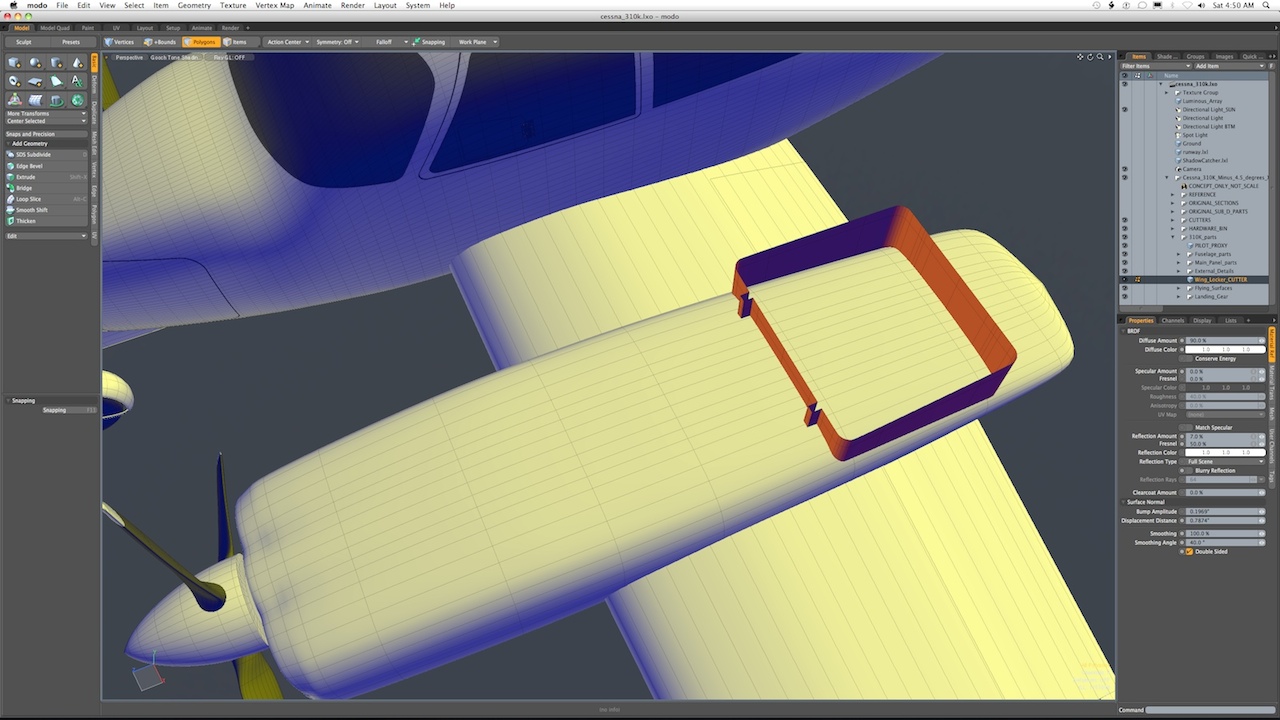
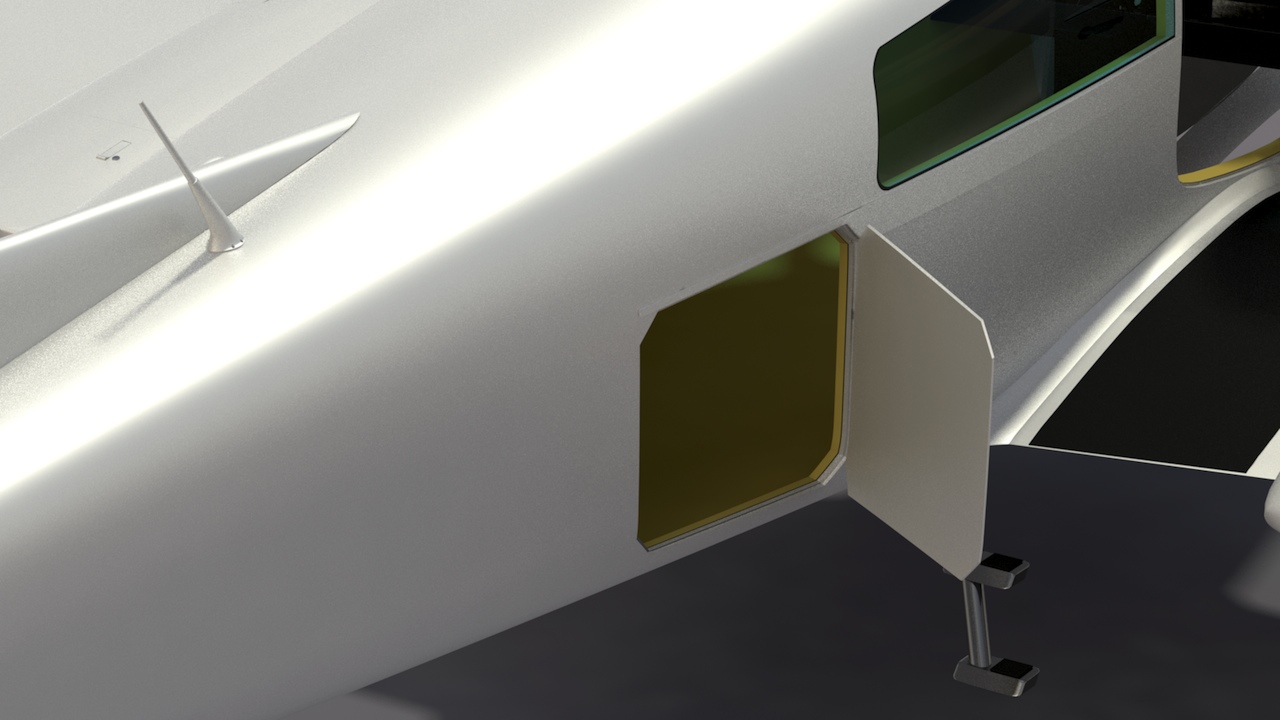
This image shows that I've created and positioned a boolean cutter, which will be used to create the opening for the wing nacelle lockers, used for baggage and small items. Parts like this will help me position the internal nacelle framework later.
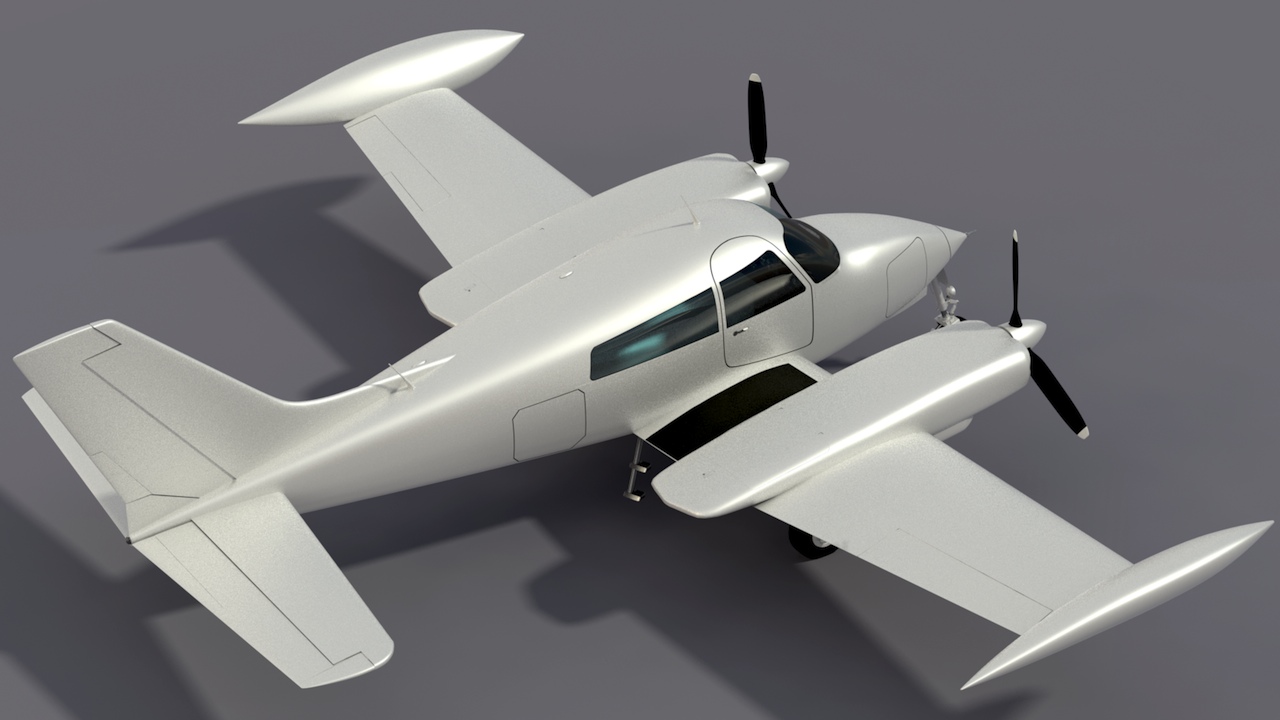
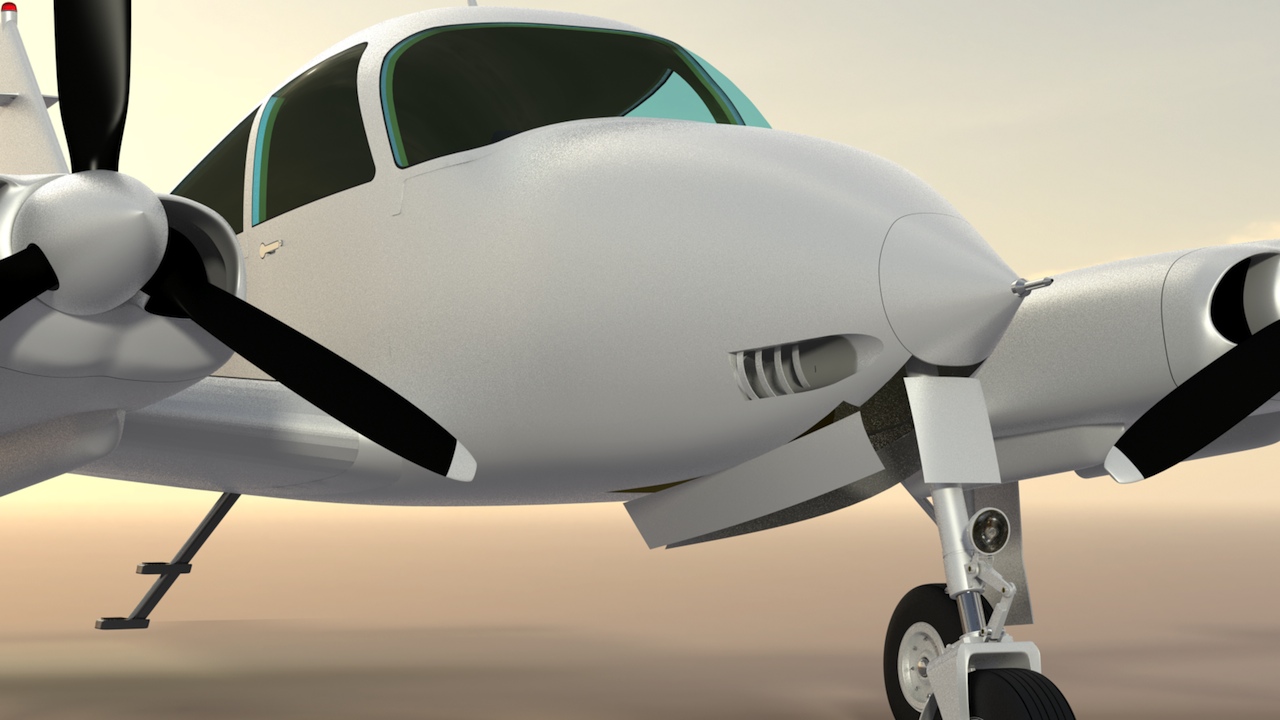
The image below shows a number of subtle improvements. The engine nacelles and tip tanks are more accurate, and the wing's upper skin has been extended over the flaps, as on the actual aircraft. I've also added some of the external antennas. Those of you familiar with this aircraft will notice some small gaps. where the nacelles and tip tanks meet the wings. That's intentional, as the many fairings and fillets on the actual aircraft haven't been added yet.
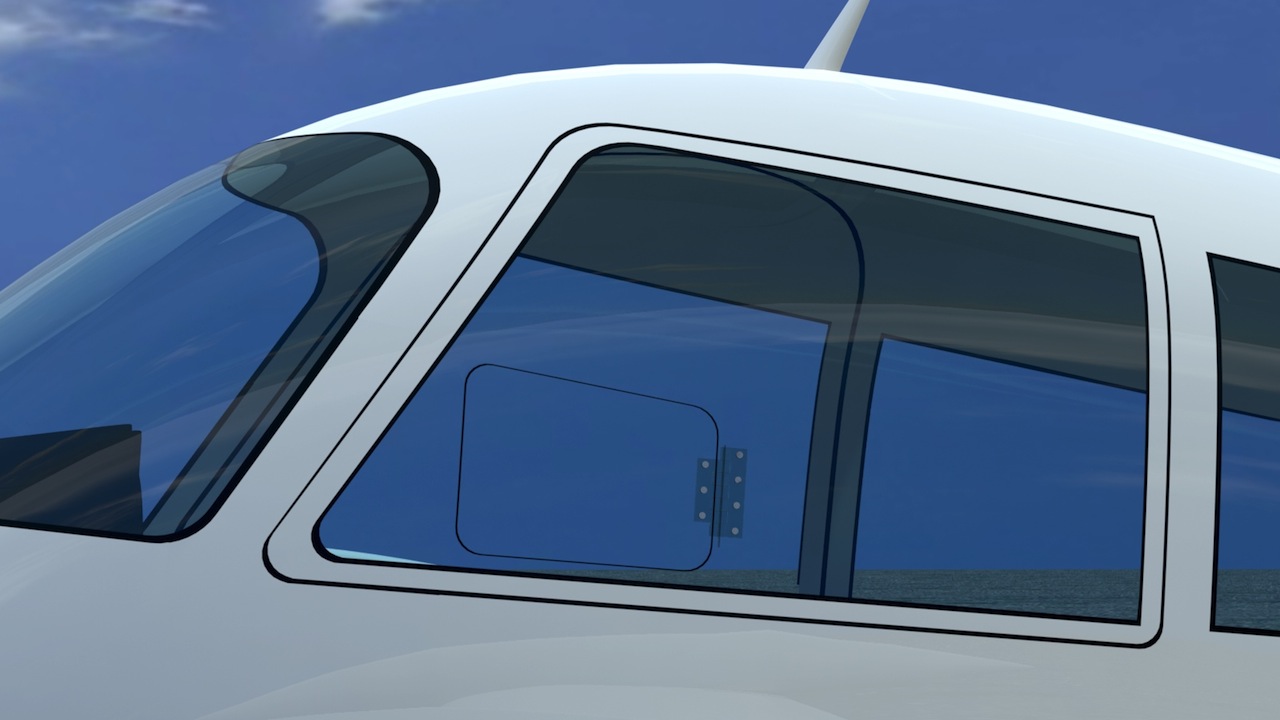
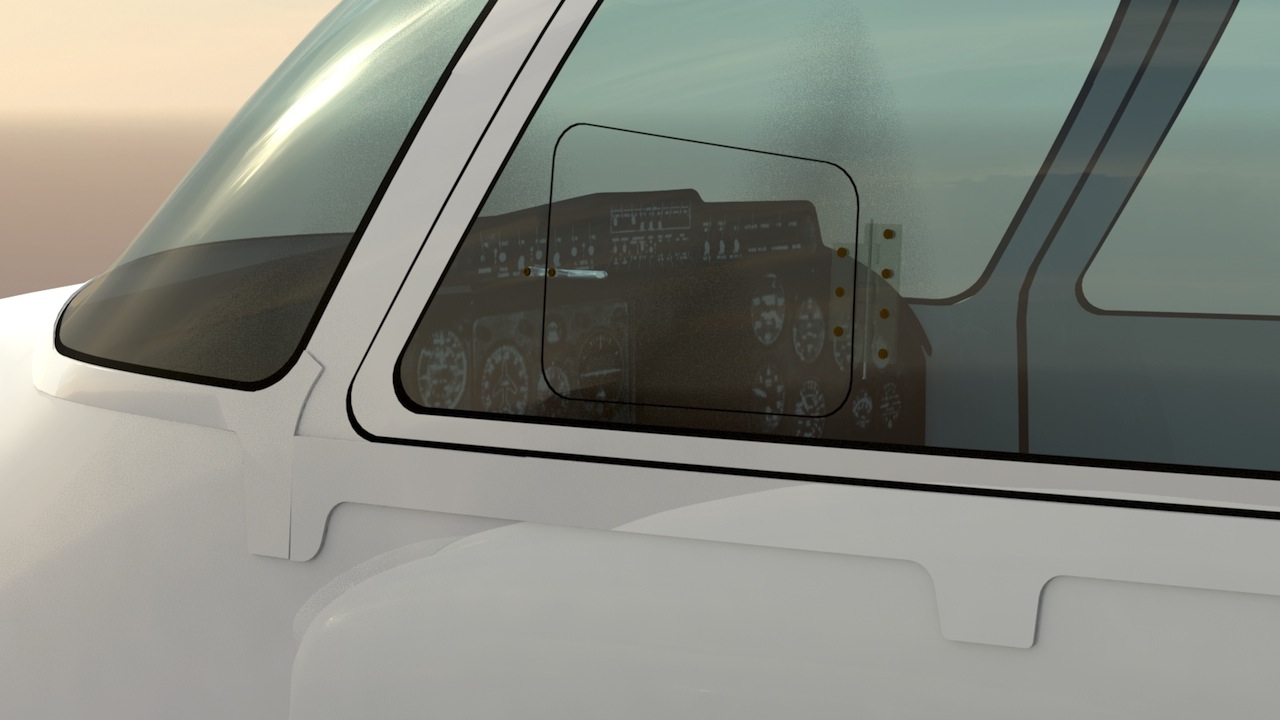
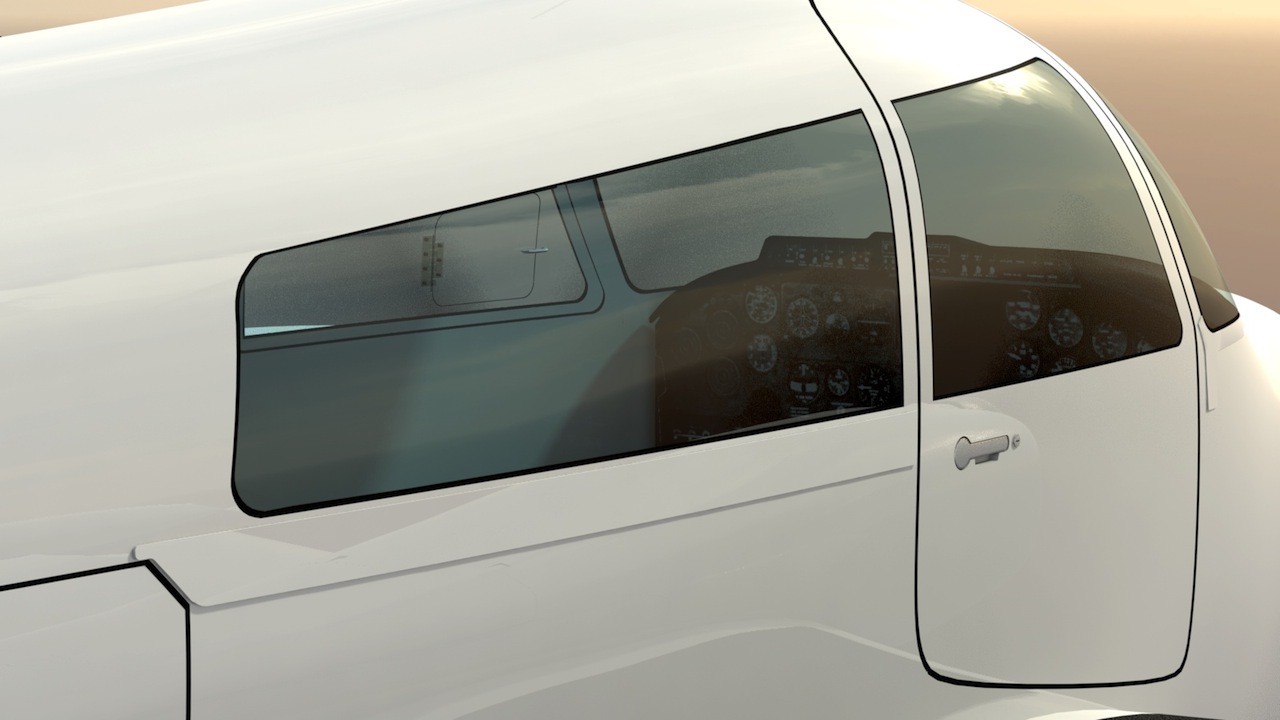
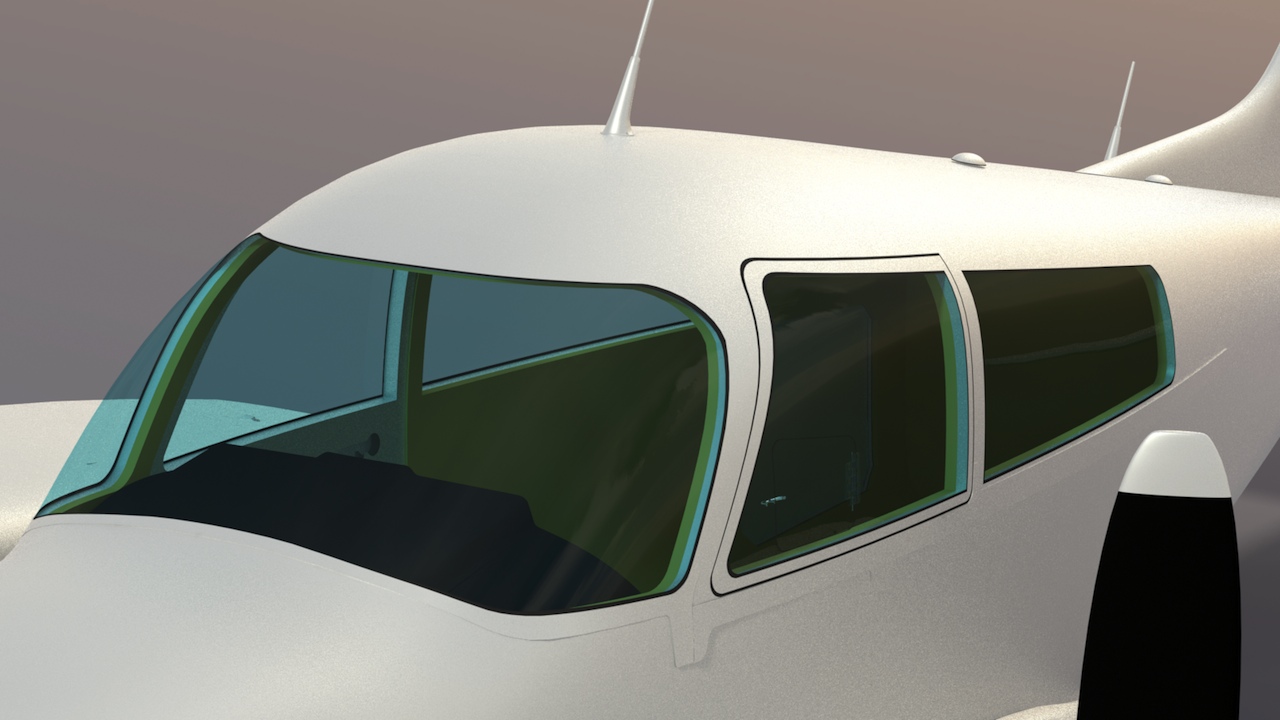
Here, I've added the pilot's "clearview" window, along with it's plexiglass hinge. (Haven't added the latch yet.)
More external details:
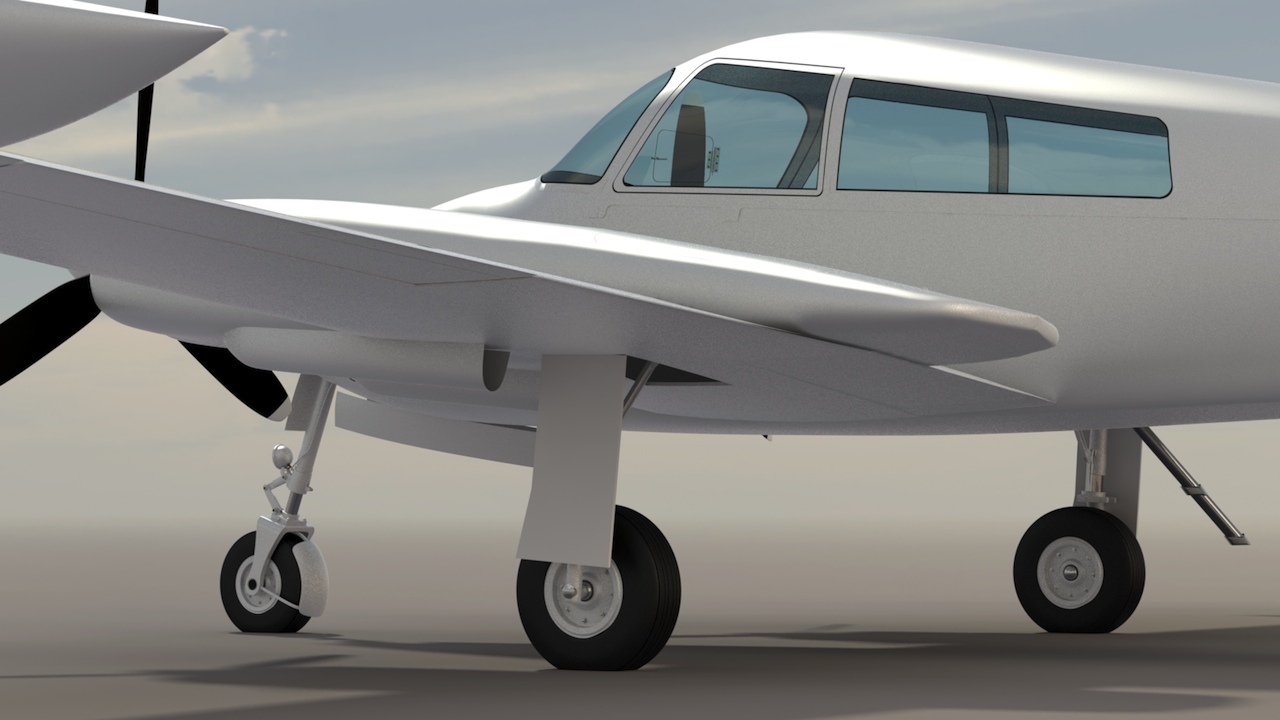
I've worked out the position of the nose gear doors, but am not ready yet to cut out the main gear doors. So, I'm moved on to other details, and will come back to those shortly. In the meantime, one of the more important things was to finalize the shape of the engine nacelles and the wingtip tanks, so I could cut out the wing locker doors. Here, I've done that, and also added the locker handle and key lock.

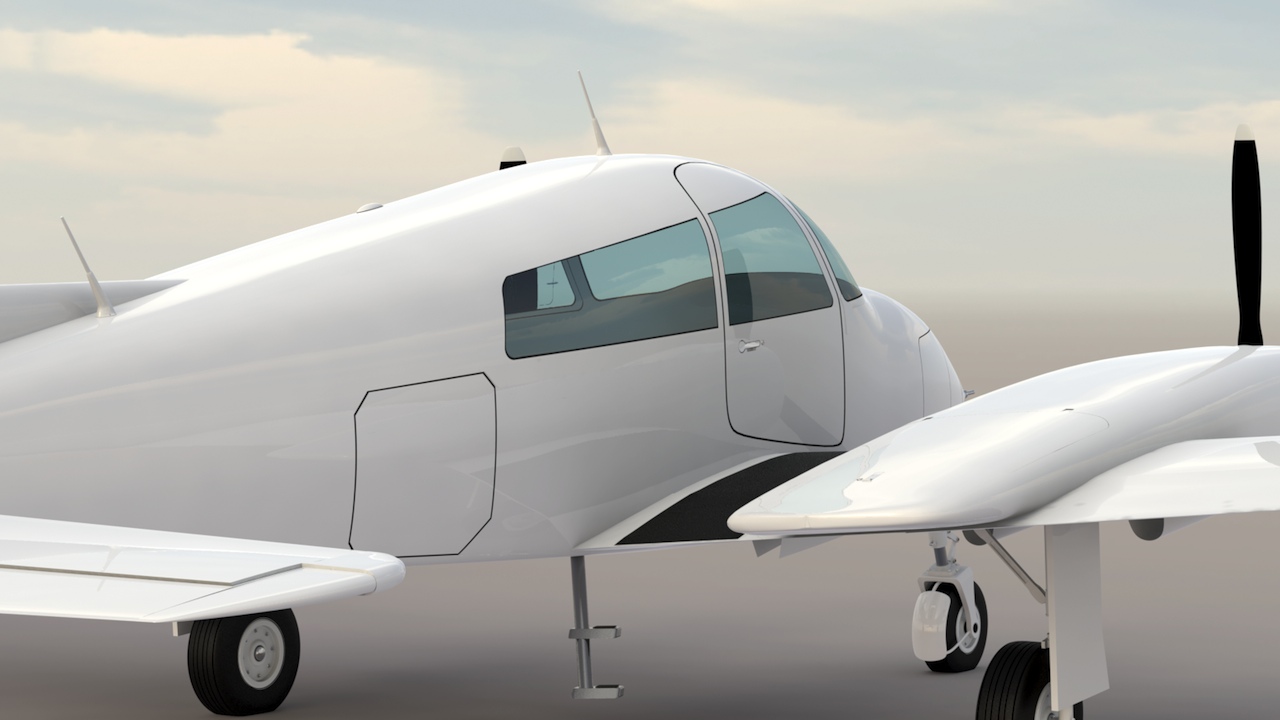
There are a number of external "straps" on the exterior of the aircraft. Here, I've started to add the ones just under the cabin windows, and around the windscreen. In the first image, you can also see that I've added the latch for the pilot-side "clearview" window.
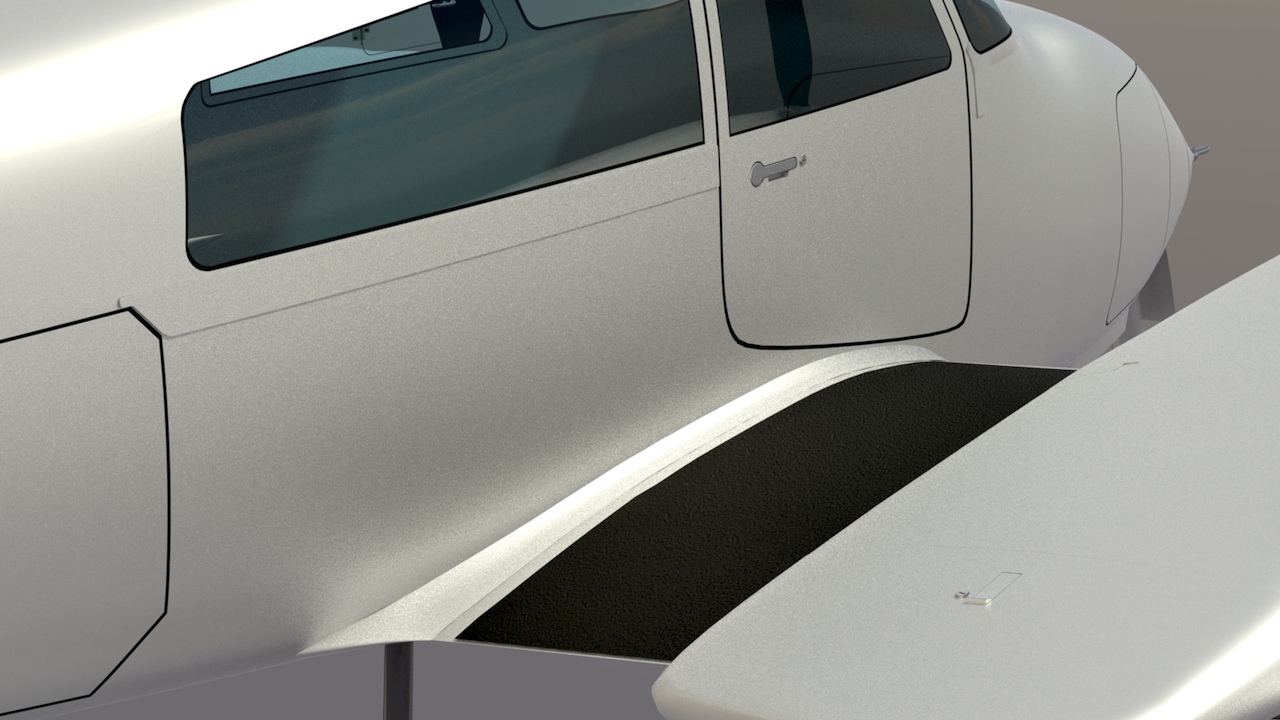
Below, another of the external straps has been added on the opposite side, under the cabin windows, and the door handle and key lock have also been added to the cabin door.
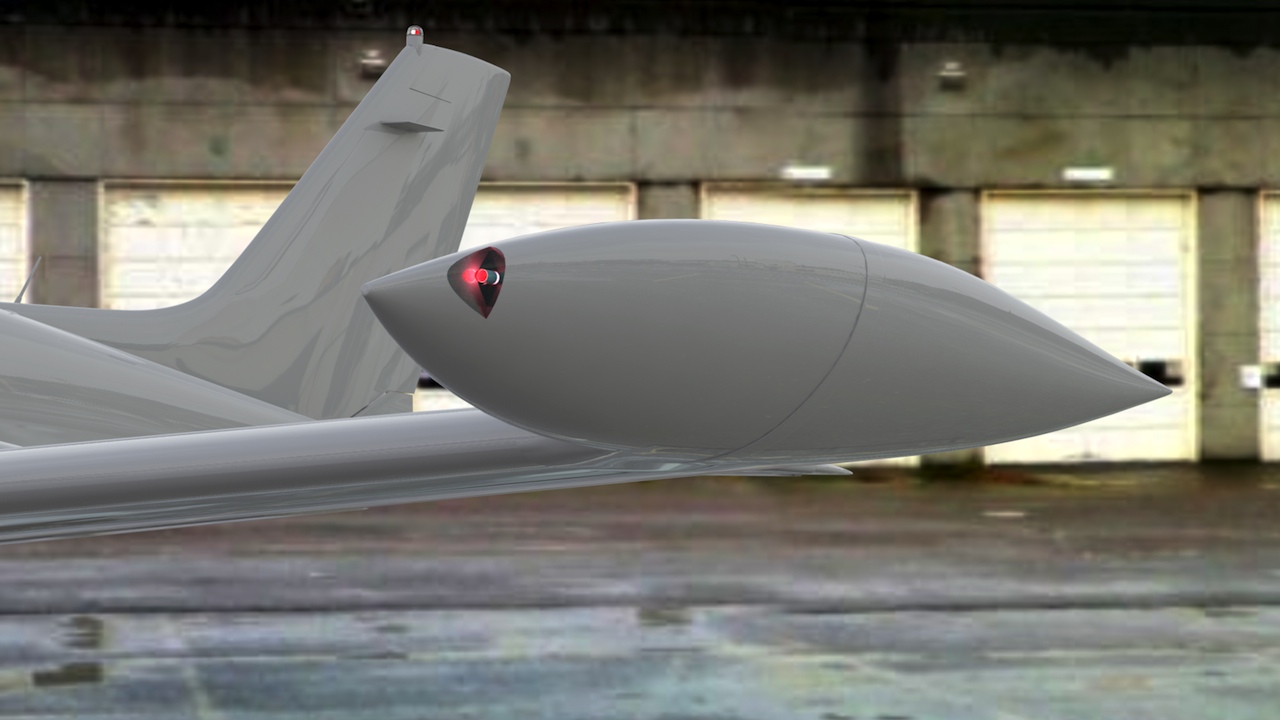
Here's the corrected light fixture in the tail of the aircraft.
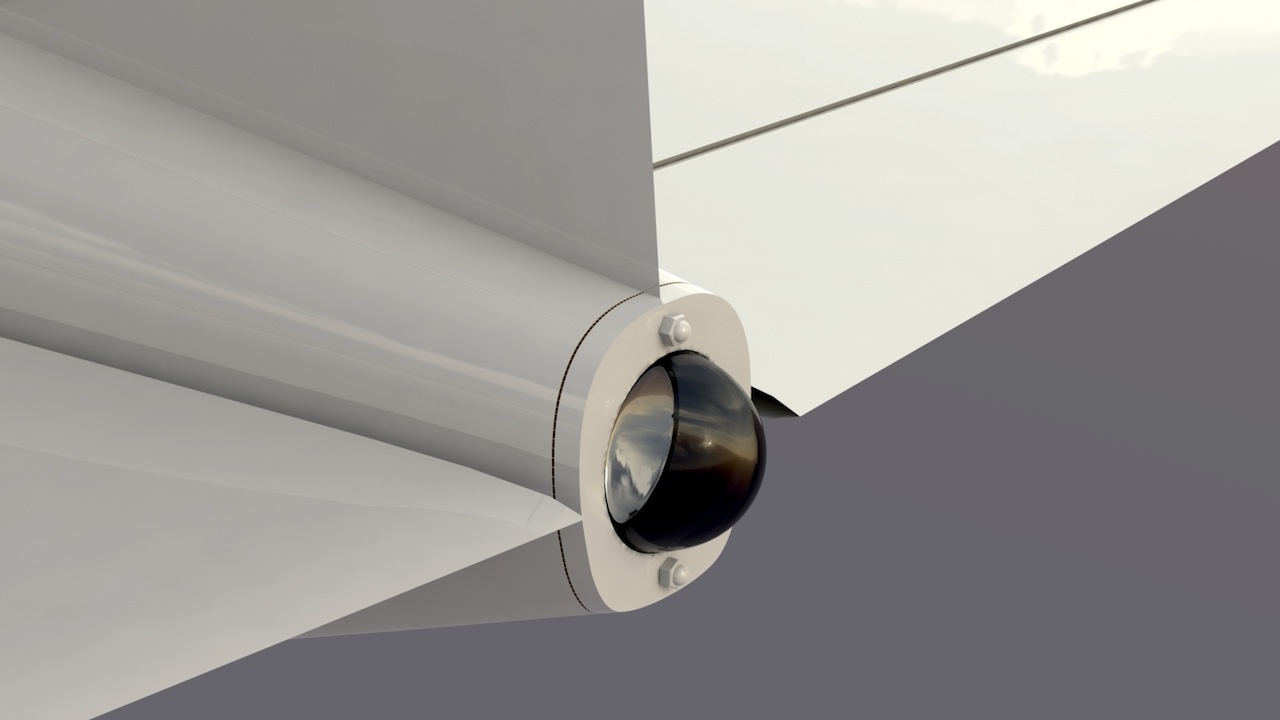
A closeup up on of the antennas, showing the bolt attachments.
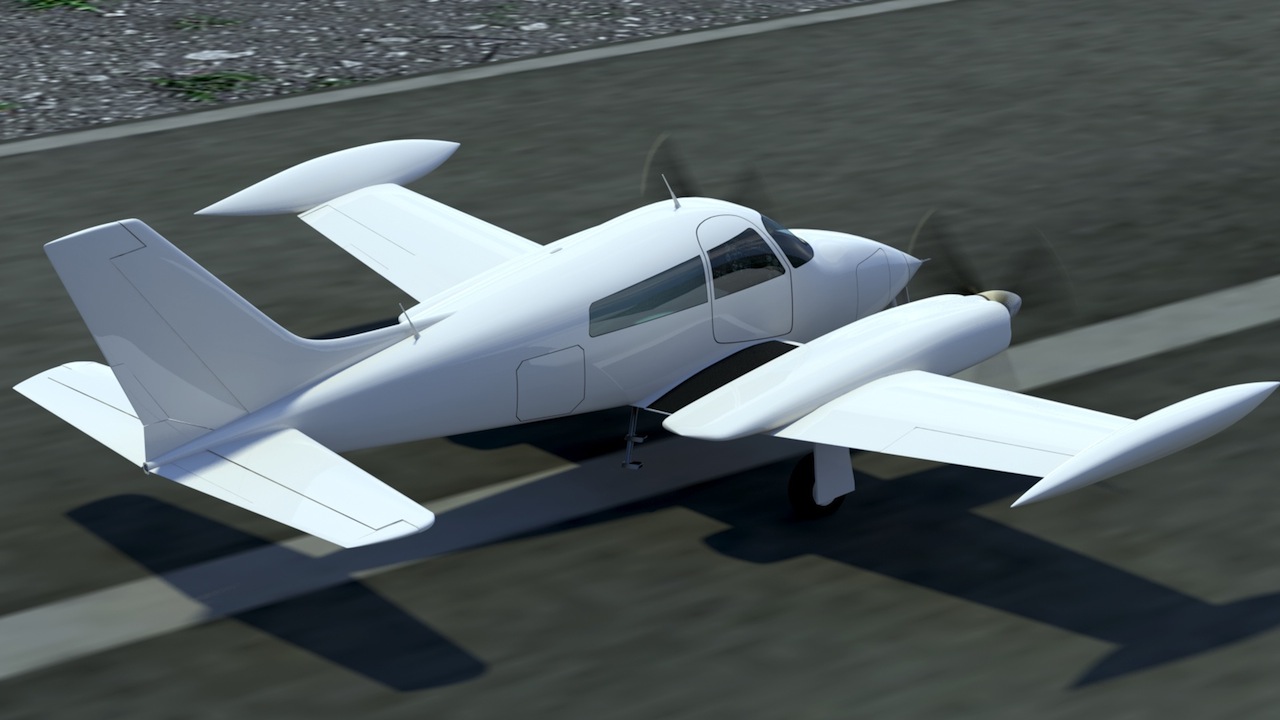
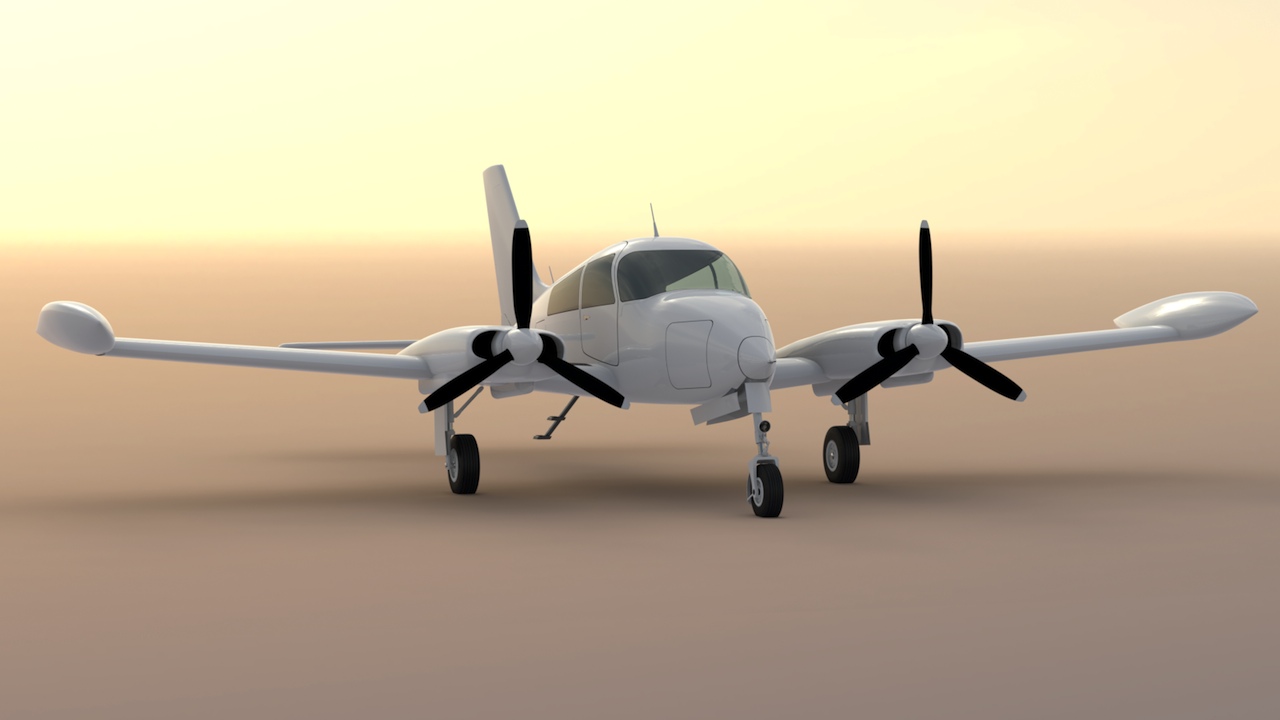
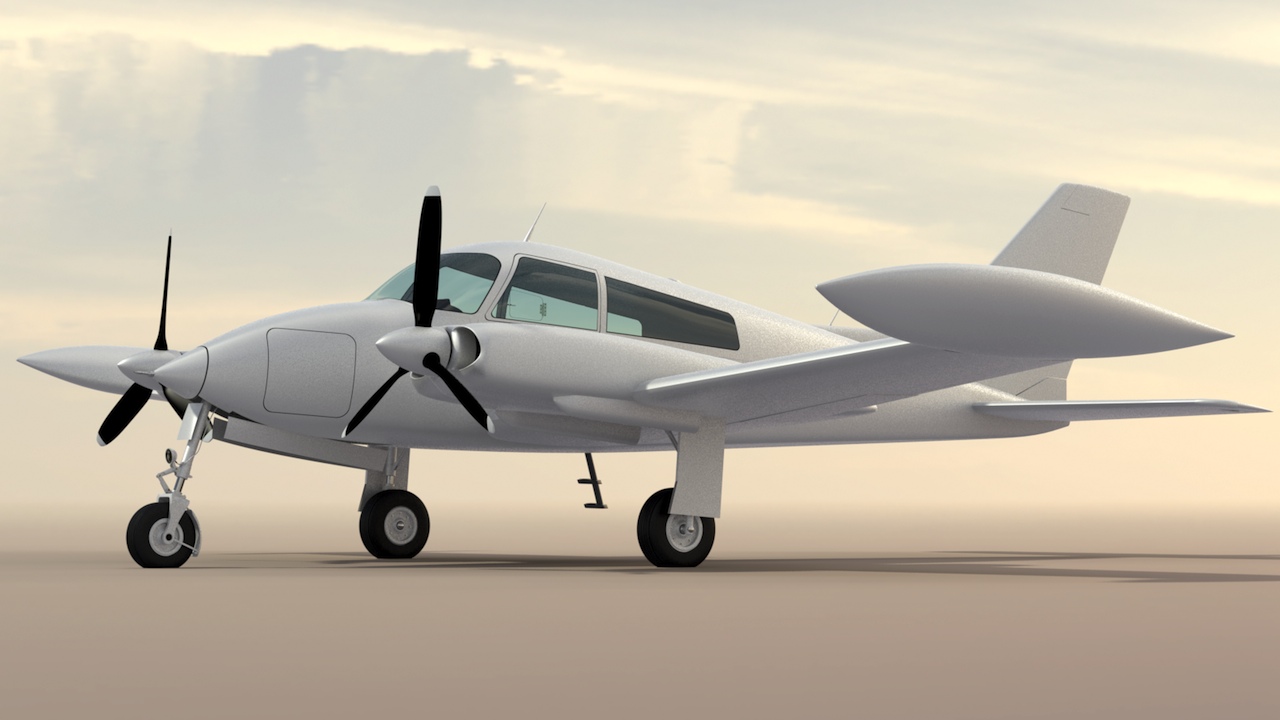
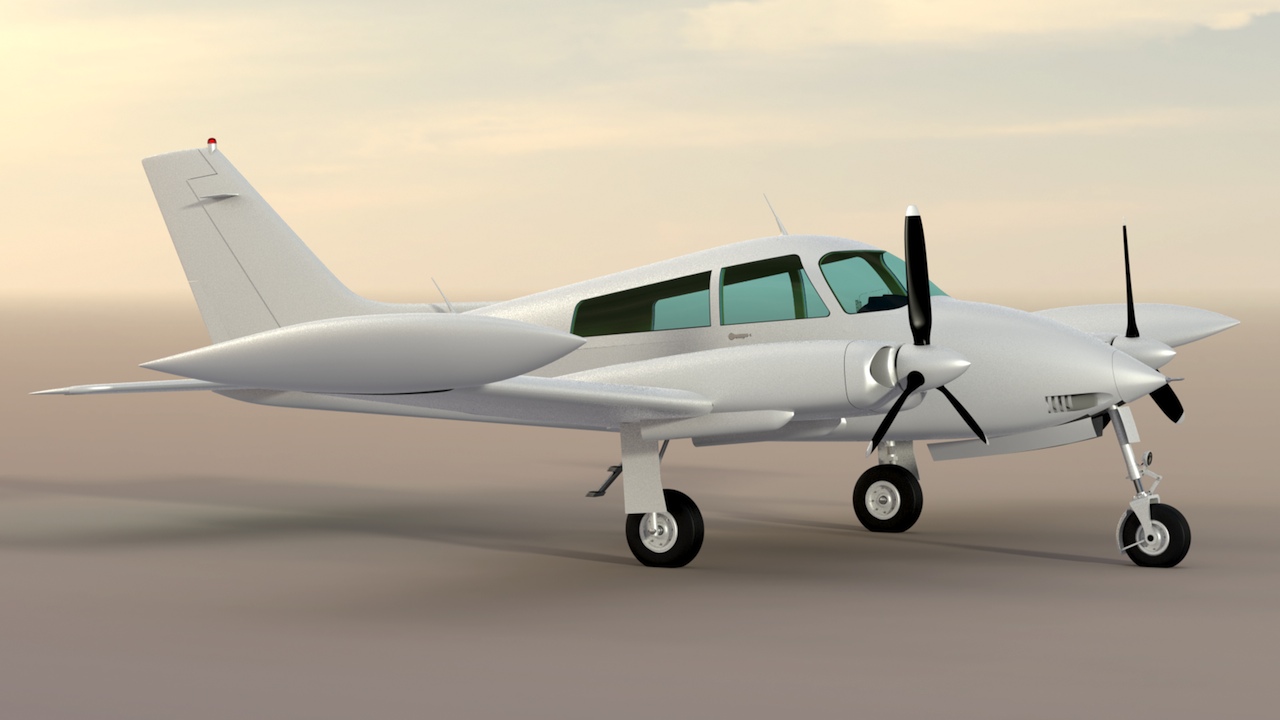
And finally, a couple of renders of the aircraft as it stands today.
Back to raw metal, and some changes…
The base color of the aircraft will be white, with trim. But, for construction purposes, since I'm getting ready to start on the interior, I've put the model back into a basic aluminum material.
With the help of my pilot/310 owner friend, I've figured out the proper location for the main gear doors, and have made those cuts. Now I can start to detail the landing gear and landing gear bays.
The wing/body fairing has been added here.
Major error fixes, and interior start:
When I received the last batch of photos from my pilot friend who is helping (greatly) with documenting this project, I realized two major errors existed in the fuselage. First, the location of the hatches in the nose section was far off, from the 3-view I was using, and second, the fuselage sides are flatter than what I had modeled. Since I kept the original sub-d parts and all the boolean cutters, this wasn't too difficult to fix. I simply reshaped the fuselage, then remade all the door, hatch, and window cuts.
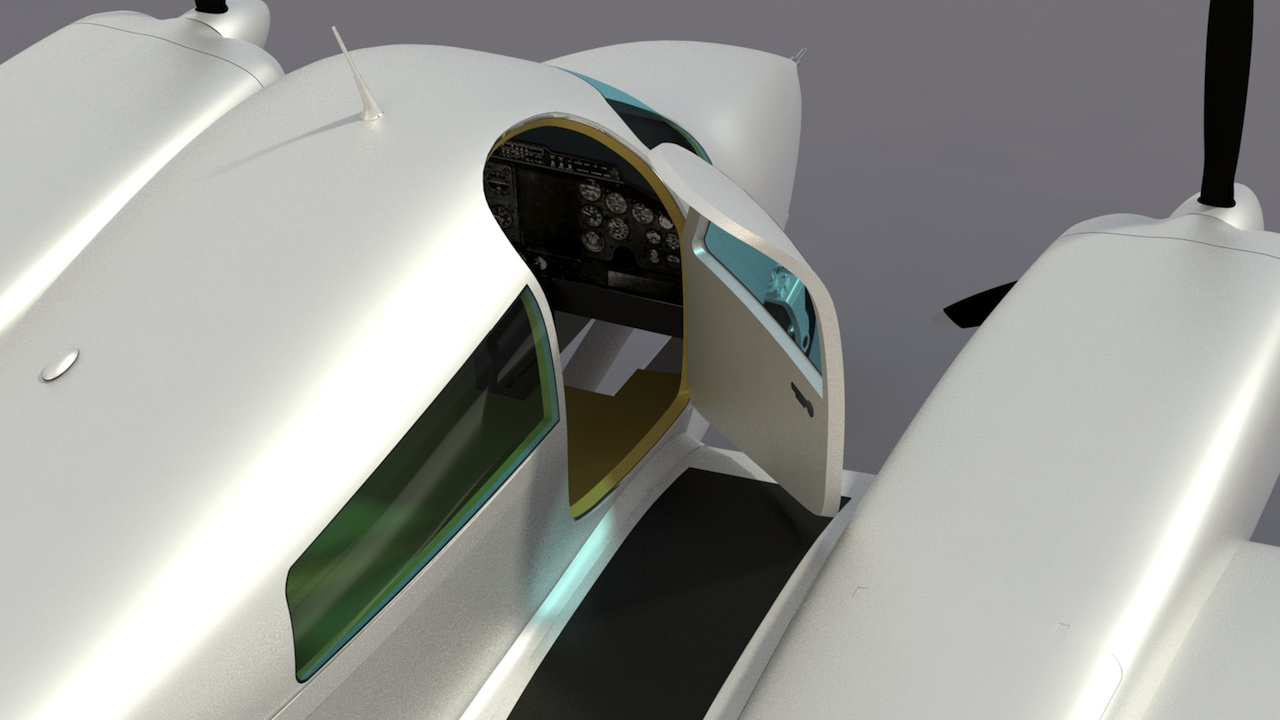
Once finished, I then constructed a basic cabin liner, bridged it to the exterior fuselage, and did the same sort of process for the doors. With these basic volumes in place, I can now start to detail the cabin interior, as well as the structural parts.
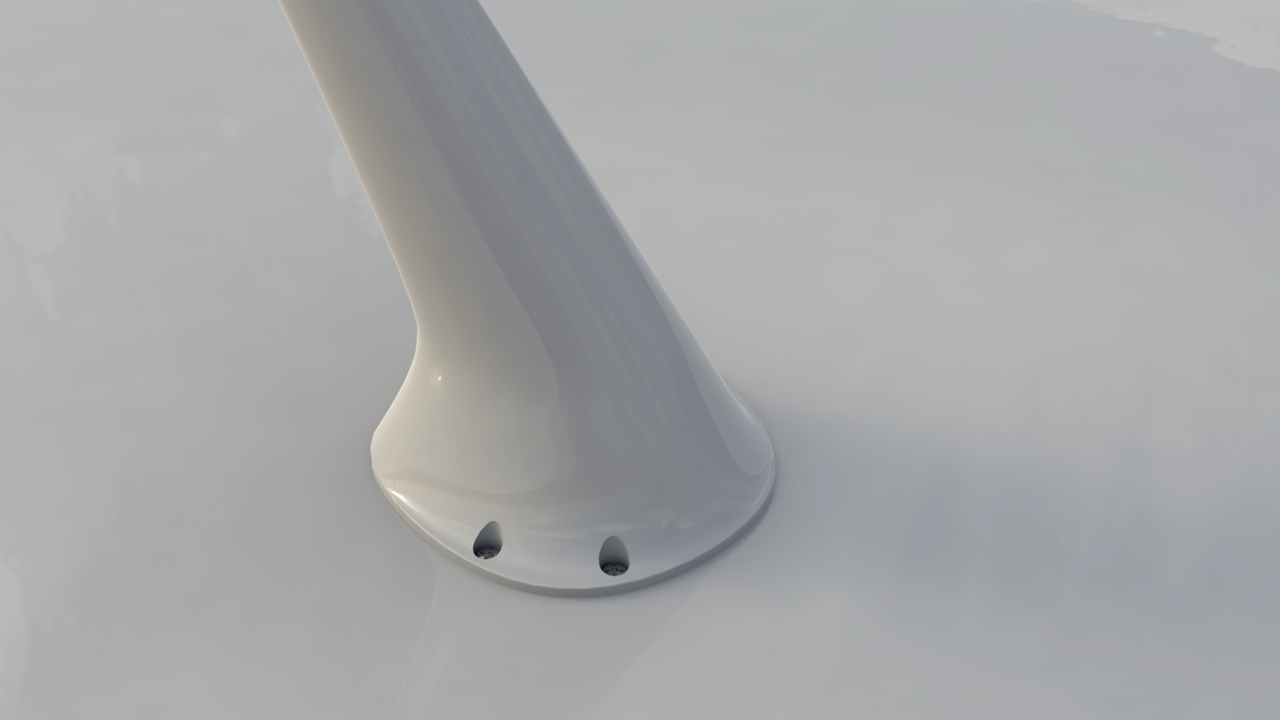
Below, I've added the VOR antennas on the tail, and the (red) beacon.
The air intake in the nose has been added here.
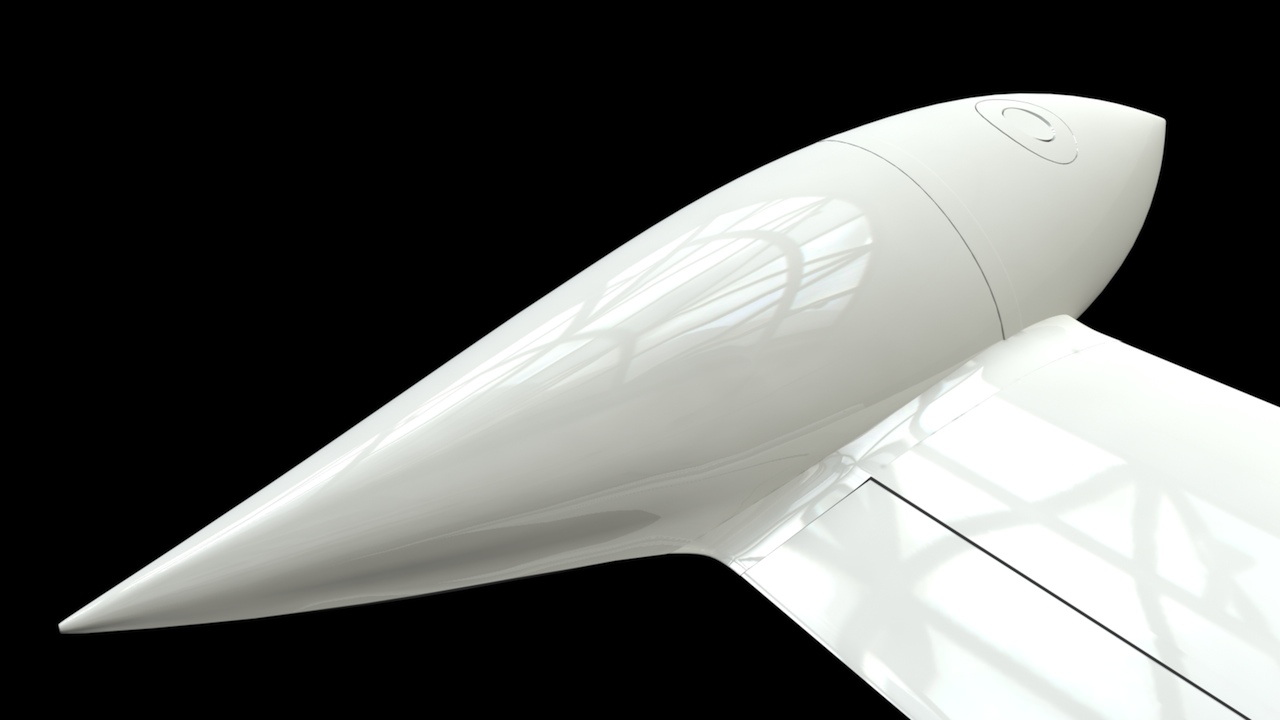
Below, detailing the tip tank fairings, as well as the gas cap area, reinforcement bands, position lights, etc..
Click the "Page 06" link below, to continue.