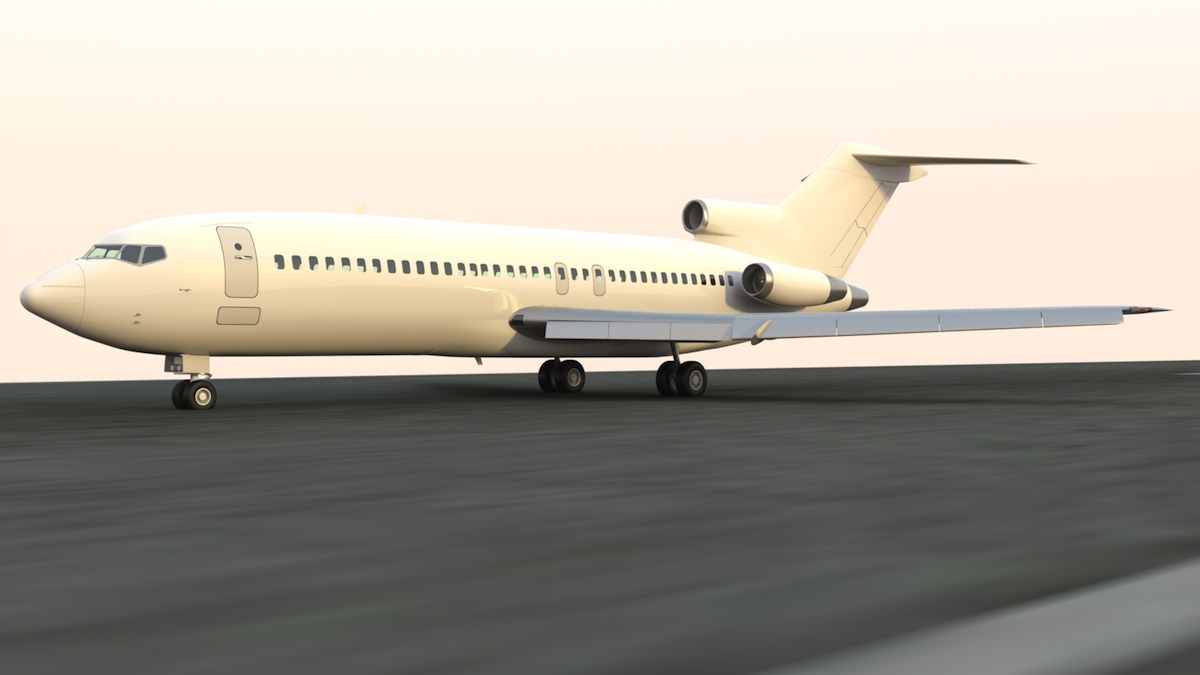
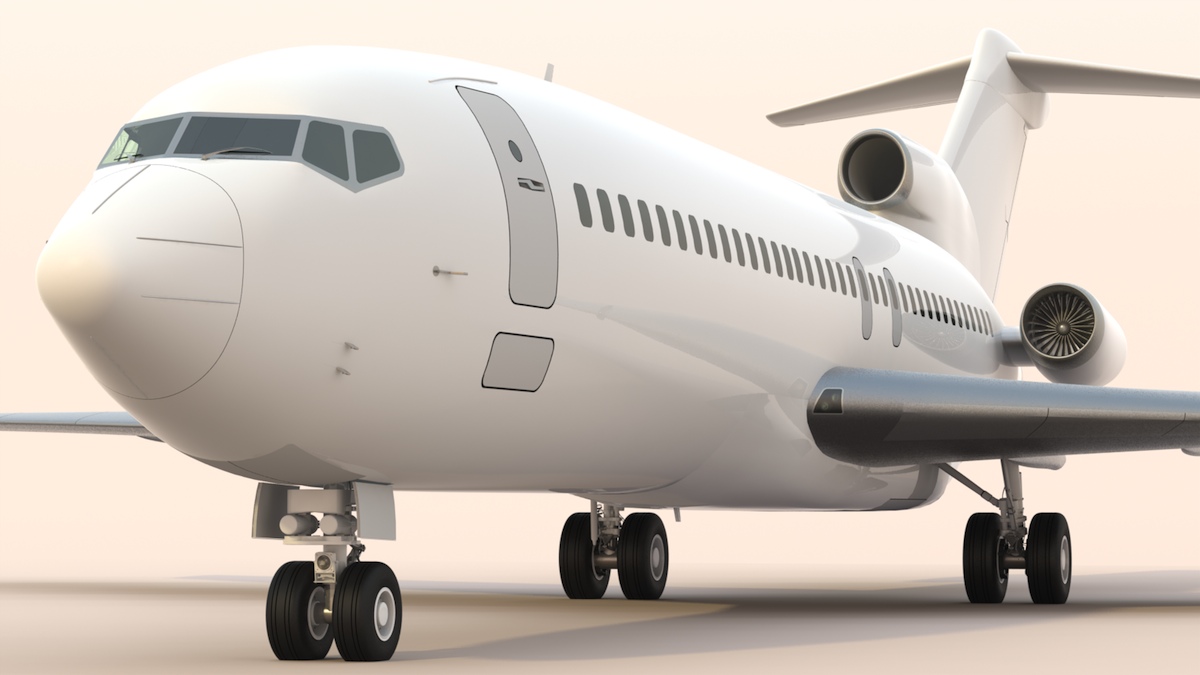
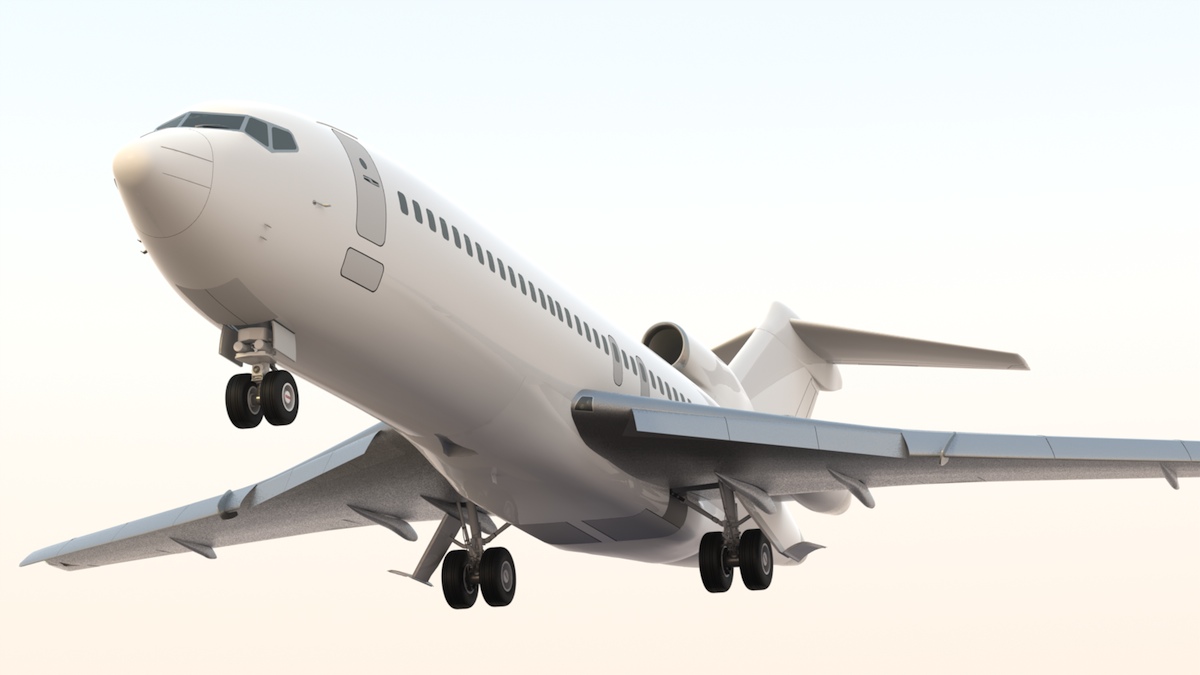
Boeing 727-100 - Wing details and flight control operation:
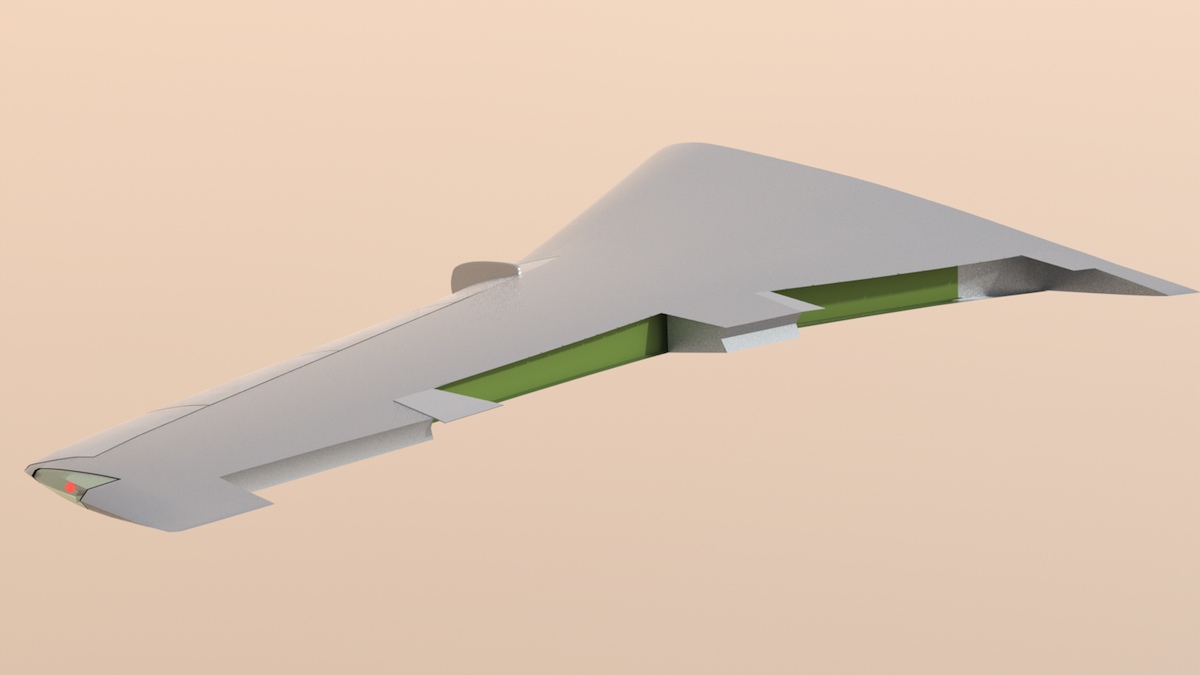
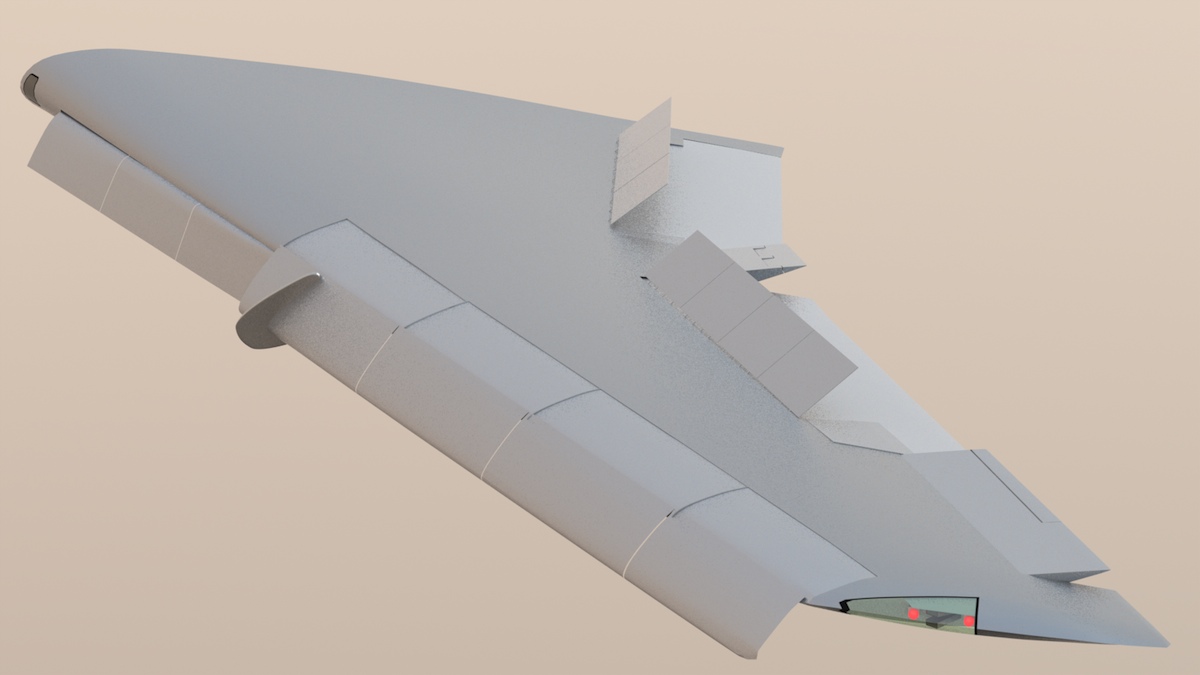
I've created the NACA inlet under the wingtip, and the wingtip navigation lights and strobes, including the small glare shield you can see, just over the red lights. (green on the right wing) Next, I created the portion of the landing gear well that's in the wing, and closed up the wing wherever you shouldn't be able to see through it.

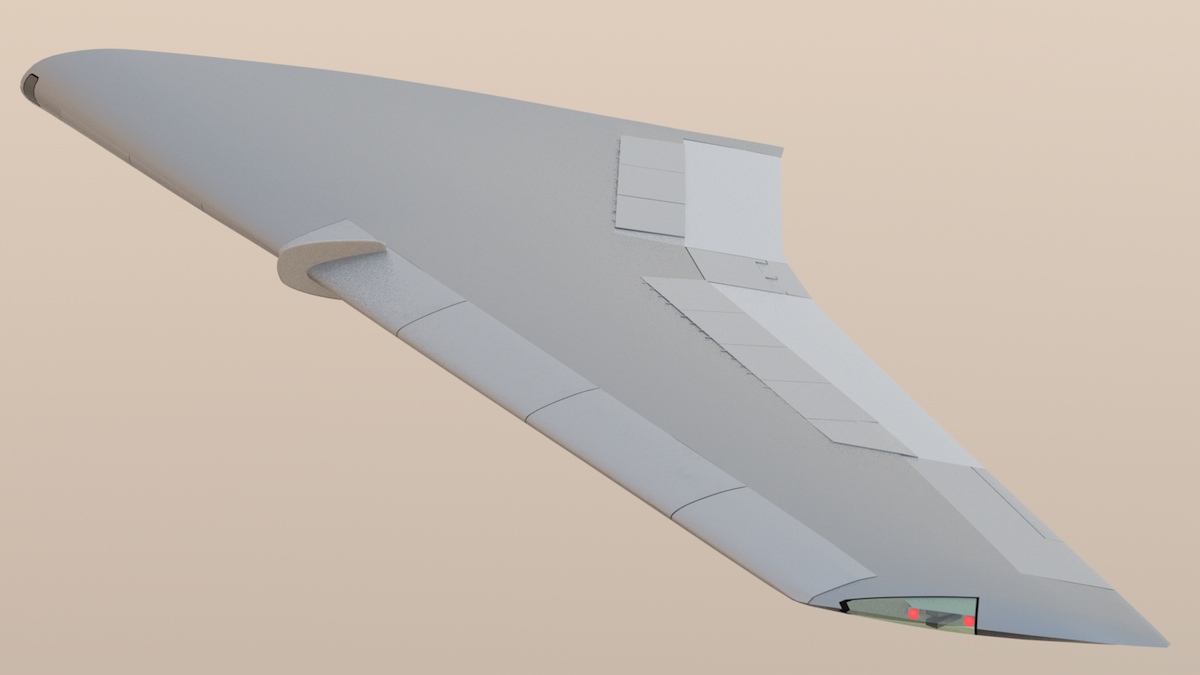
The flaps (light color) aren't ready yet. They each have to be sliced up into 3 sections, and rigged to deploy properly. But, the Krueger flaps and slats on the leading edge are working, and the ailerons (inboard and outboard) and spoilers (inboard and outboard) are working.
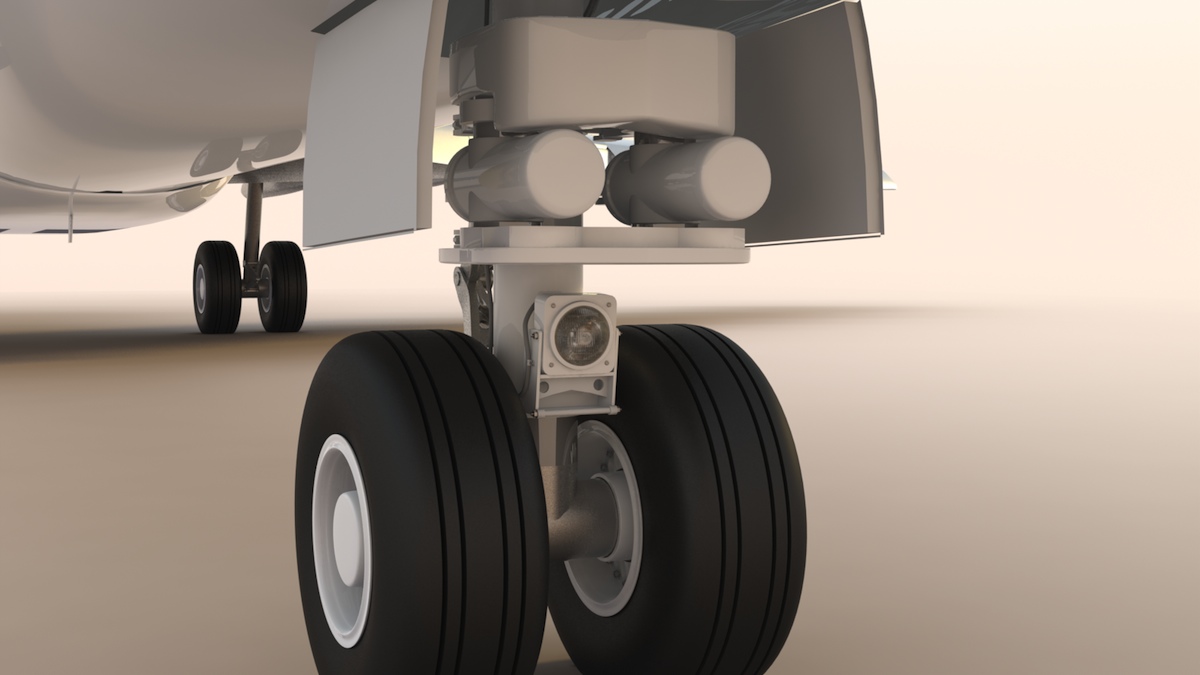
Nose Gear Details:
Before continuing on the wings, it was important to add the under-wing flap track fairings, so I've taken a little break from the wings to add some of the major details to the nose gear, and will be detailing the main gear next. Then, I'll be back to the wings.
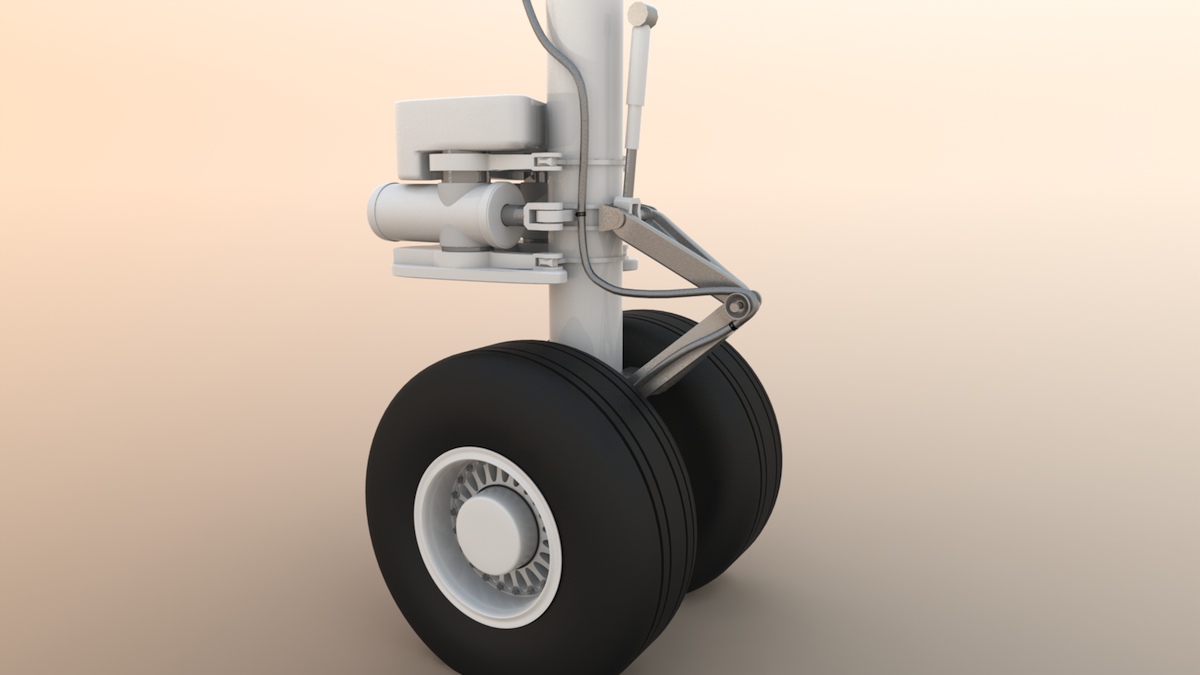
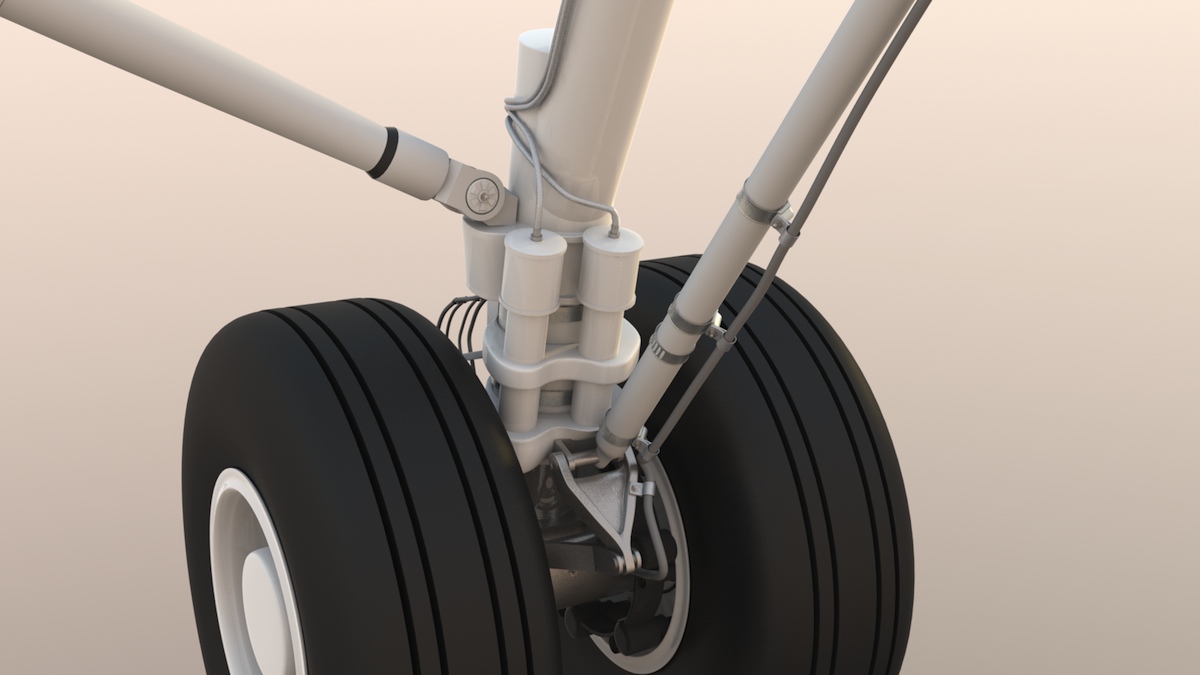
Below, I've added the taxi light and it's mounting bracket, the rest of the actuator linkages, and most of the hose clamps, bolts, and conduits.
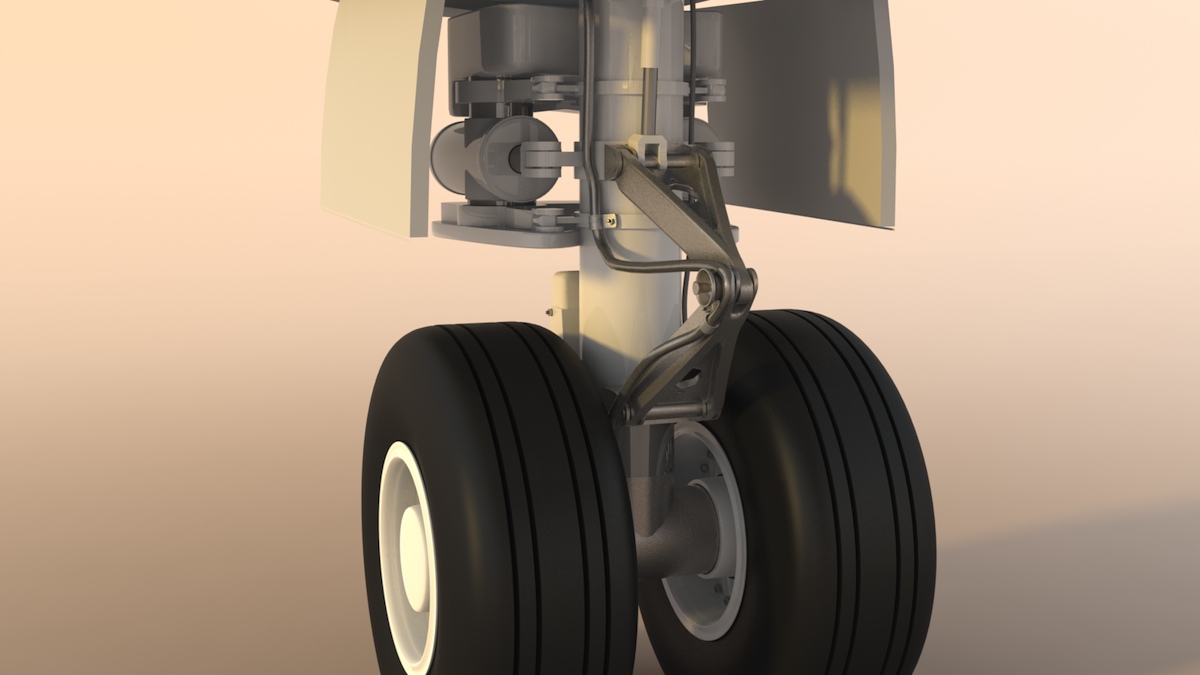

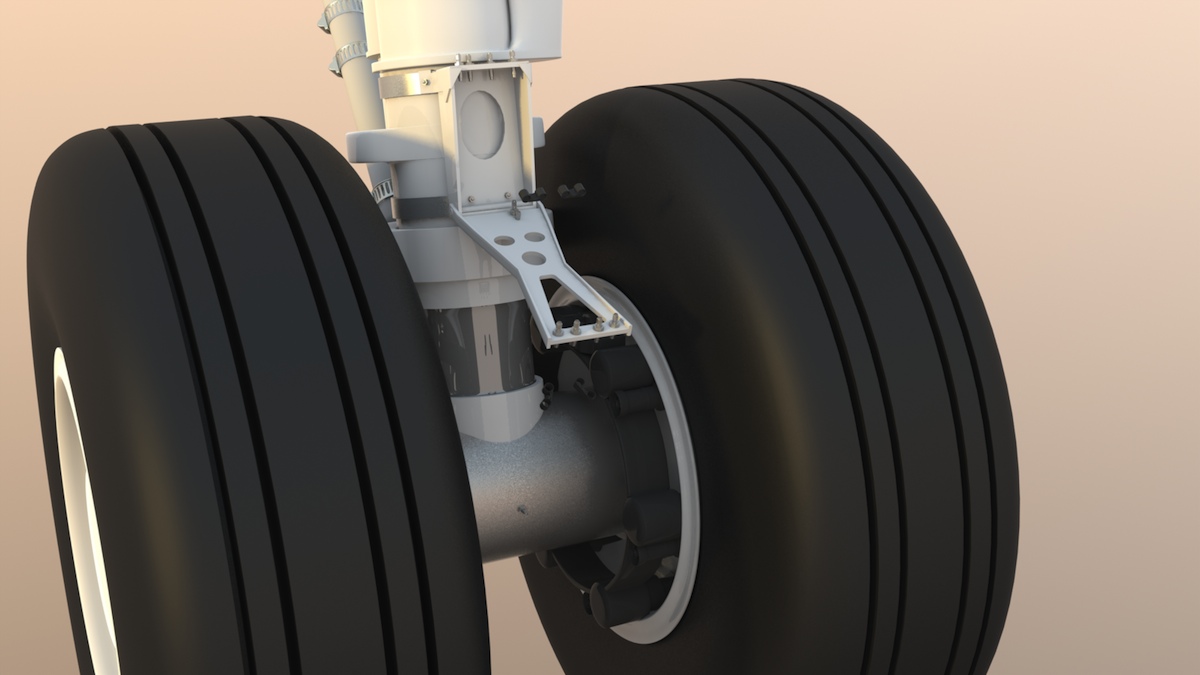
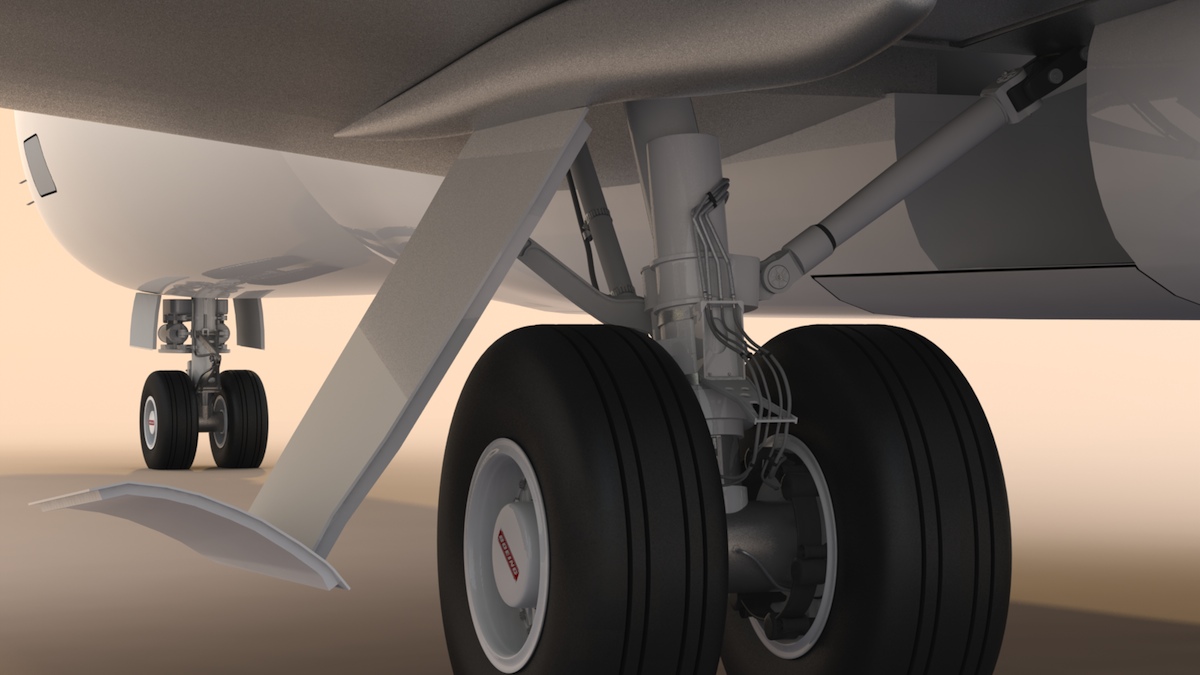
Detailing the main landing gear:
The main landing gear on the Boeing 727 has a LOT of details to add. There are a large number of mechanical linkages, including those that attach to the multi-piece gear door, quite a few conduits for the hydraulic system, and a lot of small brackets to hold them all. Here's my start...
Hydraulic System
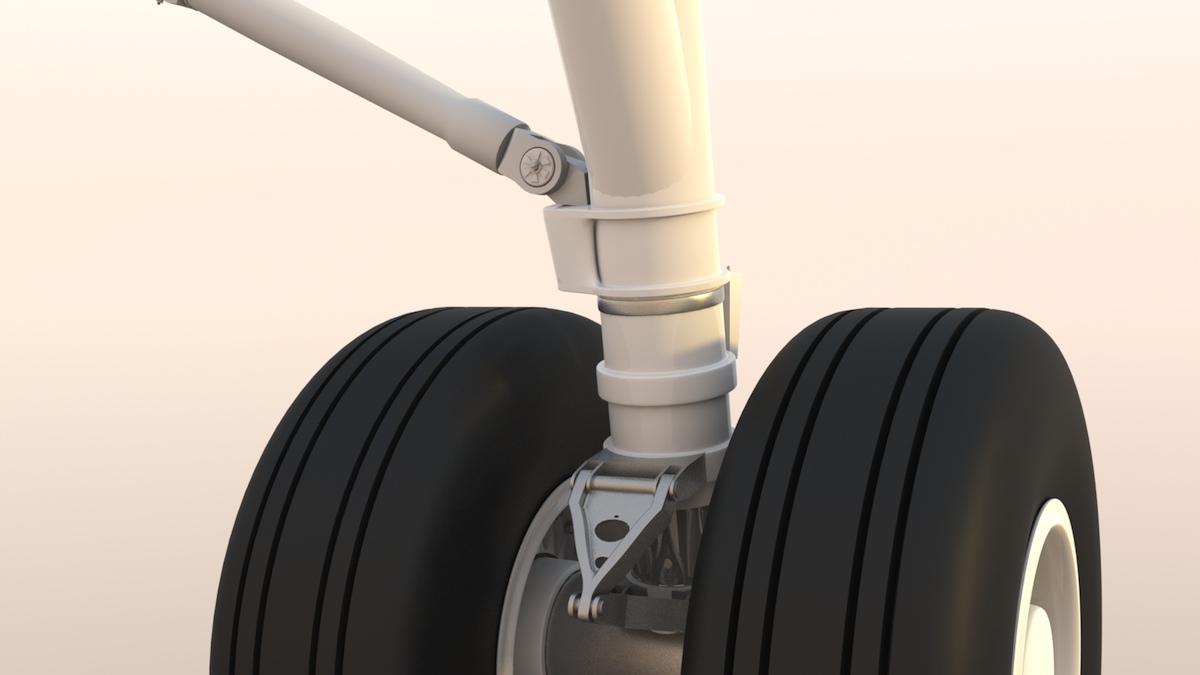
On the Boeing 727 main landing gear strut, there are a lot of hydraulic hoses, for operating the brakes, so I've started to add the associated parts. On the front of the strut, there are two "cans", which are probably oil reservoirs. I've also added the large front brace to the strut.
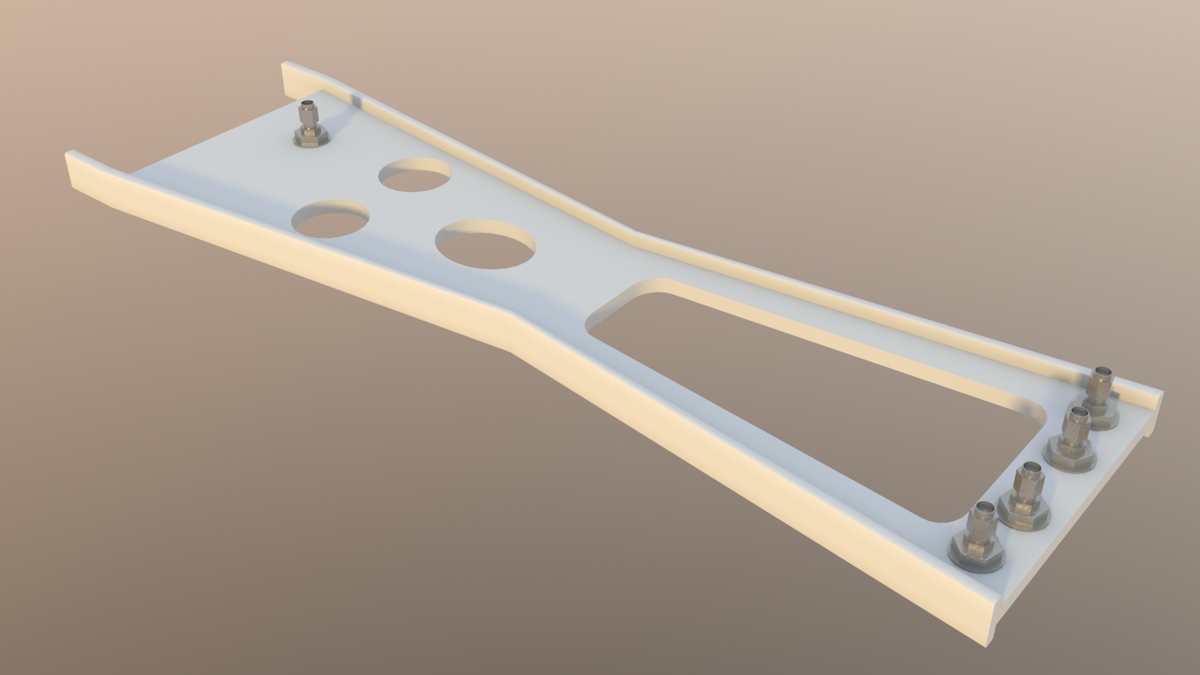
There are lots of manifolds and brackets like the one below, to keep all those hydraulic lines from flailing around. I'm adding those support plates, valves, connectors, etc..
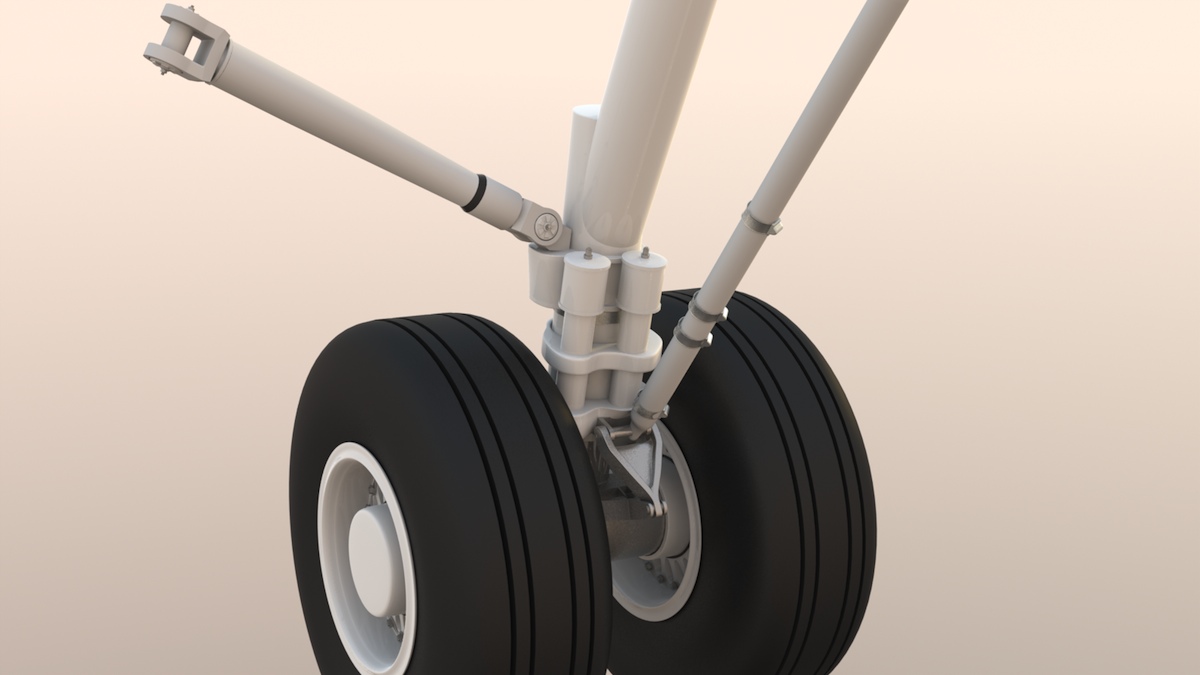
I've installed several items here, on the rear of the strut, to support the brake lines. After all of those are in place, I'll run the lines through them. (And, I still haven't built the brakes.)
Brakes and brake lines:
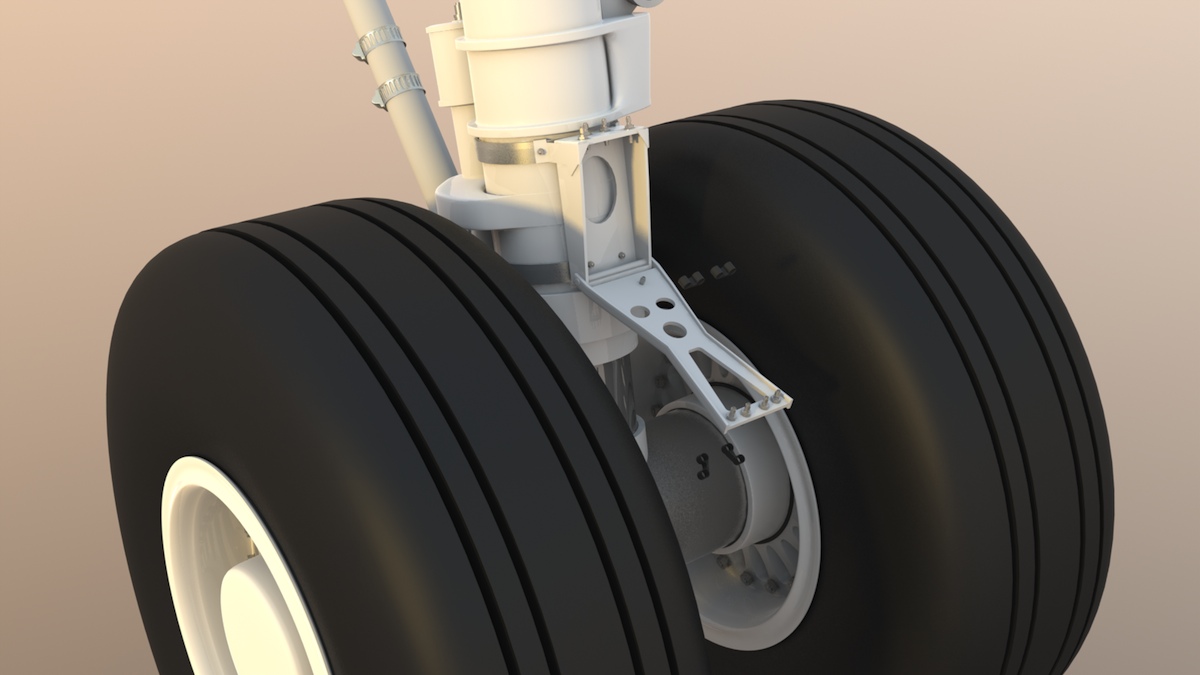
I've added a simple model of the brakes on each of the four main wheels, so I'd have a place to run the brake lines to. They won't show in most renderings, but it's a nice detail.
I've added all the brake lines that I think will visible, and once I add a few more small parts, I'll move on to the last set of linkages, which are connected to the landing gear door.

Here's where the model stands now. Still a lot more to do...

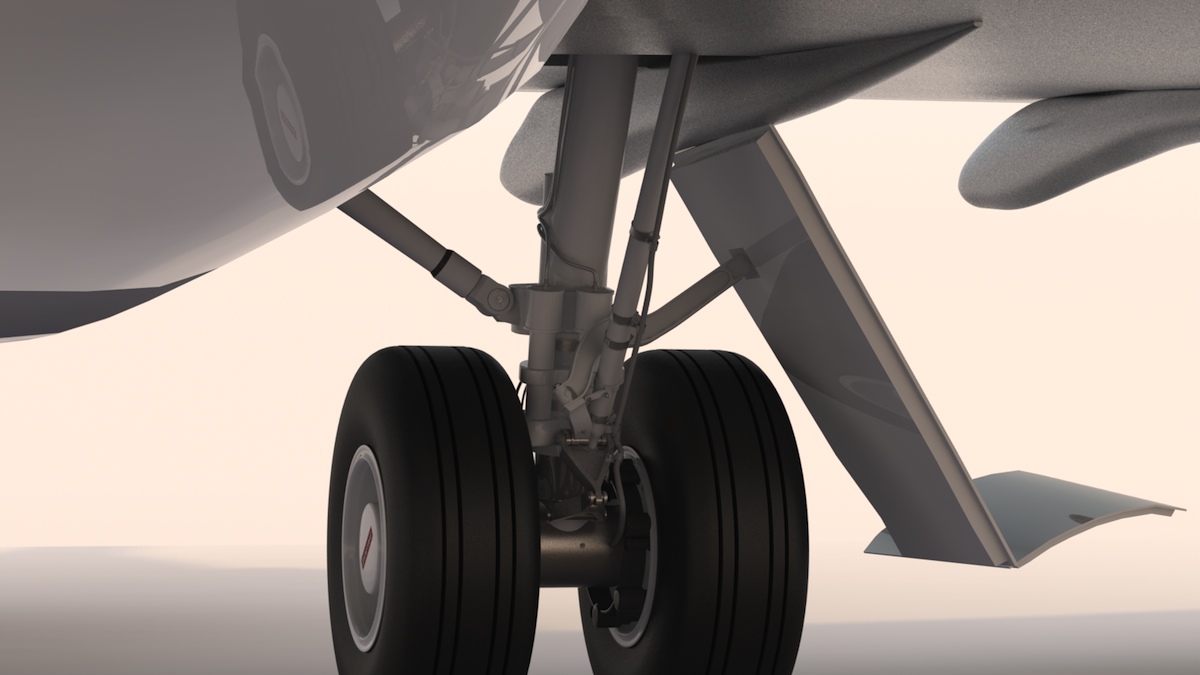
Main Landing Gear Doors and linkage:
There's some logic to the order I'm doing things in… On this aircraft, the outer landing gear door is actually hinged at, and is a part of, the inboard flap track fairing. So. before I can correctly slice the flap track fairing, (where it separates when the flaps come down) I had to get the position of all these parts right. With this done, I can now work on the flap segments and flap track fairings.
So, here I've added the outer landing gear doors, and their rather complex linkage to the landing gear strut, and I've done a little work on the doors. First, the front view...
Here's the rear view...
And here's the model, as it stands today.
Click the "Page 05" link below, to continue...