Boeing 747-8 "Intercontinental" project:
The Legendary Wing Box:
I've never heard anyone call this wing box "legendary", but I bet some people at Boeing have. This is basically where everything comes together in a structural and functional way that is rather amazing. I'm guessing that there are guys at Boeing who laughed, when someone asked "Can you make the 747 ... (whatever - "carry more", "fly further", etc.) Those are the engineers snickering, "We designed it to do 4 times that."
Over the course of a project like this, I naturally learn more about the details. The "Wing box" area of the 747 is quite a piece of engineering. I think Boeing did, and always will, give great forethought into the design of anything they make, and the 747 certainly is a great example of that kind of thinking.
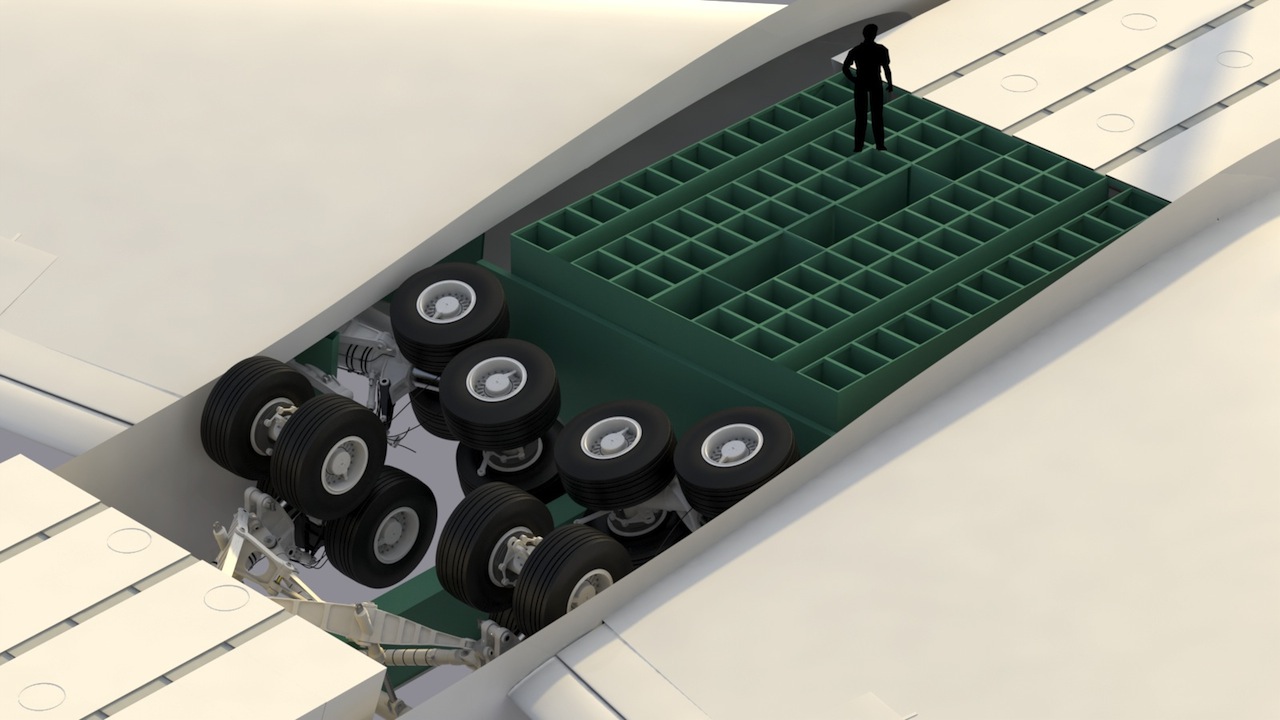
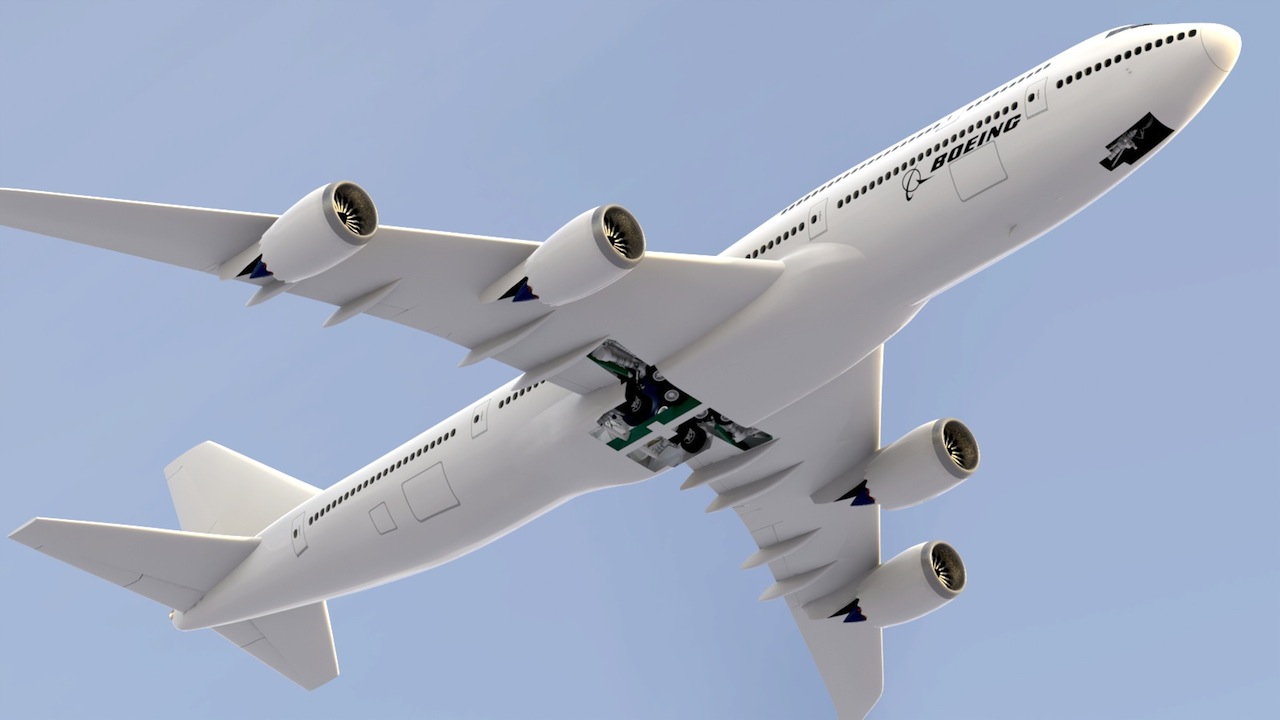
From Above:
It's interesting how each of these things fit, and to see how they interact with each other. The beauty of the design starts to sink in when you first see the "wing box", next to the gear bay that houses the main gear. They're both HUGE structures, and obviously fit together very well. Then, you start to look at the wing connections, and you can see they're very strong. This goes on and on, as you begin to understand the design, and it always is enlightening. Take a Boeing employee out to lunch! (And, bring 'em to my place for dinner.)
Below:
The landing gear stowed, and the cargo bay in place. (One in front of the wing box, and one behind the main gear)
Below:
Adding the Fuselage, with all the cutouts for the gear doors and wing box.
Below:
Fuselage/Wing fairing in place, with all of it's cutouts.
Below:
Wings added, with their cutouts.
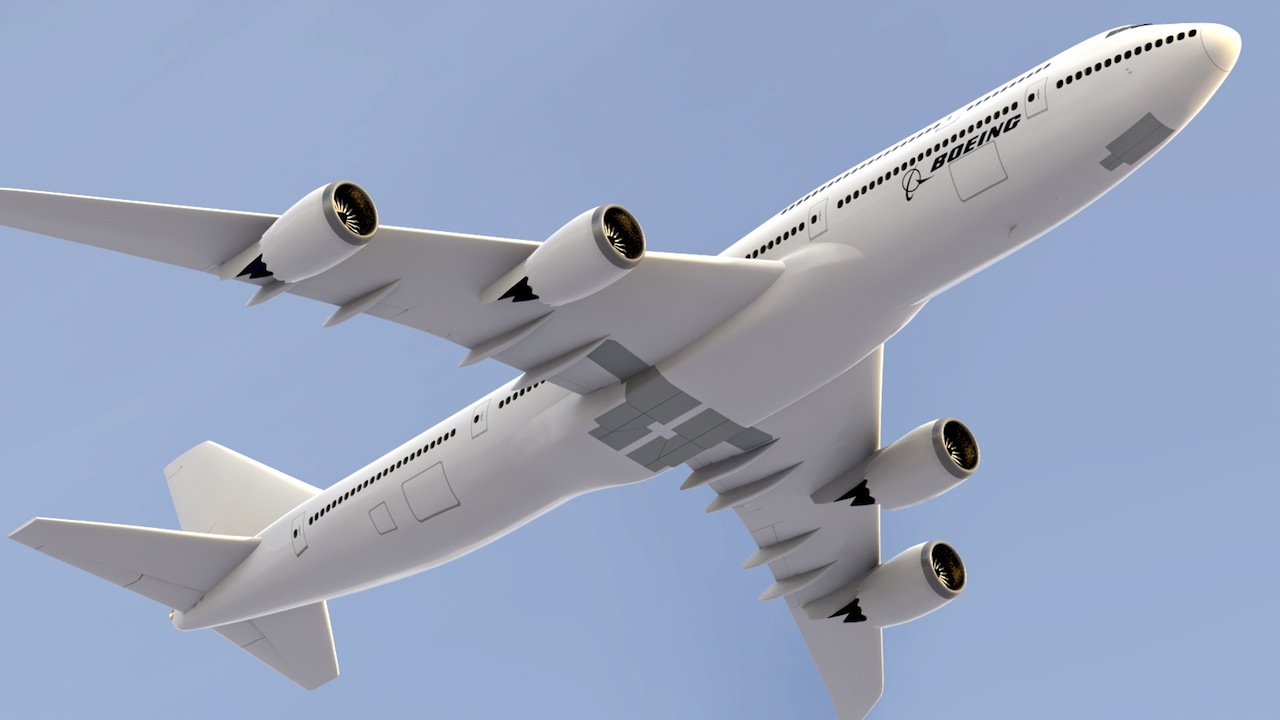
Below:
Gear doors added, colored a little darkly, for clarity.
What's left?
With the landing gear doors cut out of the wing/fuselage fairing, those cuts have to be extended into the fuselage, too. That will go quickly, and then after adding some thickness to the doors, I can rig them to work with the already-animated landing gear. That is definitely the next thing to do.
Right now, the model is at about 110 MB, and renders about 30 million polygons. So far, I'm not experiencing bad performance losses, so I will prioritize some details, in case things get tight, (16 GB of RAM on this machine) and keep going.
One thing is certain though, and that is that there are definitely enough system resources left to finish the landing gear areas, including the animated doors, and still have enough ram to rig the control surfaces, and add more exterior lighting. If it's still possible after all that, I'll add a reasonable interior.
Landing gear and doors rigged!
Still have to detail the gear bays, but everything fits, and everything works. Nice! Here's an animation.
Possibilities...
The landing gear rigging had to accommodate several positions, for future animations. (At the bottom of this page, there's a video explaining how I did the rigging on this model.) First, consider takeoff. As the aircraft rotates to a nose-up position, shortly before lifting off, the oleos (shock absorbers) extend, as weight comes off the ground. Also, the landing gear trucks (or "bogies") have to rotate forward, allowing all wheels to remain on the ground. Then, once the aircraft lifts off, the trucks rotate rearward, to allow them to fit into the gear bays. Some of these positions are shown in the next four images, and the rest are in the video just below that.
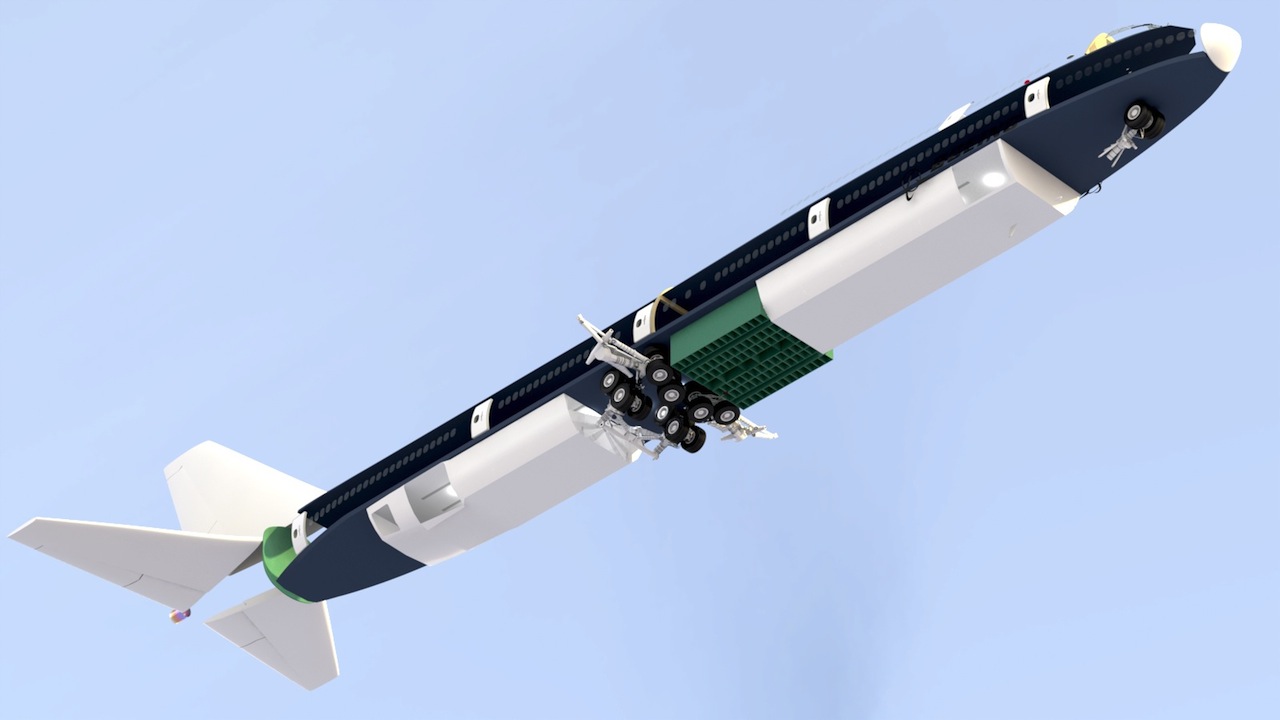
Below - Gear position shortly after takeoff, with the trucks (bogies) rotated, for retraction into the gear bays.

Below - View fron behind.
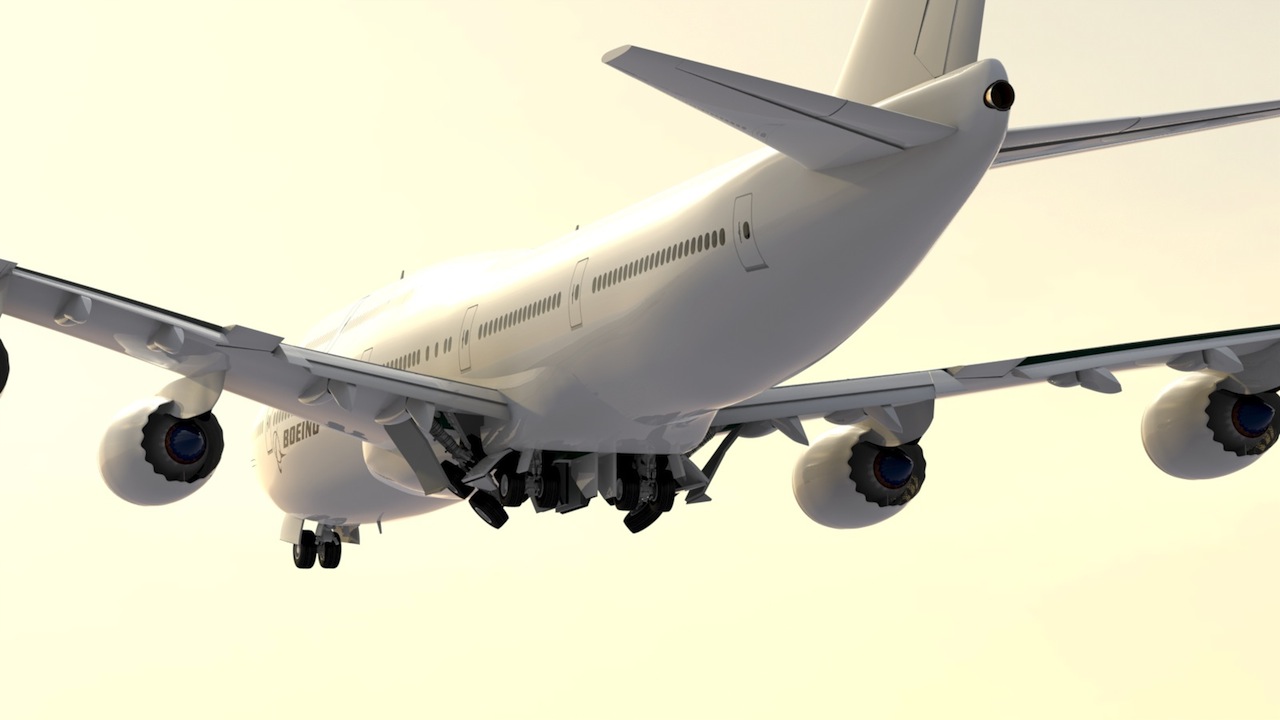
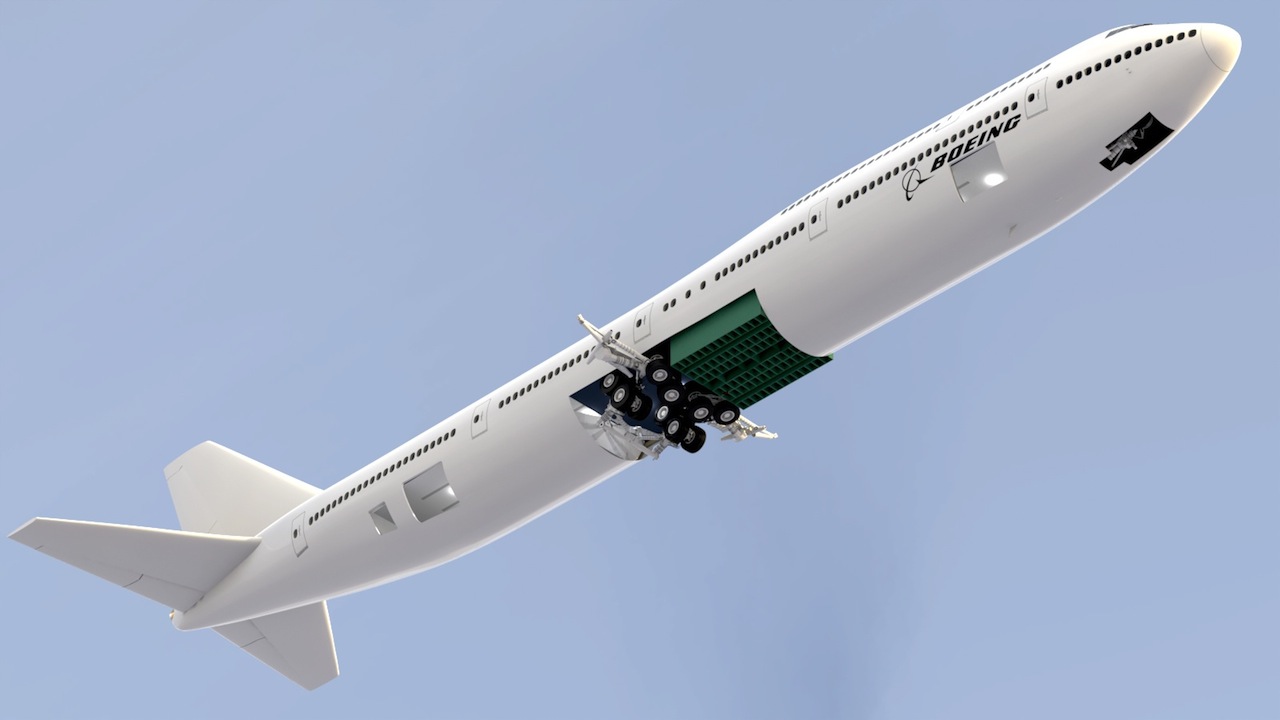
Gear position on landing approach, (or, shortly after takeoff, with the trucks rotated and the doors opening.

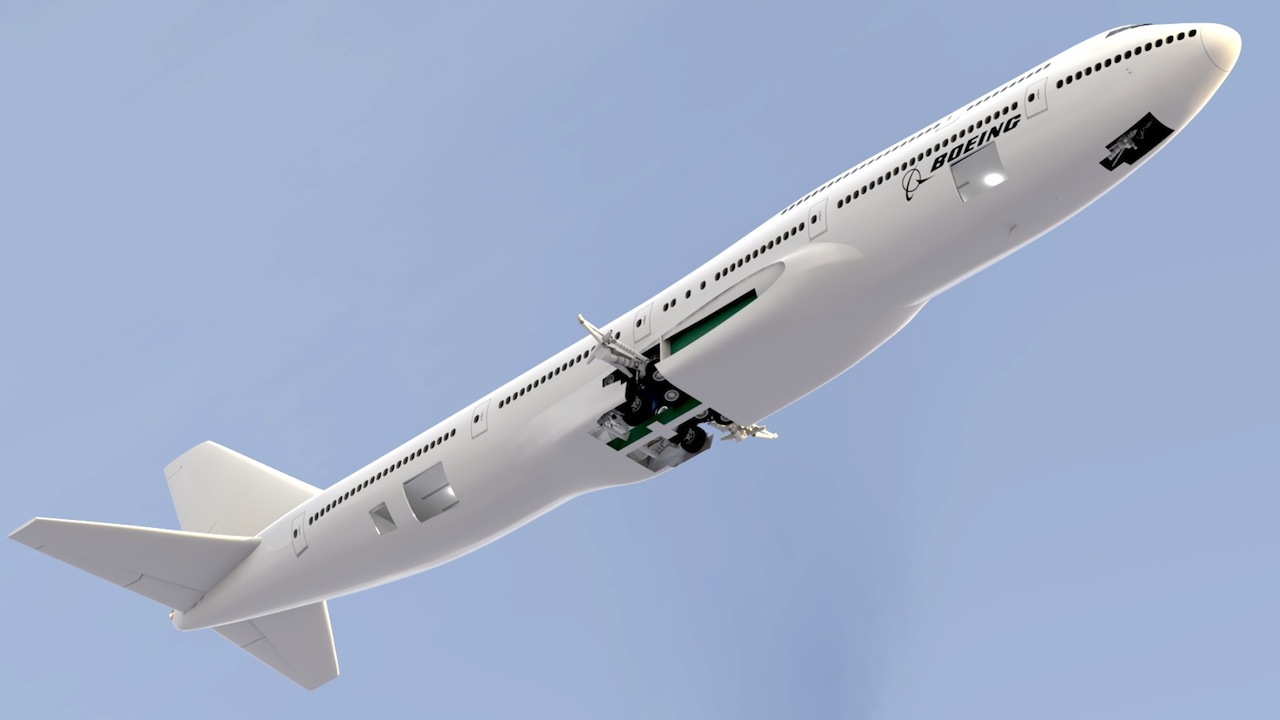
Similar view from the front.

Click the "Page 09" link below, to continue.