Rendering in MODO 901
The renders shown on this page are all 1920 X 1080. So, if you want to see the details more clearly, drag them to your desktop.
MODO 901 brings some fantastic improvements to rendering. First, we have a new physically-based shader system, which not only yields more realistic results, but is actually easier to control than the previous "Energy Conserving" method. Adding to that, the use of "MIS" (Multiple Importance Sampling) and "ALS", (Adaptive Light Sampling) we can now render more complex scenes in the same, or in many cases, less time. It's worth mentioning that direct lights can now be made visible to camera, so the possibilities are quite interesting.
"Preview", as many of you know, can serve as a "Progressive Renderer". This means that you can do the usual method of setting light samples, irradiance rays, etc., and do a standard render, (which is limited to the settings you have used) or you can simply launch a progressive render, and eliminate the worry of all those various settings. Simply let the render "cook" until you're happy with the results. You can save renders at any point in the process, without interrupting them, and you can even save them as a file, which can be re-opened later, to continue rendering. It's a fantastic way to work.
I extracted the interior parts from my P180 model, seen on the previous couple of pages, and offered the scene to users on The Foundry forums, to do some render tests. This turned out to be a really interesting process, as people rendered it in MODO, and compared it to other renderers. Check out the discussion thread with results here.
Using all the new features...
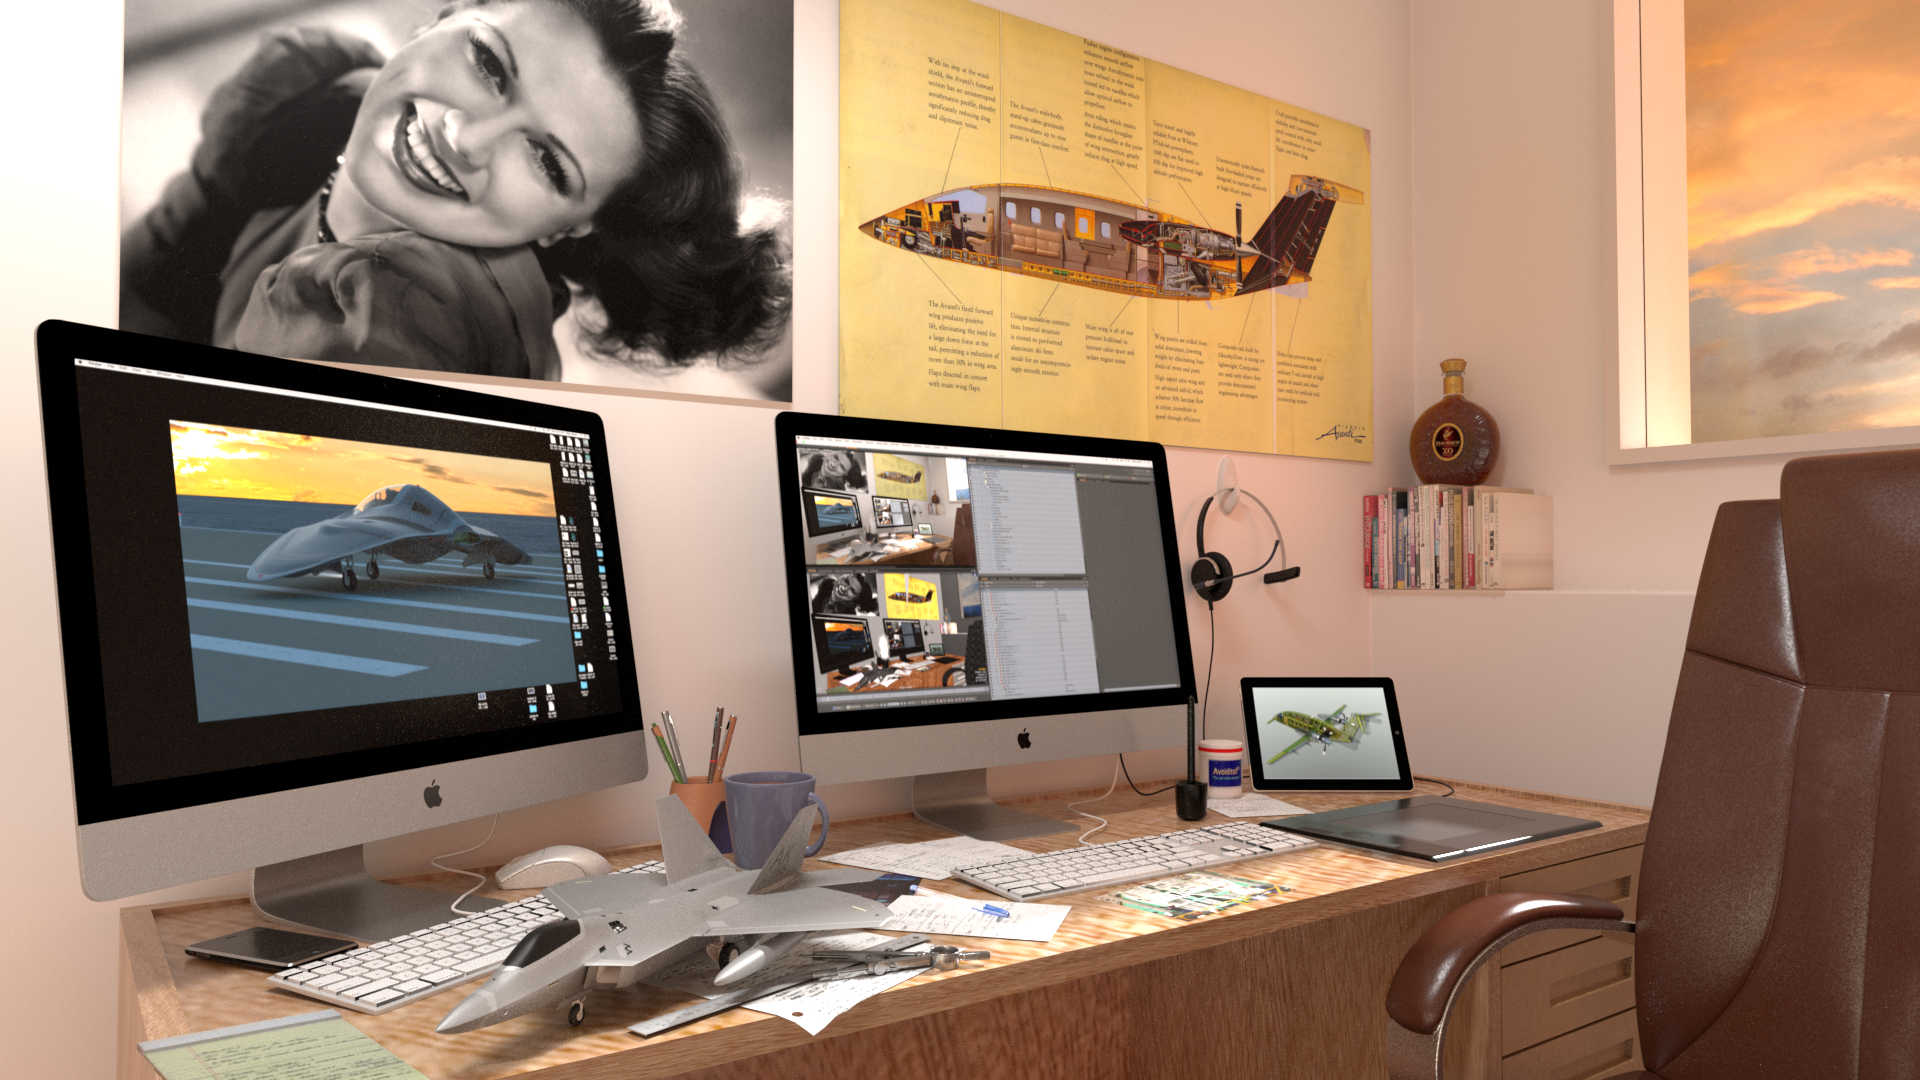
Here’s a depiction of my home office, direct from MODO 901’s progressive renderer, (cooked for about 45 minutes) with no post-processing.
I modeled the room, desk, Wacom tablet and pen, F-22, and the notes scattered about the desk. The notes are photos of actual notes I had on my desk. The other assets in this scene came from the share site, with some minor adjustments to their materials. Thank you, to all who contribute assets like this, which saved a lot of time. (For those of you who are interested, the photo on the wall is Eleanor Powell, a well-known dancer from the 40s and 50s.) All of the materials were updated to the new physically-based type, before making other adjustments.
Render details:
The room had four walls, a floor, and a ceiling, with one window. Outside the window, I used a polygon to hold a sky photo, and between that image and the window glass, a directional light mimicking the sun. In the room, I used a single IES light for the overhead illumination, and the “Interior Probe 01” from MODO’s included Indoor Environments, rotated around the Y axis until I got the effect I wanted.
Interesting that I haven’t heard more people speak about this… To solve the typical problem in room corners with irradiance caching, I simply used MODO’s “rounded edge” option on the wall and ceiling materials. (set to 1/4 inch) and there was no need to otherwise increase the samples, or use an occlusion shader, or whatever. It provides a slight highlight in the corners, which is what I actually see in real life, so I think it’s a good choice.
This render time amounted to a little over 50% convergence, with the slider set to 100%. Like most images on my site, this one is rendered larger than what will appear in your browser, (1920 X 1080) so if you'd like to see more of the detail, just drag it to your desktop.
This was a 2-day project for me, so I’m quite happy with the results. Special thanks to Richard Yot for the many helpful rendering and shading tutorials, which I think are invaluable. There's some obvious work to do on the desk's wood texture, to randomize it a bit, etc., and I'll get to that as time goes on.
Improvements...
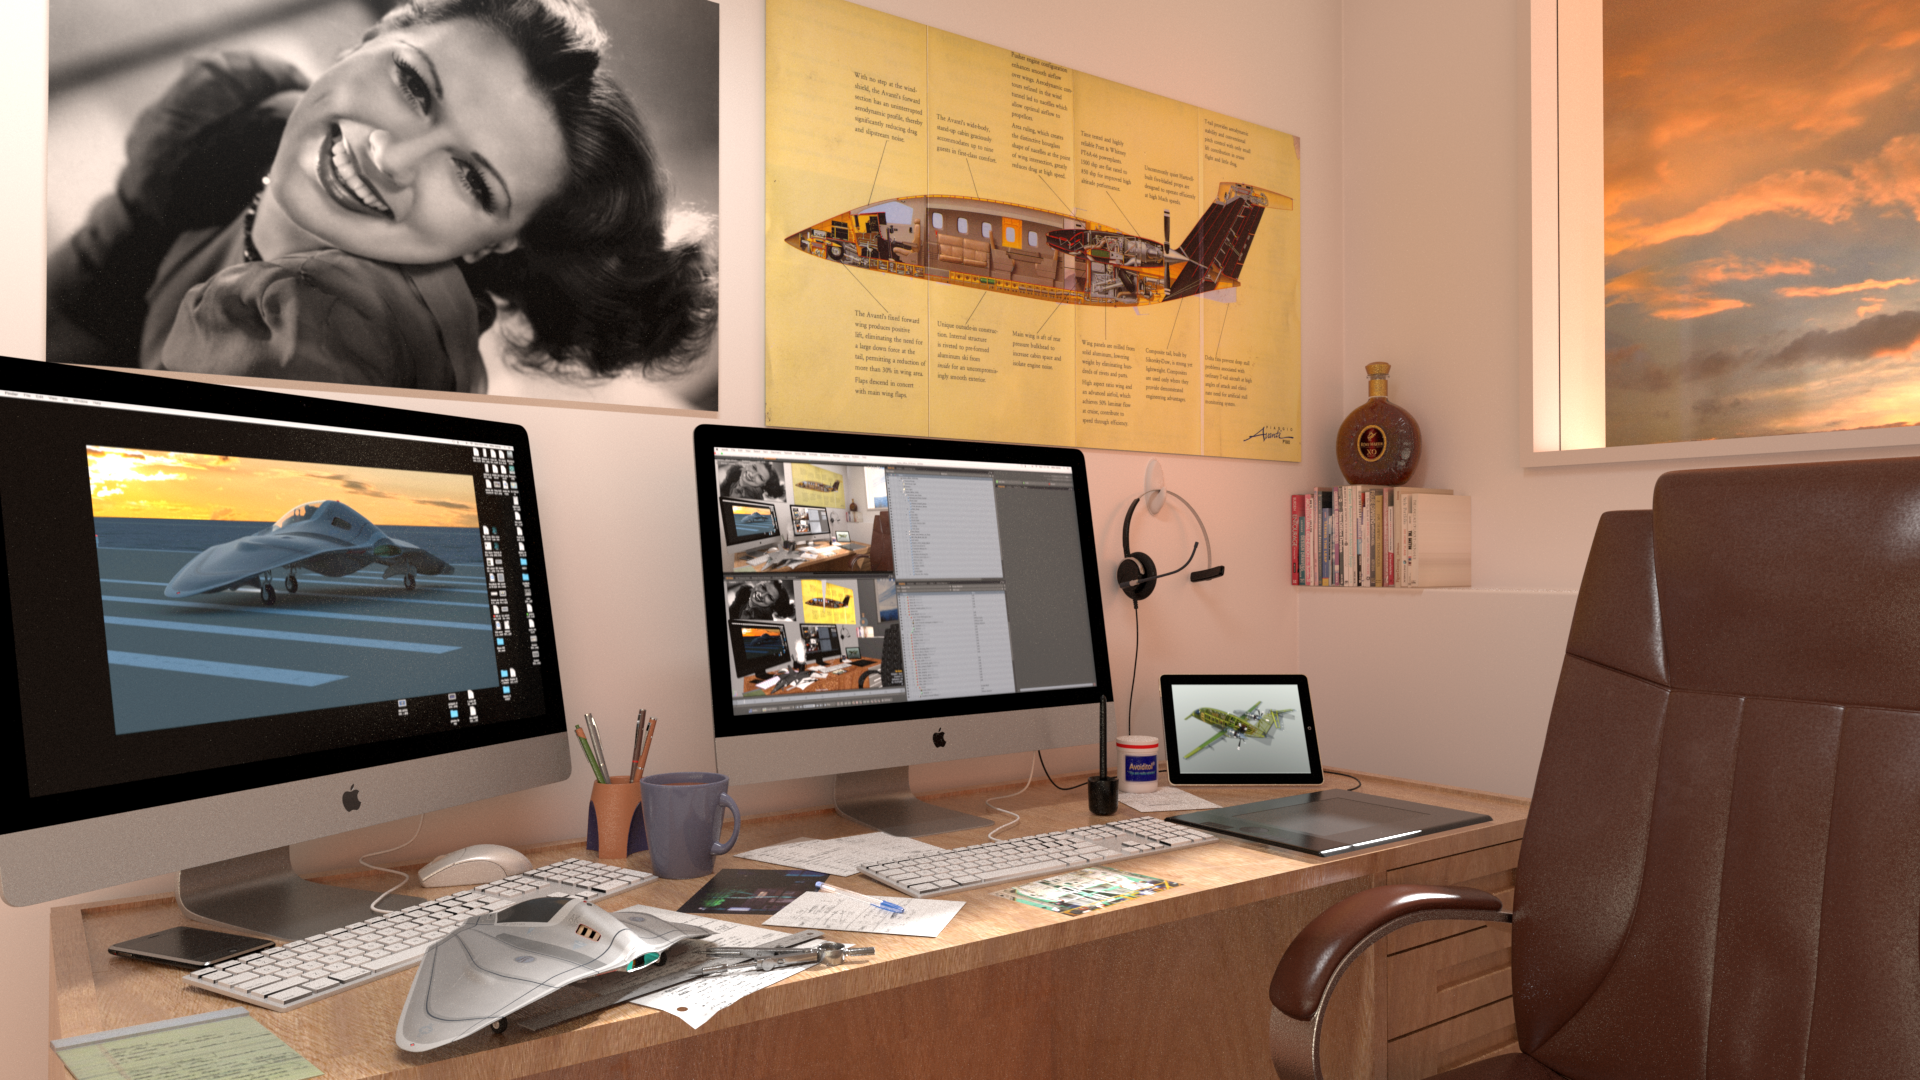
I did some work on the wood, reducing the texture’s overall scale, adding a bump map, and increased the opacity of the grunge and scratch maps just slightly. Adjusted the gamma of the outdoor image down slightly to darken it, which also allows a bit more of the interior reflections in the glass. Adjusted the specularity of the Cognac bottle in the corner a bit. Changed the desktop display model from my F-22 to my newer “L Craft”. This is another progressive render that I let cook for about one hour.
The third day...
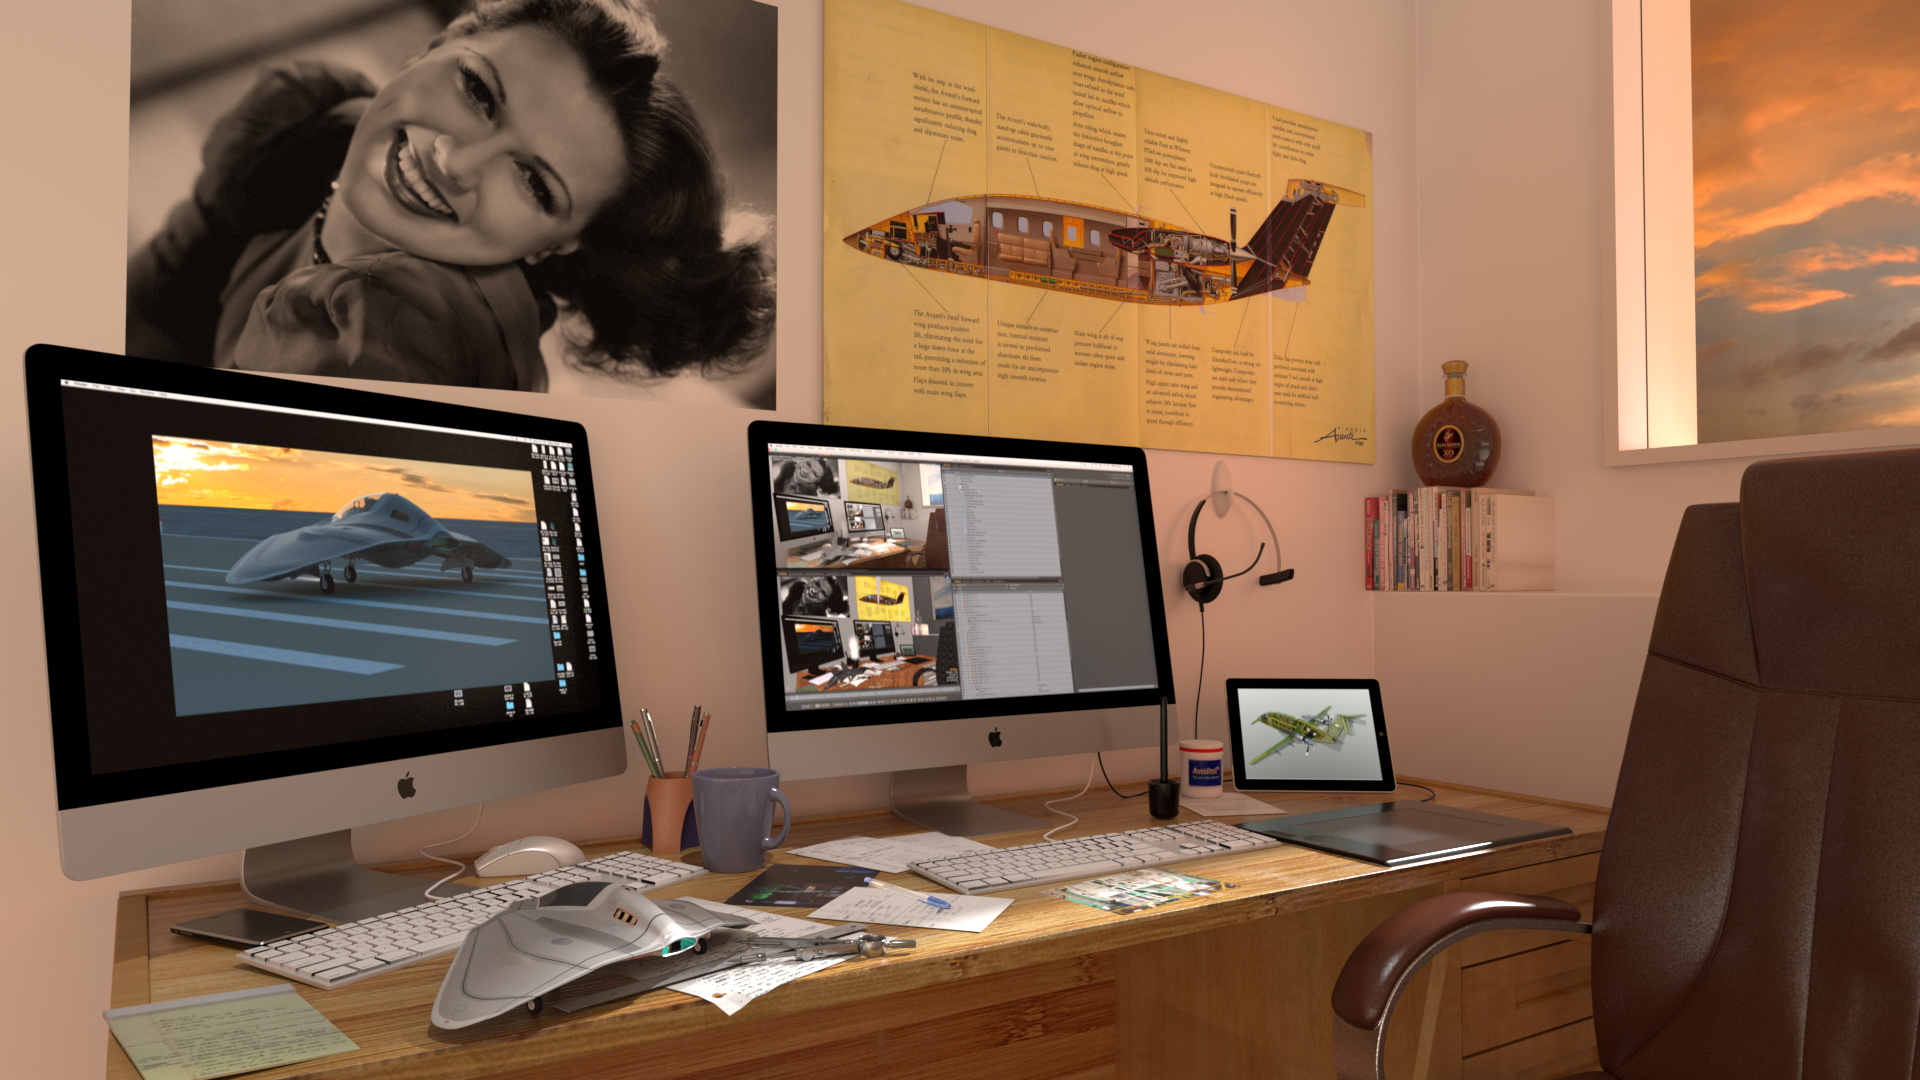
I’ll probably go on tweaking this forever, but for now, I’ll call this the “final” render. I’ve completely rebuilt the desk, using new textures for each UV map, along with a “subtle grunge and scratches” effect. The desk is looking much more believable now. Having done some tests, I also substituted a regular spot light for the IES light I was previously using. This progressive render cooked for about 50 minutes.
After going through Richard Yot's "Shading Master Class" tutorials, I've followed his lead and adopted progressive rendering for nearly all of my MODO work. The shortest explanation of "why" is that any render settings you use on a "normal" (F9) render are limited by those settings. How many times, for example, have you done a lengthy render, only to discover one small area that needs some adjustment? With progressive rendering, you can forget all about most of your render settings, and simply let it "cook". The other, huge advantage is that while the render is cooking, you can use your mouse, as you do in Preview" to scrub over areas that need more refinement.

Imagine for example, the scenario where a one hour render isn't quite enough, but it's all the time you have. You can let the render cook for about 45 or 50 minutes, then use your mouse to scrub away any remaining noise. Very handy! To make the point of how valuable this is, check out the render below, which I let continue for a total of 11 hours. The difference between it, and the 50-minute version is nearly imperceptible.
More coming soon...