Boeing 747-8 "Intercontinental" model:
 Boeing's newest (and still largest) airplane:
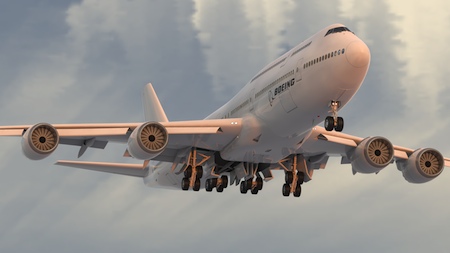
In 2010, I built the Boeing 787-8 "Dreamliner" so this aircraft seemed appropriate to do next, adding to the fleet. The Boeing 747-8 "Intercontinental" is larger, faster, and more efficient than previous 747 models, and includes, among other things, a redesigned wing and flap system, as well as the new General Electric "GEnx" engines.
The 3D model includes a large amount of detail, and also quite a few rigging features, to be used in both still images and animation, in both day and night shots. Here, I've outlined some of the more major features. If you have any further questions, feel free to email me.
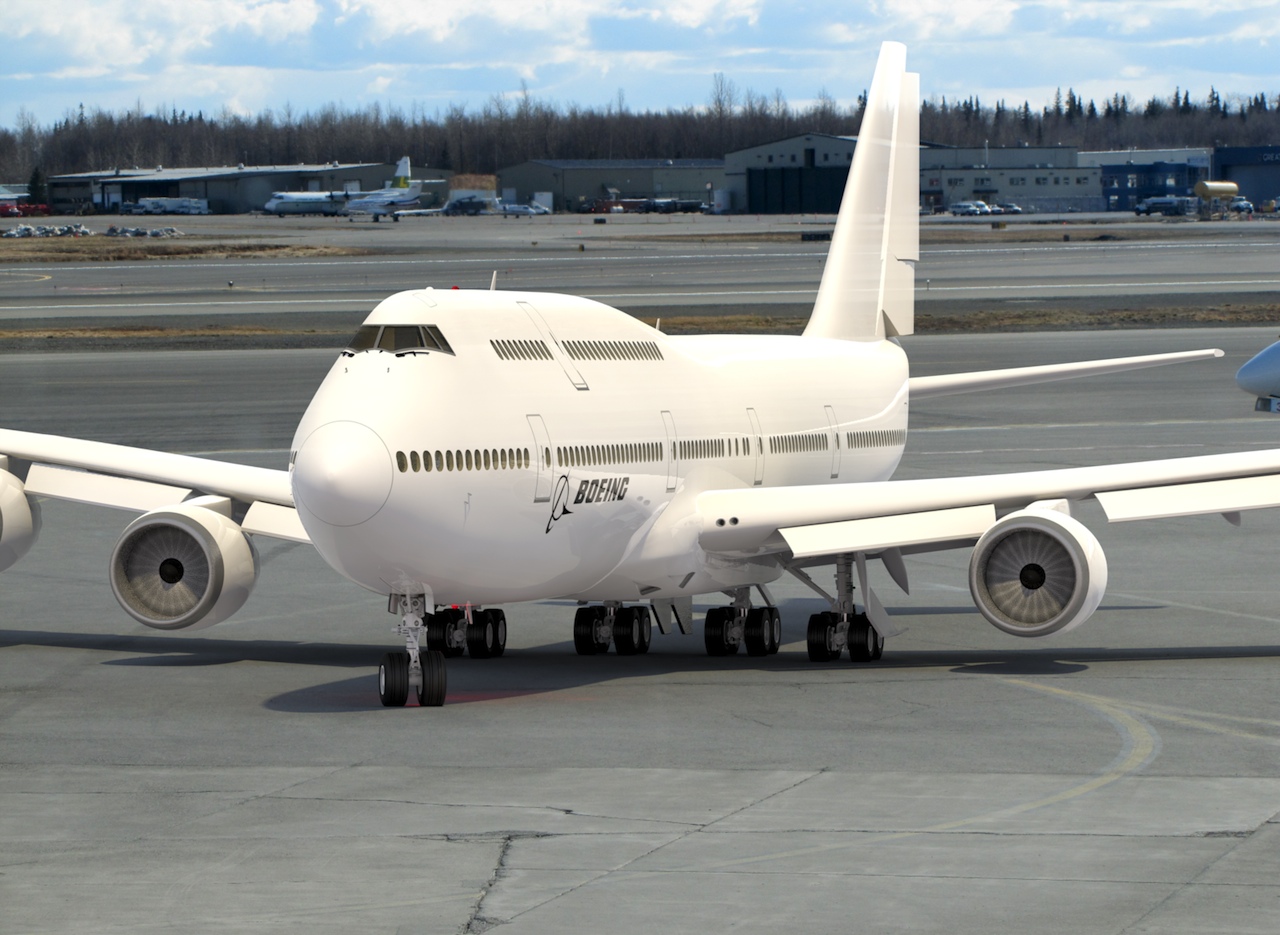
Below: I shot this photo at Ted Stevens International Airport, here in Anchorage, and then composited the model into the shot.
Important Technical Information for Buyers:
If you're a MODO user, you can skip this section, since everything works exactly the way it's described below.)
At the time I'm writing this description, this model, in native "lxo" format) is about 125 MB in size, and at render time, generates about 25 million polygons. It's important to note that this file uses MODO's "replicators" and "instances" to keep the file size from being much larger. (duplicating passenger seats, for example) When translated to another file format, the file size will be quite a bit larger.
The "Controller" and it's associated rigging controls may not translate to your particular non-MODO format. All of the geometry is still there, and can certainly be animated, but it may not be so "automatic" as it is with the native MODO file.
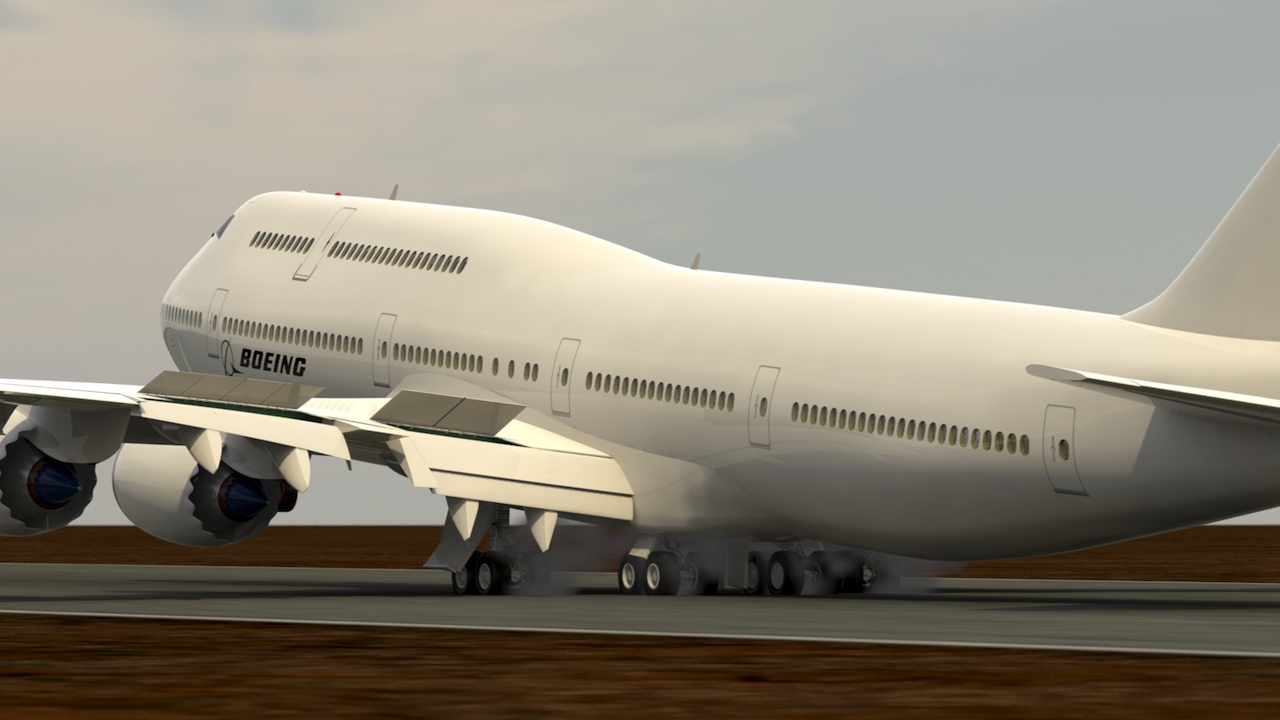
Volumetrics (a smoke-like effect, simulating engine exhaust) were used for several things here. First, they were used, as you can see below, to produce puffs of smoke from the tires, on touchdown, produced from momentary skidding. Then, they were used to produce a very subtle exhaust stream from the engines. The rig is set up to slightly reduce the visibility of this exhaust stream, and turn on the reversed exhaust stream, when the reversers are activated. All of these streams are also spinning around their Z (length) axis, so that with motion blur turned on in later animations, it will be more realistic.
Below: I've used MODO's volumetric effects to depict the smoke produced from the tires skidding on touchdown. In MODO, this is a simple On/Off switch, and is not animated at this time. (Good for still shots like this one, though.)
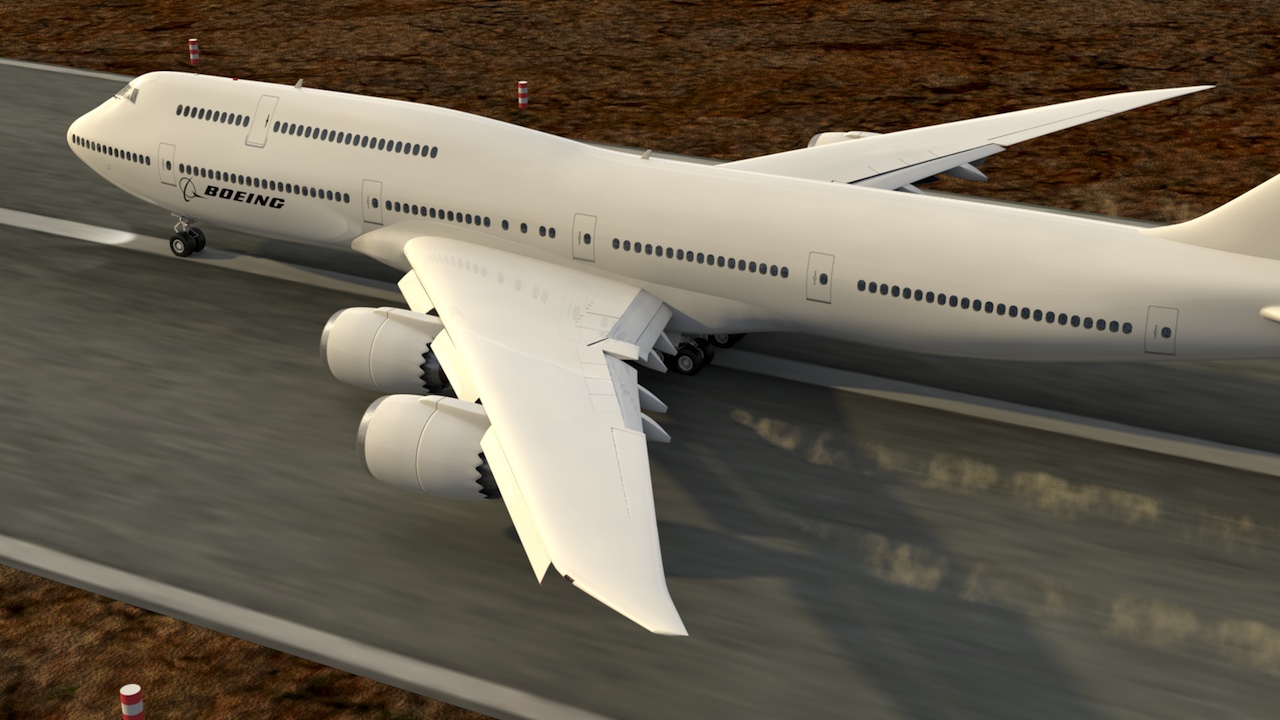
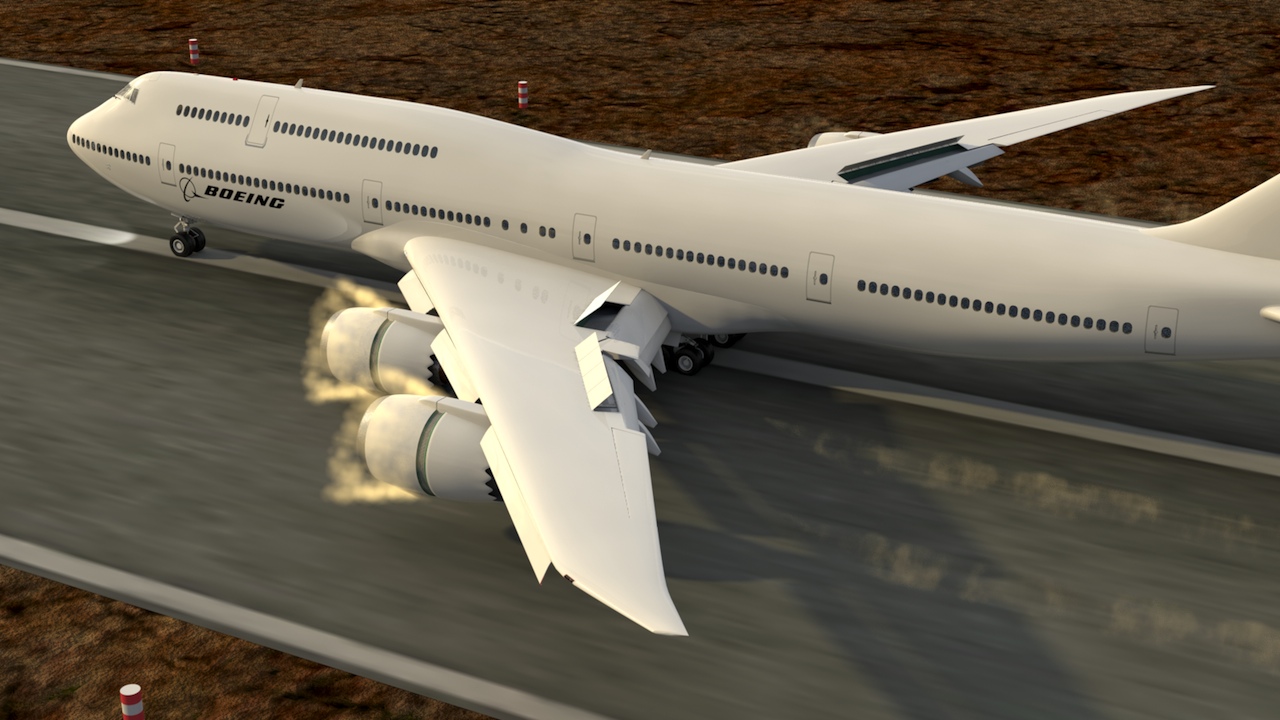
Below: A test of the volumetric effect on the thrust reversers. Normally, you wouldn't see any exhaust "smoke" like this, on the actual aircraft, unless it was a very wet day, so I'll tone this down a bit for the final animations. It uses vertex-based "sculpted volumes" in MODO, combined with a spinning (z axis) effect, to blur it further. The controller for this rig moves the aft portion of the nacelle rearward, and as it moves, it uses (in reverse) MODO's "dissolve" function to make the exhaust appear. As the reversers close, the reverser exhaust fades out, and the normal rearward exhaust stream comes back to it's original strength. For your convenience, the "Engine Volumetrics" folder can be turned off, saving render time in one easy step.
Interior Details
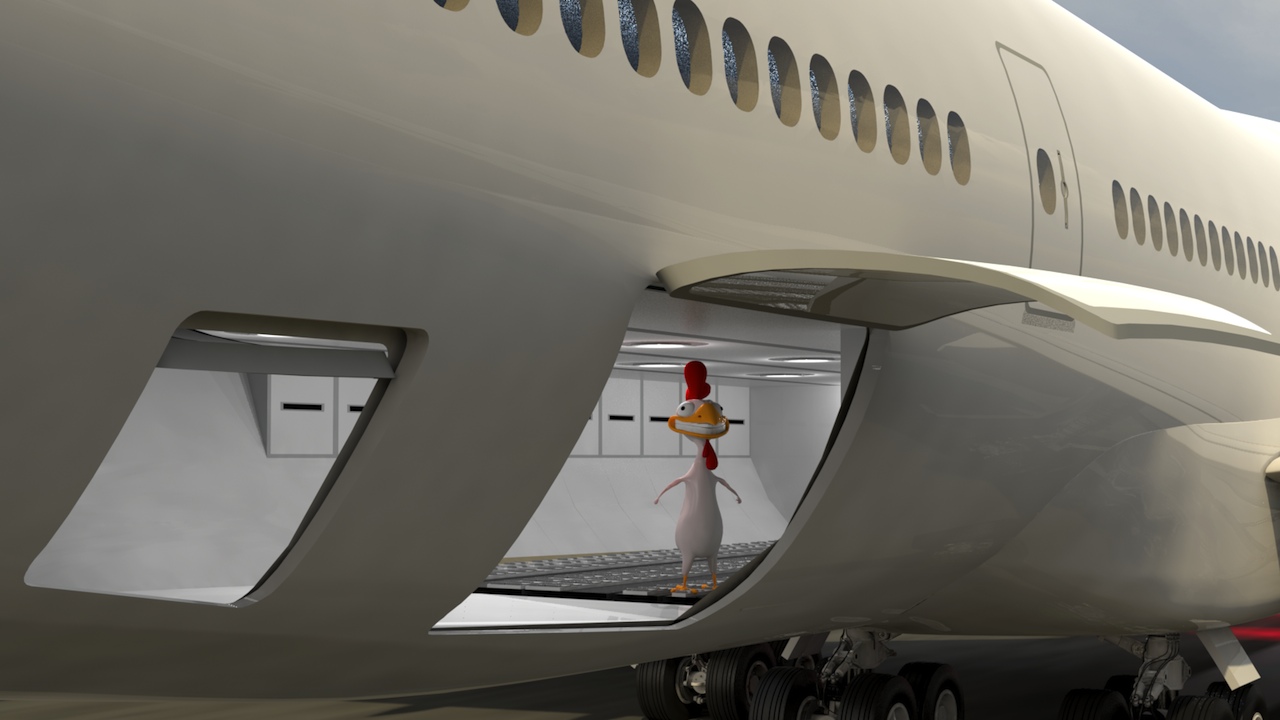
Below: Cargo bay and cabin details. (Giant MODO chicken not included.)
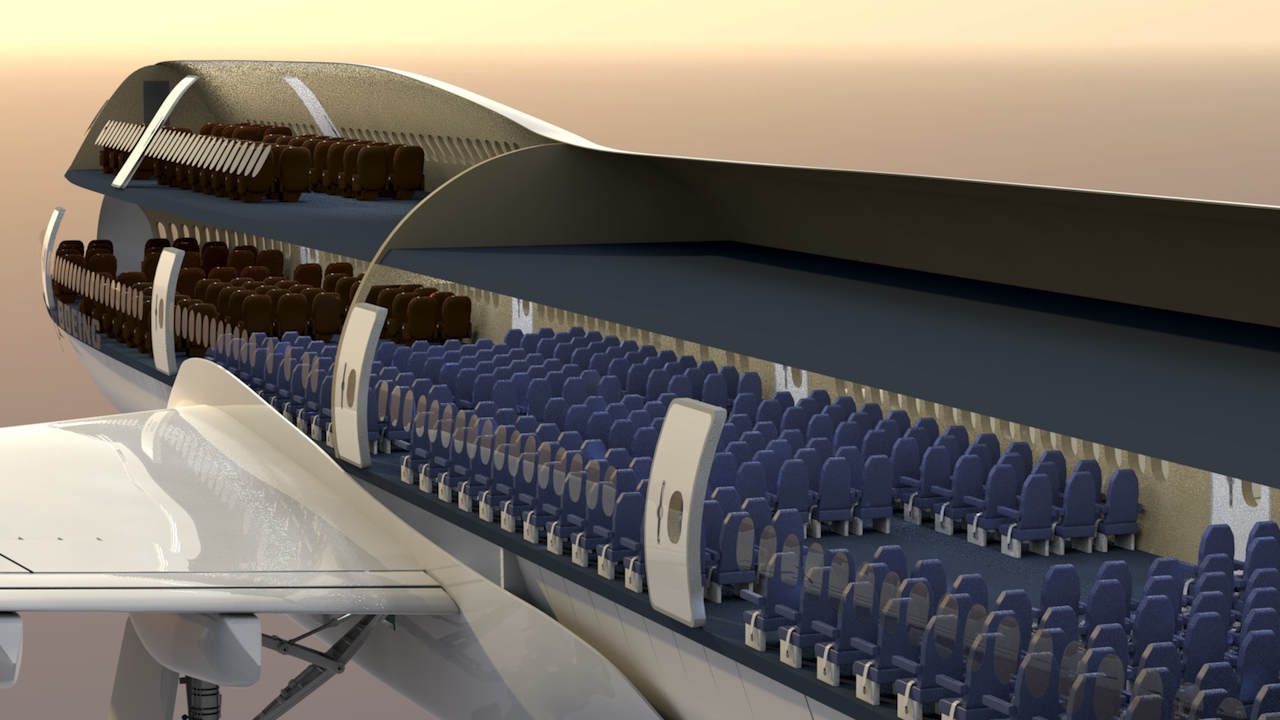
Below: A familiar view from inside the cabin...

Bringing the rigging commands together
I'll continue adding external details, to the limit of my system resources, as this project moves along. These are the features currently implemented.
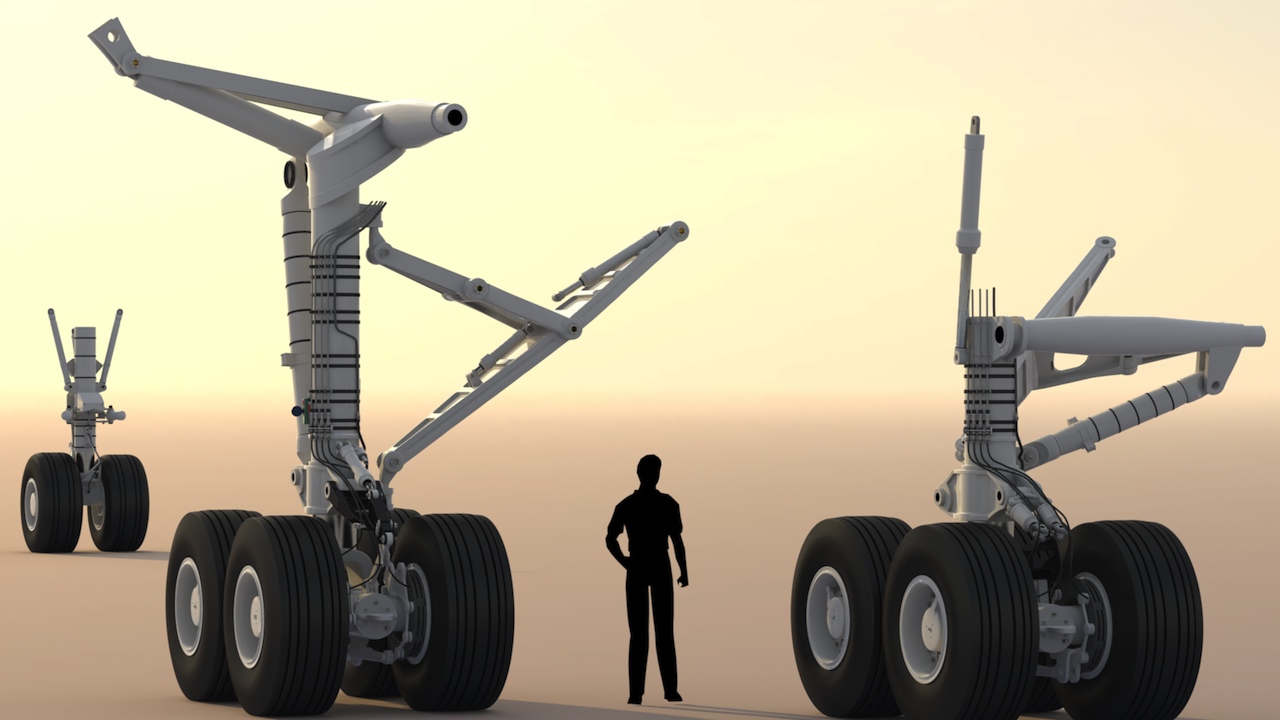
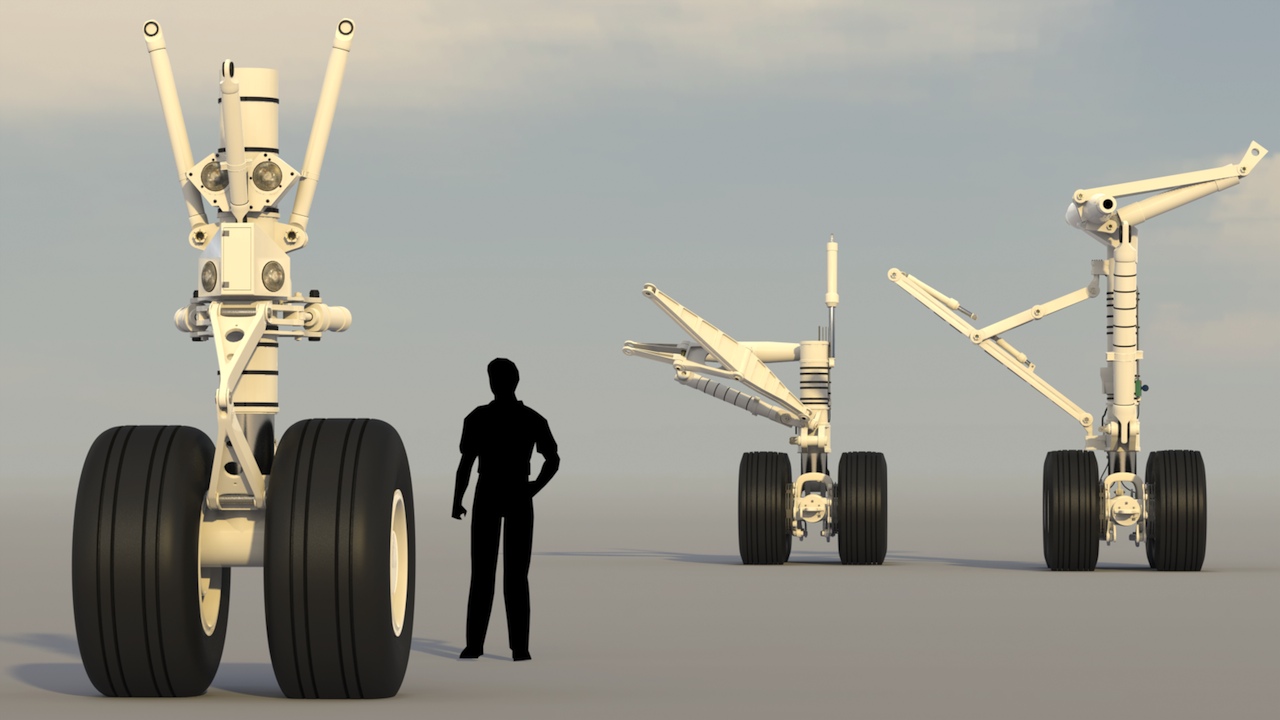
Considerable time was spent developing keyframes for the animation rig to make it more versatile. For example, the landing gear keys are placed so that, with a single slider, the aircraft could be posed or animated in all the takeoff and landing postures, as well as showing the correct gear retraction sequence. The landing gear slider, which moves from 0 to 100 percent, works like this...
- 0 percent: Landing gear is fully extended, sequencing doors are shut, and the aircraft is set for a normal ground stance. (All eighteen wheels turn as the aircraft moves.)
- 10 percent: This rotates the main landing gear trucks so that, when the aircraft is at a 5 degree angle (takeoff or landing position, with the nose wheel off the ground) the main wheels still sit flat on the ground, and continue to roll.
- 20 percent: (for just after takeoff, or just before touchdown) Main gear trucks rotate further, to their pre-retraction position, and the sequencing doors open.
- 90 percent: All landing gear is retracted, but the sequencing doors are open. (appropriate for post-liftoff, and for pre-approach)
- 100 percent: All landing gear is fully retracted, and all doors are shut.
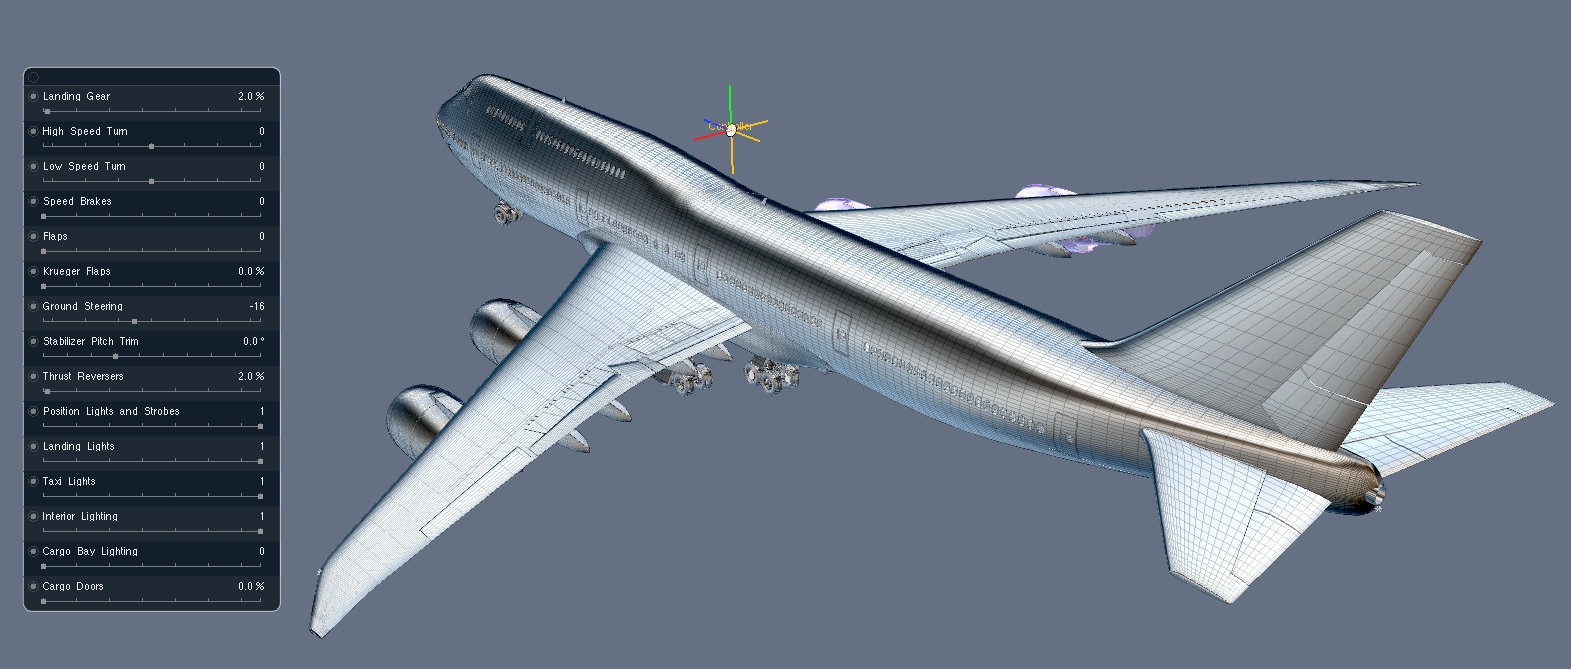
The entire aircraft's hierarchy is parented to a locator called "Aircraft Translation". This is the locator you use to manipulate the position of the aircraft. Clicking the second locator, called "Controller", (the cross-shaped locator visible above the aircraft) makes all the functions below available, through a simple display: Of course, all of these channels can be animated, too.
- Landing gear retraction and extension, including sequencing gear doors (See detailed description above.)
- High-speed Turn - (moves the inboard ailerons, with just a little rudder and elevator)
- Low-speed Turn - (moves the outboard ailerons, with more rudder and elevator)
- Speed Brakes - Activates the spoilers
- Flaps - Continuously-variable adjustment for extending and retracting the flaps
- Krueger Flaps - Deploys and retracts the leading edge flaps (slotted Krueger flaps)
- Ground Steering - Steers the nose wheel, with the rudder moving a bit, too
- Stabilizer Pitch Trim - Moves the entire horizontal stabilizer (6 degrees positive, 3 degrees negative)
- Thrust Reversers - Moves the rear part of each engine nacelle rearward, and is also tied to the "Engine Volumetrics" item, so that when the reversers are deployed, the rearward exhaust diminishes slightly, and a volumetric effect appears in front of the engine. (image examples above, on this page)
- Position Lights and Strobes - A simple On/Off switch for these items. (Strobes are animated to flash)
- Taxi Lights - An On/Off switch for the taxi lights located on the noe gear
- Landing Lights - Turns the landing lights on and off (located in the inboard wing roots, and on the nose gear)
- Interior Lighting - Variable intensity interior lighting for the cabin and cockpit
- Cargo Bay Lighting - Separate from the cabin lights
- Cargo Doors - Opens all three cargo doors on the right side of the aircraft
Lighting:
The interior lighting is pretty typical, consisting of various point lights and (in MODO) "cylinder lights". On the exterior, I've added flashing red beacons on the top and bottom of the fuselage, red and green position lights and strobes in the wing tips, a strobe on the tail near the APU exhaust, landing lights in the roots of the wings, and of course, the landing and taxi lights mounted on the nose gear. These can all be turned on and off with the main controller
Over the past several projects, I've developed a standard way of doing the exterior lighting for aircraft models, which works like this...
Have a look at the landing gear images above, on this page. You'll notice that at each light position, there is a very nice-looking light lens, which is visible whenever the lights are off. For these daytime shots, each light has a child item which consists of two things... a set of luminous polygons that become visible when the light is turned on, and of course, the light itself. (usually a "spot light"-type, for landing lights. That's done because in most 3D software, you can 't see the actual light source... only the light's effect on other objects. So, this simple switch, from the light lens image to the luminous polygons, as the light is switched on, works well. See the looping movie below, to see the effect in a night shot
I hope you'll enjoy producing some great still images and animations with this model.
Have fun!